Saltar al contenido principal
Únete a la Comunidad de Reparación - Crear Cuenta

Canon Powershot S200 Flash Unit Replacement

Qué necesitas

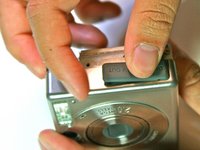
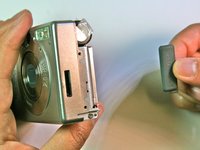
  1. Canon Powershot S200 Flash Unit Replacement, Battery: paso 1, imagen 1 de 2 Canon Powershot S200 Flash Unit Replacement, Battery: paso 1, imagen 2 de 2
    • Slide the grey latch to open the battery compartment.

    Pregunta a FixBot

    Agregar Comentario

  2. Canon Powershot S200 Flash Unit Replacement: paso 2, imagen 1 de 2 Canon Powershot S200 Flash Unit Replacement: paso 2, imagen 2 de 2
    • Push and slide the orange retaining clip to the right to remove the battery.

    Pregunta a FixBot

    Agregar Comentario

  3. Canon Powershot S200 Flash Unit Replacement: paso 3, imagen 1 de 1
    • Remove battery from the camera.

    Pregunta a FixBot

    Agregar Comentario

  4. Canon Powershot S200 Flash Unit Replacement, Motherboard: paso 4, imagen 1 de 1
    • Remove the lanyard.

    Pregunta a FixBot

    Agregar Comentario

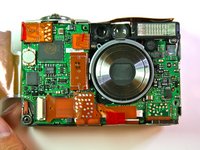
  5. Canon Powershot S200 Flash Unit Replacement: paso 5, imagen 1 de 1
    • Position the camera so that the bottom is facing up.

    • Remove the two 2.3mm screws beneath the name plate.

    • Remove the two 2.8 mm screws surrounding the threaded tripod mount.

    Pregunta a FixBot

    Agregar Comentario

  6. Canon Powershot S200 Flash Unit Replacement: paso 6, imagen 1 de 1
    • Remove the 3.8mm screw from the back face of the camera.

    Pregunta a FixBot

    Agregar Comentario

  7. Canon Powershot S200 Flash Unit Replacement: paso 7, imagen 1 de 1
    • Remove the two 2.3mm screws from the right face of the camera.

    Pregunta a FixBot

    Agregar Comentario

  8. Canon Powershot S200 Flash Unit Replacement: paso 8, imagen 1 de 1
    • Remove the two outer 3.2mm screws from the left side of the camera

    • Remove the two inner 3.7mm screws from the left side of the camera.

    Pregunta a FixBot

    Agregar Comentario

  9. Canon Powershot S200 Flash Unit Replacement: paso 9, imagen 1 de 1
    • Pull the back face panel away from the front end of the body. This may take some wiggling and force.

    Pregunta a FixBot

    Agregar Comentario

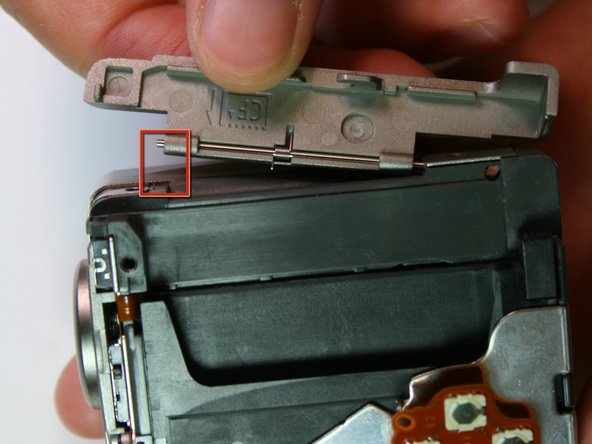
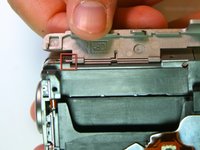
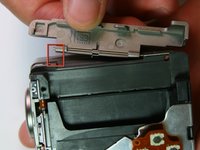
  10. Canon Powershot S200 Flash Unit Replacement: paso 10, imagen 1 de 2 Canon Powershot S200 Flash Unit Replacement: paso 10, imagen 2 de 2
    • Remove the CF card door from the left side of the camera body.

    Pregunta a FixBot

    Agregar Comentario

  11. Canon Powershot S200 Flash Unit Replacement: paso 11, imagen 1 de 2 Canon Powershot S200 Flash Unit Replacement: paso 11, imagen 2 de 2
    • Slide the rubber digital a/v cap out of place on the front plate.

    Pregunta a FixBot

    Agregar Comentario

  12. Canon Powershot S200 Flash Unit Replacement: paso 12, imagen 1 de 1
    • Remove the front face by sliding it off.

    Pregunta a FixBot

    Agregar Comentario

  13. Canon Powershot S200 Flash Unit Replacement: paso 13, imagen 1 de 1
    • Remove the rubber seal that covers the right side of the viewfinder.

    Pregunta a FixBot

    Agregar Comentario

  14. Canon Powershot S200 Flash Unit Replacement: paso 14, imagen 1 de 1
    • Remove the two 3.9mm screws that hold the laminated copper sheet.

    Pregunta a FixBot

    Agregar Comentario

  15. Canon Powershot S200 Flash Unit Replacement: paso 15, imagen 1 de 2 Canon Powershot S200 Flash Unit Replacement: paso 15, imagen 2 de 2
    • Remove the wire connections that connect along the bottom of the motherboard.

    Pregunta a FixBot

    Agregar Comentario

  16. Canon Powershot S200 Flash Unit Replacement: paso 16, imagen 1 de 1
    • Remove the single 3.8mm screw that is on the motherboard.

    Pregunta a FixBot

    Agregar Comentario

  17. Canon Powershot S200 Flash Unit Replacement: paso 17, imagen 1 de 1
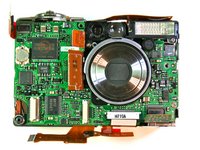
    • Remove the motherboard from the main frame of the camera body.

    Pregunta a FixBot

    Agregar Comentario

  18. Canon Powershot S200 Flash Unit Replacement, Screen: paso 18, imagen 1 de 1
    • After completing the removal of the motherboard, remove the tripod mounting screws (3.4mm) on the left side

    Pregunta a FixBot

    Agregar Comentario

  19. Canon Powershot S200 Flash Unit Replacement: paso 19, imagen 1 de 1
    • Carefully pry the left side of the housing plate from the bottom of the tripod mounting plate, releasing it from the two alignment pegs next to the screws

    Pregunta a FixBot

    Agregar Comentario

  20. Canon Powershot S200 Flash Unit Replacement: paso 20, imagen 1 de 1
    • Lift the left side of the tripod mounting plate towards you, lift free the mounting plate from the rest of the assembly

    • Be careful because there are still wire connections attached to the mounting plate which you don't want to remove

    Pregunta a FixBot

    Agregar Comentario

  21. Canon Powershot S200 Flash Unit Replacement: paso 21, imagen 1 de 1
    • Remove the 2.1mm screws from the bottom and top of the screen connecting it to the housing plate

    Pregunta a FixBot

    Agregar Comentario

  22. Canon Powershot S200 Flash Unit Replacement: paso 22, imagen 1 de 1
    • Unsolder the four points at the top of the screen with a soldering iron

    Pregunta a FixBot

    Agregar Comentario

    • You do not need to unsolder the screen to get to the lens, but follow the rest of the steps to free the screen from the housing plate.

    Pregunta a FixBot

    Agregar Comentario

  23. Canon Powershot S200 Flash Unit Replacement: paso 24, imagen 1 de 1
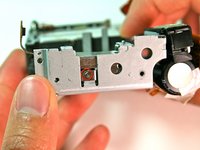
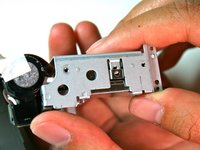
    • Remove the card-reader shield by removing the screw at the top of the shield.

    Pregunta a FixBot

    Agregar Comentario

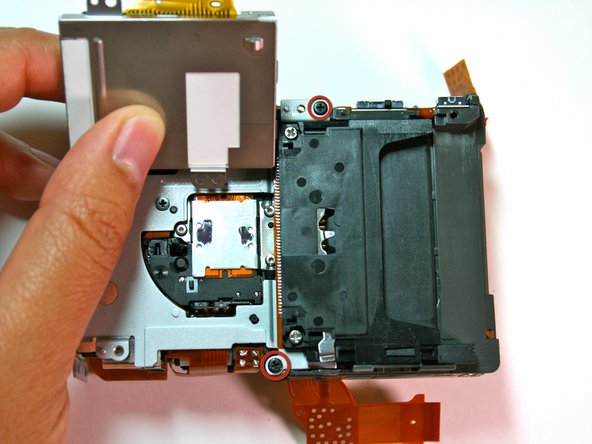
  24. Canon Powershot S200 Flash Unit Replacement: paso 25, imagen 1 de 2 Canon Powershot S200 Flash Unit Replacement: paso 25, imagen 2 de 2
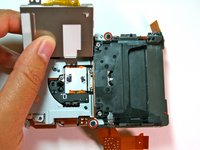
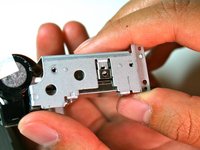
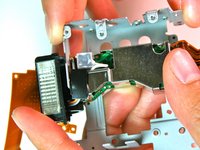
    • Remove the 2 black screws that attach the battery box to the housing plate.

    • The second picture shows the battery box detached from the housing plate.

    Pregunta a FixBot

    Agregar Comentario

  25. Canon Powershot S200 Flash Unit Replacement: paso 26, imagen 1 de 1
    • Remove the three (3.1mm) black screws that were behind the screen and battery box.

    Pregunta a FixBot

    Agregar Comentario

  26. Canon Powershot S200 Flash Unit Replacement: paso 27, imagen 1 de 2 Canon Powershot S200 Flash Unit Replacement: paso 27, imagen 2 de 2
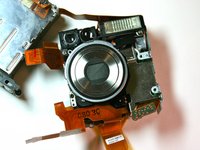
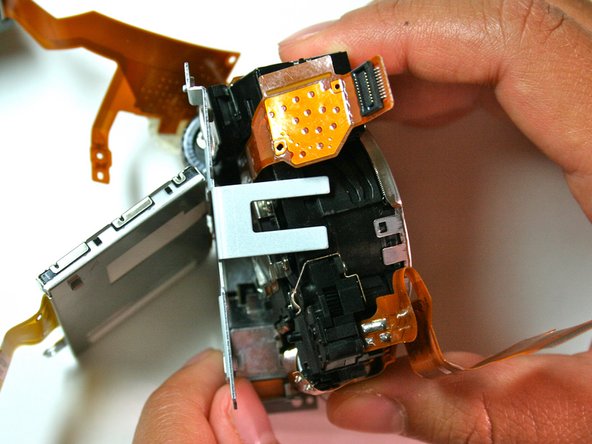
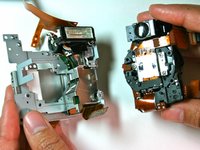
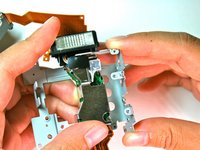
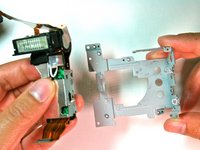
    • Carefully remove the lens.

    • Remove the bottom side of the lens first before the viewfinder side.

    • Be careful of wires and delicate parts.

    Pregunta a FixBot

    Agregar Comentario

  27. Canon Powershot S200 Flash Unit Replacement, Flash Unit: paso 28, imagen 1 de 1
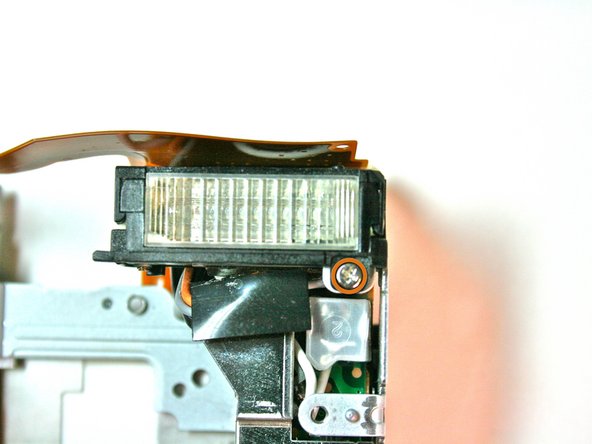
    • Remove the 3.3 mm screw from underneath the clear plastic flash unit on the front side.

    Pregunta a FixBot

    Agregar Comentario

  28. Canon Powershot S200 Flash Unit Replacement: paso 29, imagen 1 de 1
    • Remove the 3.4mm screw from the top of the flash unit and housing plate.

    Pregunta a FixBot

    Agregar Comentario

  29. Canon Powershot S200 Flash Unit Replacement: paso 30, imagen 1 de 2 Canon Powershot S200 Flash Unit Replacement: paso 30, imagen 2 de 2
    • Remove the 2.1mm screw from the interlocking clip on the right.

    Pregunta a FixBot

    Agregar Comentario

  30. Canon Powershot S200 Flash Unit Replacement: paso 31, imagen 1 de 2 Canon Powershot S200 Flash Unit Replacement: paso 31, imagen 2 de 2
    • Pull the flash unit away from the interlocking clip on the housing plate.

    • This will require some maneuvering to free the interlocking clip from the housing plate.

    Pregunta a FixBot

    Agregar Comentario

  31. Canon Powershot S200 Flash Unit Replacement: paso 32, imagen 1 de 2 Canon Powershot S200 Flash Unit Replacement: paso 32, imagen 2 de 2
    • Slide the flash unit to the left and away from the housing plate.

    Pregunta a FixBot

    Agregar Comentario

  32. Canon Powershot S200 Flash Unit Replacement: paso 33, imagen 1 de 1
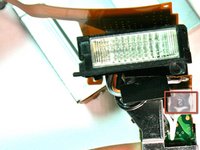
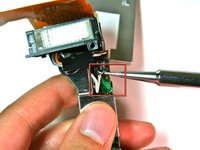
    • Unsolder the pink wire from the condenser.

    Pregunta a FixBot

    Agregar Comentario

  33. Canon Powershot S200 Flash Unit Replacement: paso 34, imagen 1 de 2 Canon Powershot S200 Flash Unit Replacement: paso 34, imagen 2 de 2
    • Remove the clear plastic cover from the white wire by lifting off with finger.

    • Desolder the white wire.

    Pregunta a FixBot

    Agregar Comentario

  34. Canon Powershot S200 Flash Unit Replacement: paso 35, imagen 1 de 1
    • Remove the gray wire by desoldering it from the underside of the flash unit.

    Pregunta a FixBot

    Agregar Comentario

  35. Canon Powershot S200 Flash Unit Replacement: paso 36, imagen 1 de 1
    • Carefully pull the flash unit off the condenser. There is tape underneath, so some force may be required.

    Pregunta a FixBot

    Agregar Comentario

Conclusión

To reassemble your device, follow these instructions in reverse order.

Cancelar: No complete esta guía.

Tanya

Miembro Desde 04/20/11

111 Reputación

1 Guía escrita

0Guía Comentarios

Agregar Comentario

Ver Estadísticas:

Ultimas 24 horas: 0

Ultimos 7 días: 5

Ultimos 30 días: 33

Todo El Tiempo: 1,198