Introducción
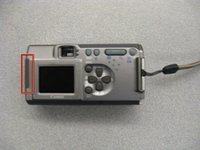
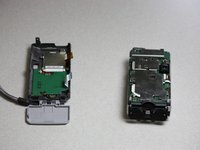
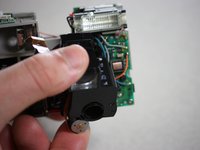
If your Canon PowerShot A200 camera’s lens is damaged or not properly functioning, use this guide to replace the lens.
A camera’s lens is required in order to successfully take a photo. A camera lens may become damaged over time through heavy wear and tear, or if the camera is dropped and the lens becomes scratched or shattered. If your camera’s lens no longer functions to its fullest potential, consider replacing the lens for ideal photography.
Before using this guide, locate the camera lens, which can be found on the front side of the overall case. This guide is intended for users familiar with the Canon PowerShot camera or users who have prior experience fixing cameras.
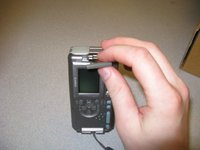
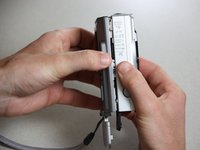
It is important to be gentle when removing any piece of the camera from the body. To ensure all pieces do not become damaged or lost, place all small parts in a safe space while working on the camera.
Qué necesitas
-
-
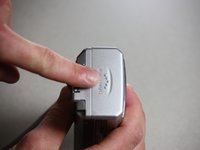
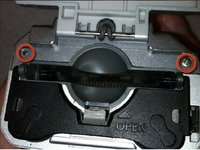
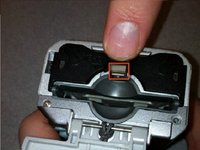
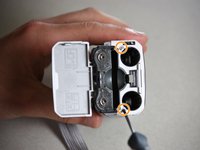
Use a Phillips #00 screwdriver to remove the two screws located at the bottom of the camera.
-
-
-
Herramienta utilizada en este paso:Tweezers$4.99
-
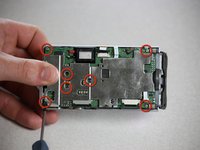
Use the Phillips #00 screwdriver to remove the seven screws holding the camera body to the case.
-
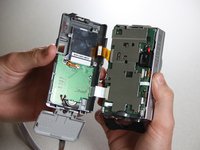
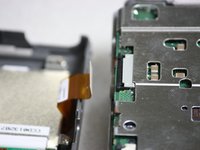
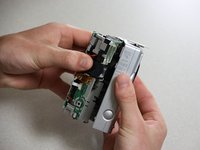
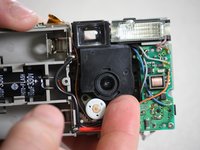
Pull out the camera body from the camera casing.
-
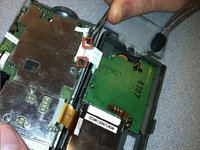
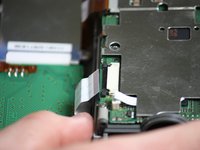
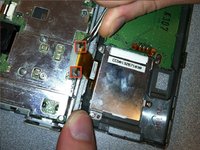
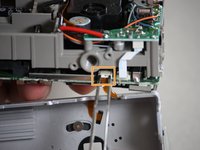
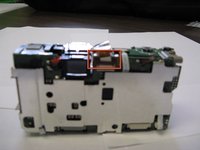
Use the metal tweezers to unplug the orange connector.
-
To reassemble your device, follow these instructions in reverse order.
To reassemble your device, follow these instructions in reverse order.


