Esta guía ha sufrido modificaciones. Revisa la última versión sin revisar.
Introducción
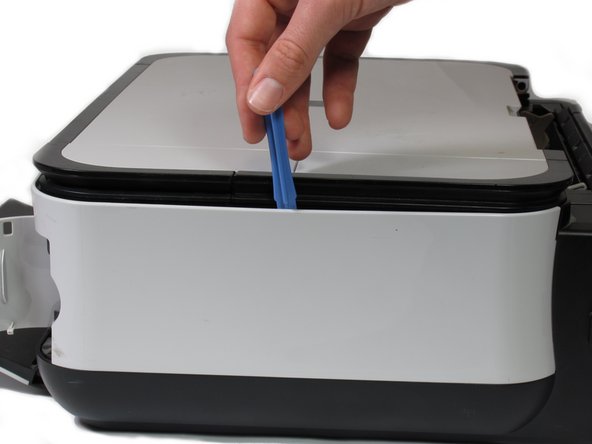
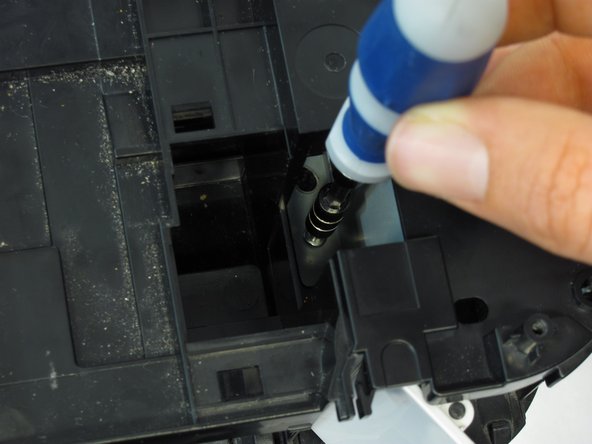
Please complete the dis-assembly guide before attempting to install new data ports, as it is a prerequisite.
Use this guide to replace a broken data port to get your USB and card readers back.
Qué necesitas
-
-
-
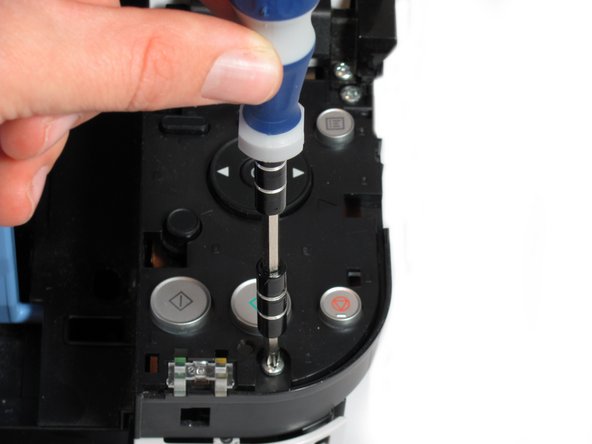
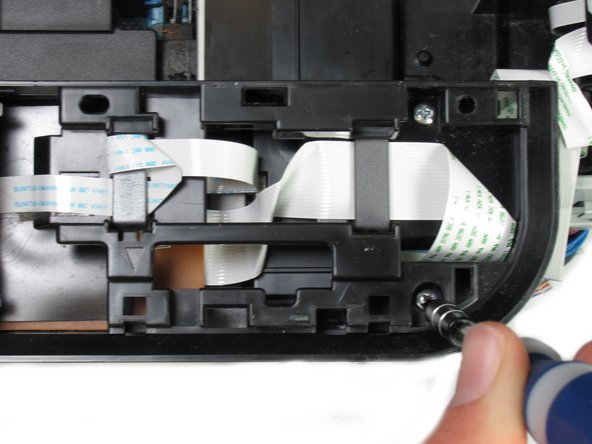
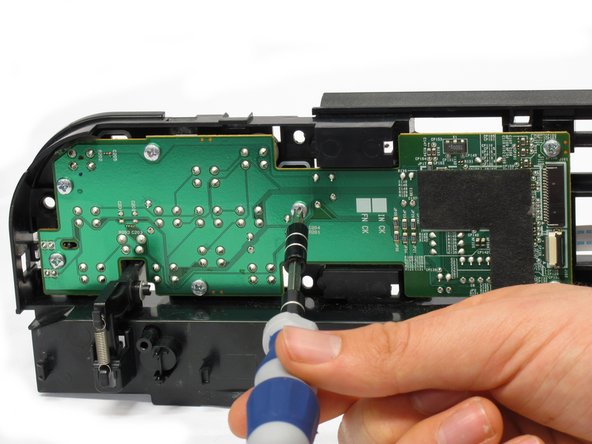
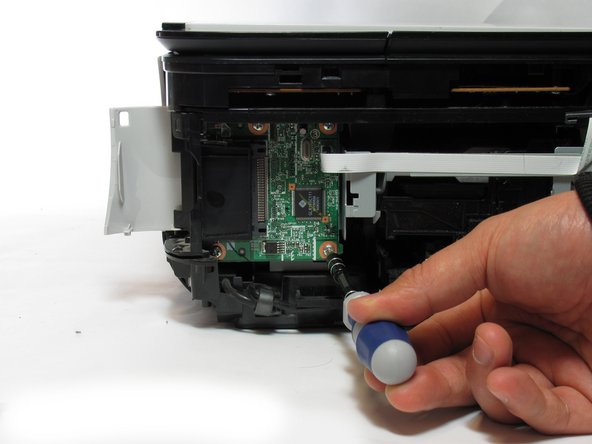
Remove the screw using the Phillips #1 screwdriver.
-
7.5 mm Phillips #1 screw
-


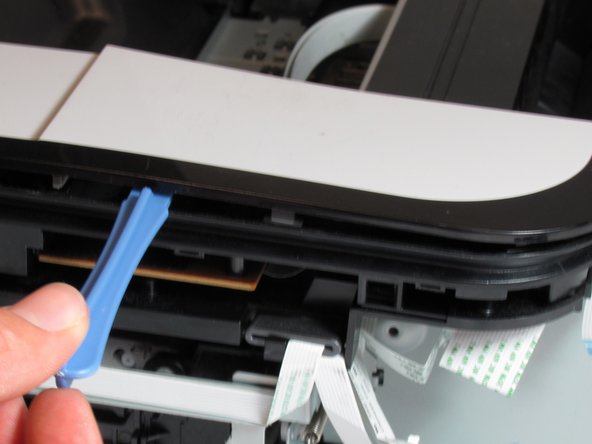


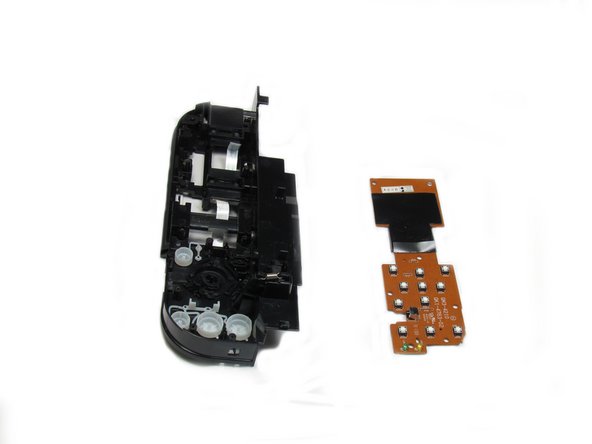


Casi Terminas!
To reassemble your device, follow these instructions in reverse order.
Conclusión
To reassemble your device, follow these instructions in reverse order.
Equipo

Cal Poly, Team 19-41, Regan Winter 2013 Miembro de Cal Poly, Team 19-41, Regan Winter 2013
CPSU-REGAN-W13S19G41
4 Miembros
6 Guías creadas