Esta guía ha sufrido modificaciones. Revisa la última versión sin revisar.
Introducción
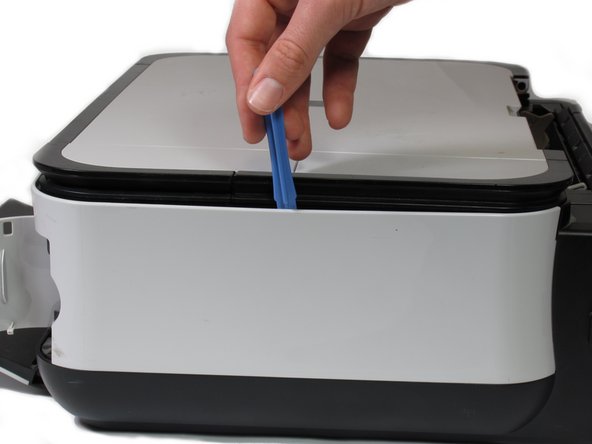
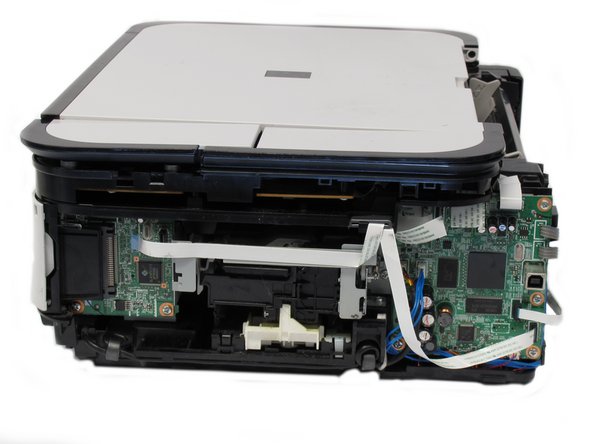
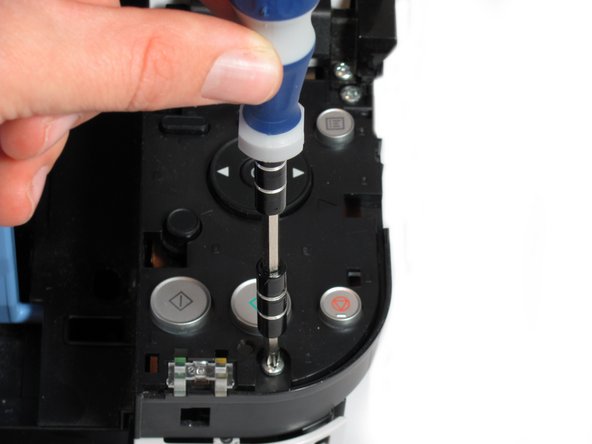
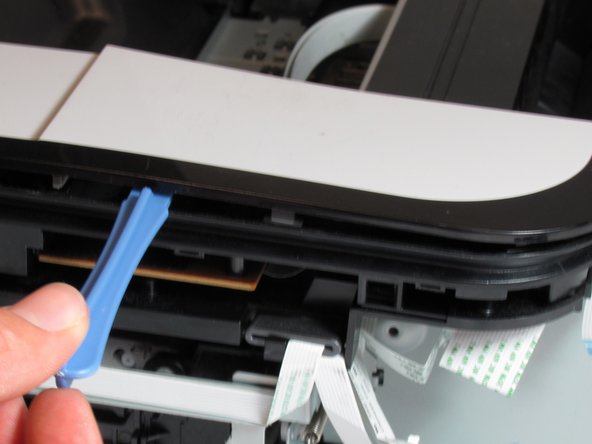
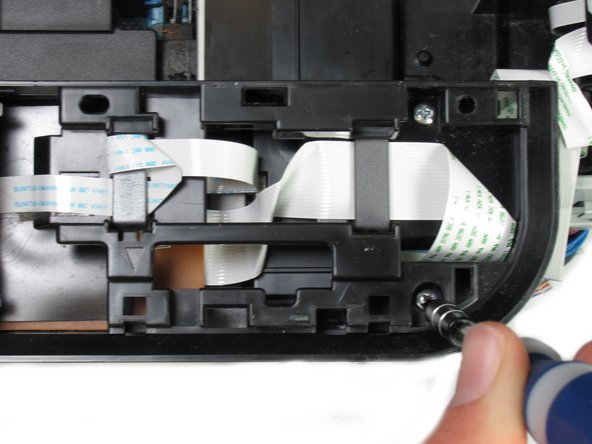
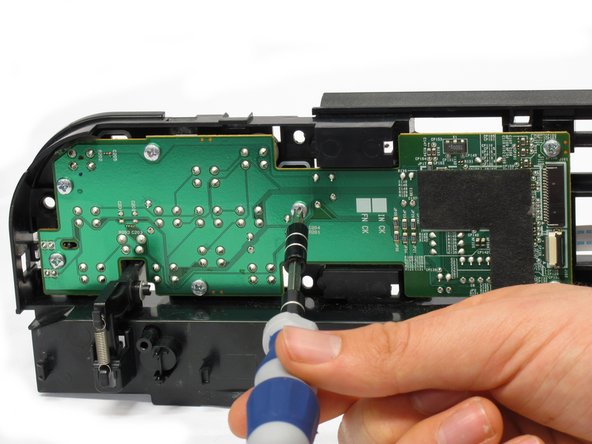
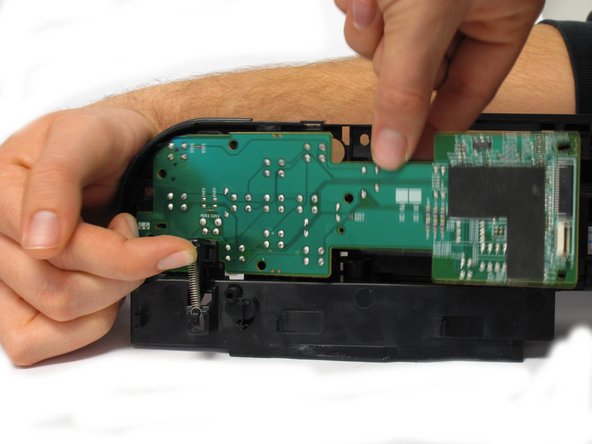
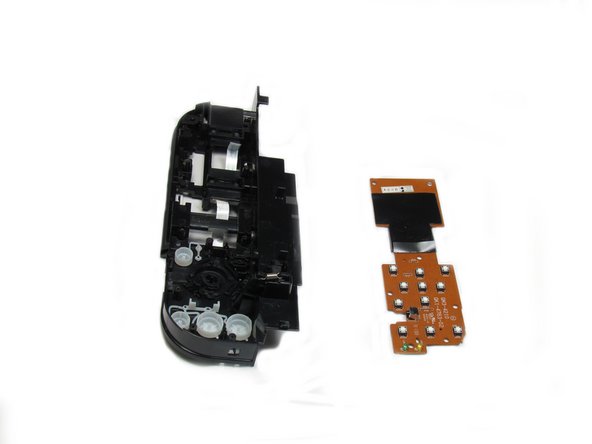
Use this guide to replace the broken buttons to get back full functionality of your printer.
Qué necesitas


Casi Terminas!
To reassemble your device, follow these instructions in reverse order.
Conclusión
To reassemble your device, follow these instructions in reverse order.
Equipo

Cal Poly, Team 19-41, Regan Winter 2013 Miembro de Cal Poly, Team 19-41, Regan Winter 2013
CPSU-REGAN-W13S19G41
4 Miembros
6 Guías creadas