Introducción
If your Canary does not light up, this guide will show you how to replace the Infrared LED board.
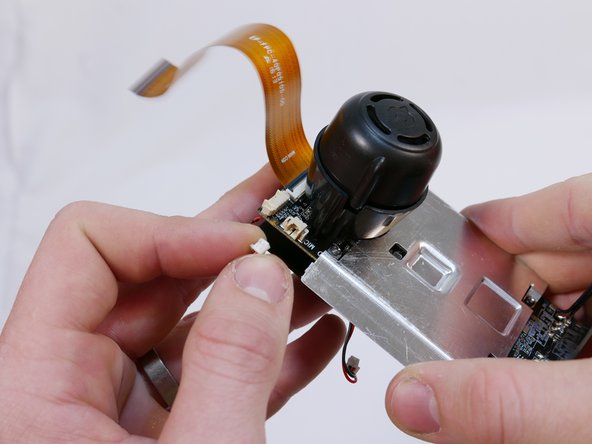
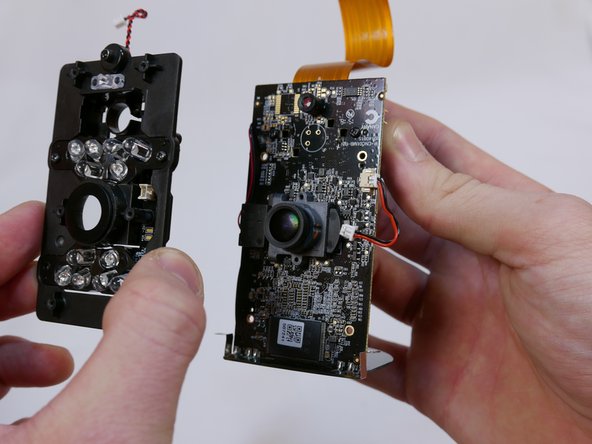
Before you unscrew anything, there are two power connectors you must disconnect. As always, do not pull on the wires of the power connector.
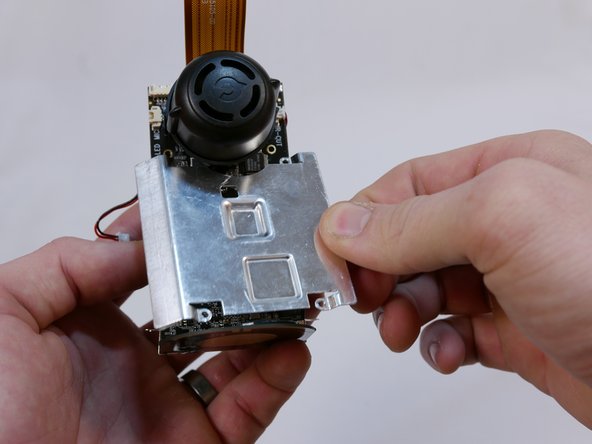
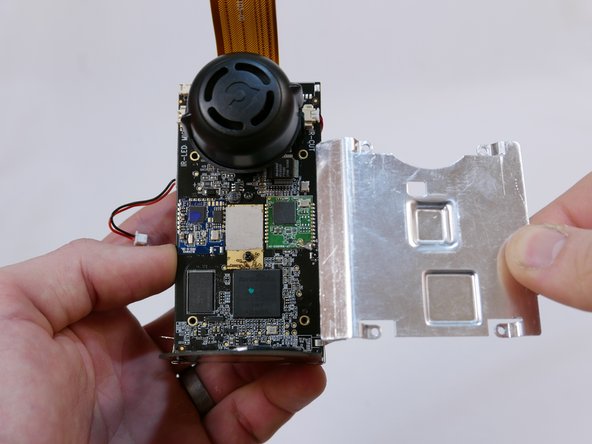
The four screws for the heatsink also hold the infrared LED board in, so grab onto it to prevent it from falling. There is another set of screws on the board for the LED frame; you do not need to remove these.
A Phillips #0 screwdriver can be used for all four screws.
Qué necesitas
-
-
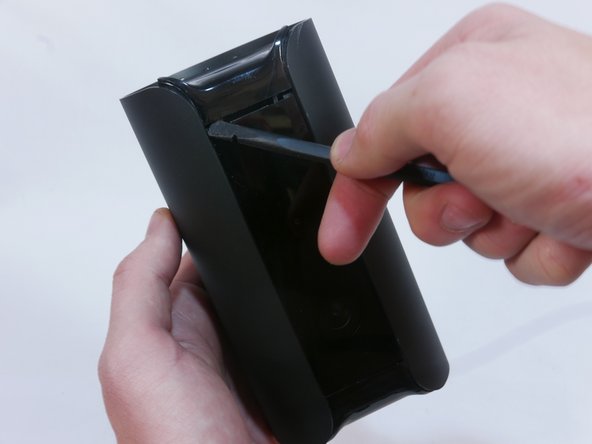
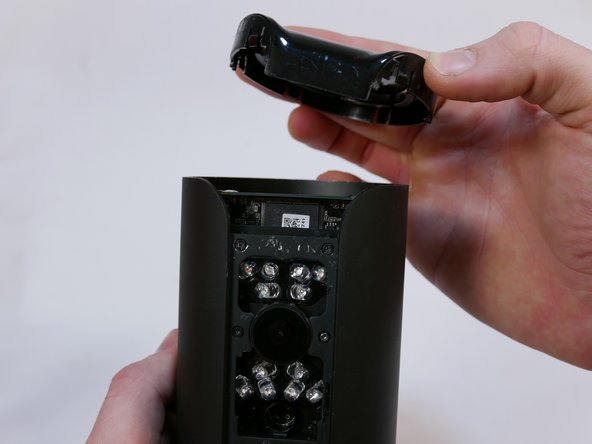
Grip the rubber ring with your fingers and pull up.
-
Rotate the Canary as you pull out one tab at a time.
-
-
-
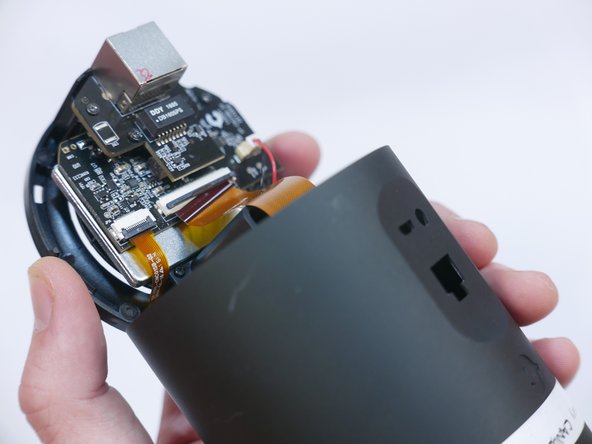
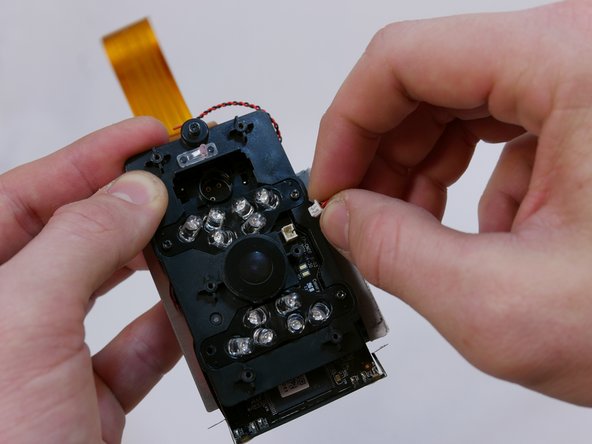
Use the pointed end of the spudger to flip up the small retaining flap on the ZIF (zero insertion force) connector.
-
Pull the ribbon cable out towards the device.
-
-
-
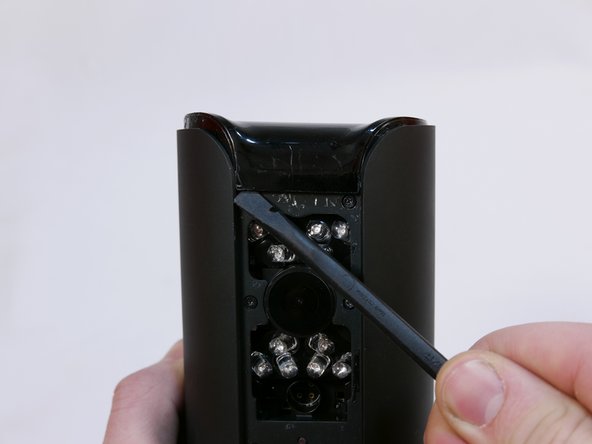
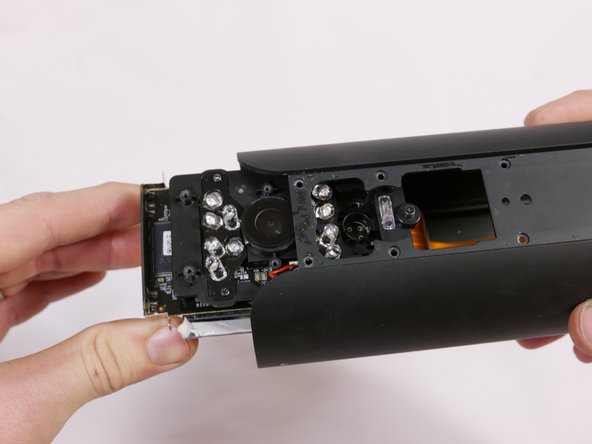
There are two empty nooks underneath the bottom of the panel close to each side of the case.
-
Place the pointed edge of the spudger in one of the nooks under the panel and pry upwards.
-
-
-
-
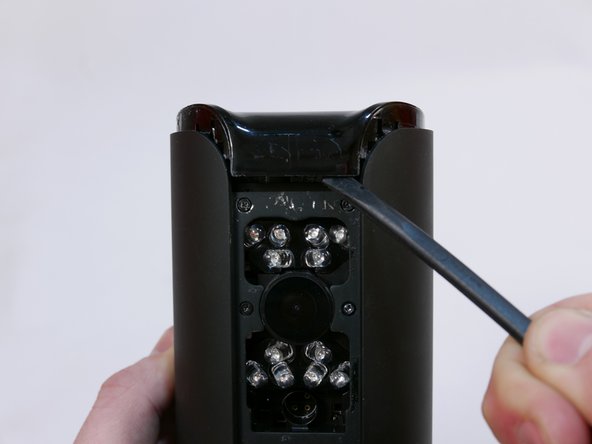
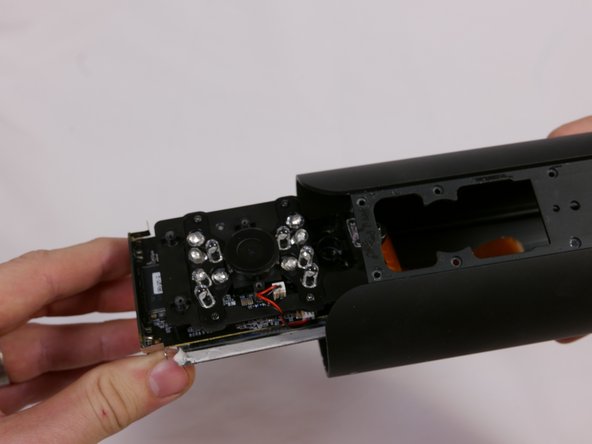
Use the flat end of the spudger to carefully pry off the top casing.
-
Alternate pushing up on the left and right sides until the inner clips are released.
-


To reassemble your device, follow these instructions in reverse order.
To reassemble your device, follow these instructions in reverse order.
Cancelar: No complete esta guía.
Una persona más ha completado esta guía.
Equipo

USF Tampa, Team S1-G2, Nance Spring 2017 Miembro de USF Tampa, Team S1-G2, Nance Spring 2017
USFT-NANCE-S17S1G2
4 Miembros
16 Guías creadas