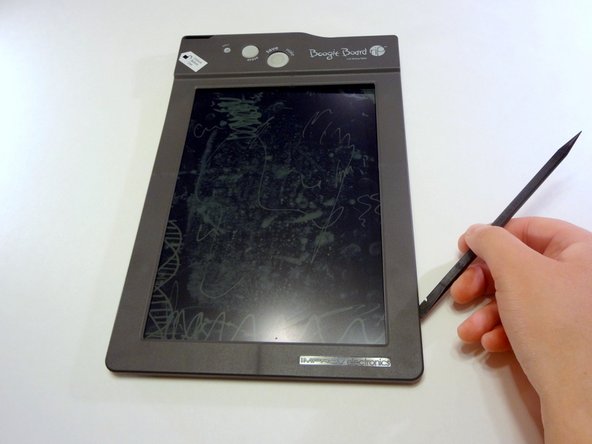
Saltar al contenido principal

Boogie Board Rip Copper Button Plate Replacement

Qué necesitas

  1. Boogie Board Rip Copper Button Plate Replacement, Accessing the internal components: paso 1, imagen 1 de 2 Boogie Board Rip Copper Button Plate Replacement, Accessing the internal components: paso 1, imagen 2 de 2
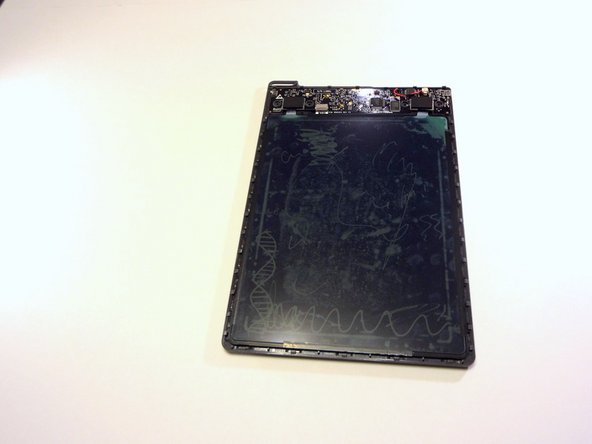
    • On the back of the device, remove the four 3/8" Torx head screws using the T-6 Torx bit.

    • A Torx bit is the piece that is inserted into a bit driver, also known as a screw driver.

  2. Boogie Board Rip Copper Button Plate Replacement: paso 2, imagen 1 de 3 Boogie Board Rip Copper Button Plate Replacement: paso 2, imagen 2 de 3 Boogie Board Rip Copper Button Plate Replacement: paso 2, imagen 3 de 3
    • Remove the stylus if it is in the housing at the top of the device.

    • Turn the device so you are looking at it from the top down.

    • Using your thumbs on each wall of the stylus housing, open the frame of the device by gently pulling the two sides apart.

  3. Boogie Board Rip Copper Button Plate Replacement: paso 3, imagen 1 de 3 Boogie Board Rip Copper Button Plate Replacement: paso 3, imagen 2 de 3 Boogie Board Rip Copper Button Plate Replacement: paso 3, imagen 3 de 3
    • Insert a spudger into the seam between the front and back plates of the frame. Unsnap the snaps around the entire frame of the device.

    • Remove the front face plate by pulling it straight up.

    • The unlock switch on the device's side might come off while undoing the internal snaps or removing the face plate. This is perfectly normal.

  4. Boogie Board Rip Copper Button Plate Replacement: paso 4, imagen 1 de 2 Boogie Board Rip Copper Button Plate Replacement: paso 4, imagen 2 de 2
    • Use a spudger (or gently bend the back plate of the device) to unsnap the snaps holding the screen in place.

  5. Boogie Board Rip Copper Button Plate Replacement: paso 5, imagen 1 de 2 Boogie Board Rip Copper Button Plate Replacement: paso 5, imagen 2 de 2
    • With a spudger, press against the lip of the connector closest to the wires to remove the battery connector from the motherboard.

  6. Boogie Board Rip Copper Button Plate Replacement: paso 6, imagen 1 de 2 Boogie Board Rip Copper Button Plate Replacement: paso 6, imagen 2 de 2
    • Gently lift the motherboard with a spudger or small object by inserting it in the seam between the back frame and the motherboard.

    • Remove the battery hidden behind the motherboard.

  7. Boogie Board Rip Copper Button Plate Replacement, Copper Button Plate: paso 7, imagen 1 de 2 Boogie Board Rip Copper Button Plate Replacement, Copper Button Plate: paso 7, imagen 2 de 2
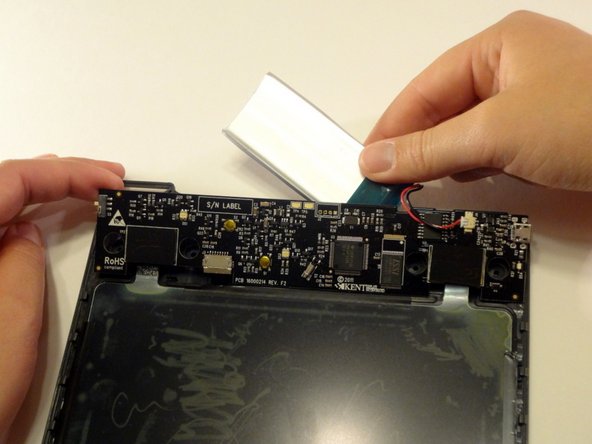
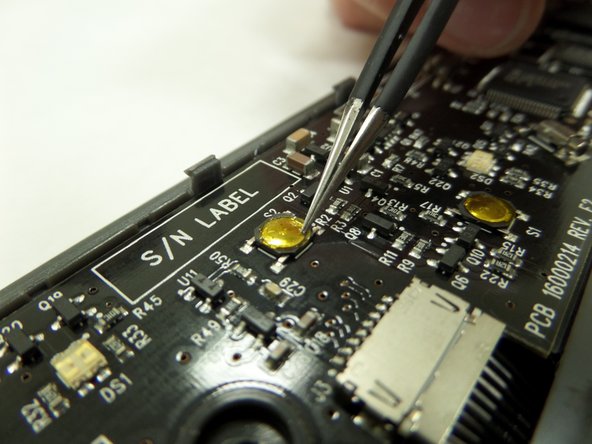
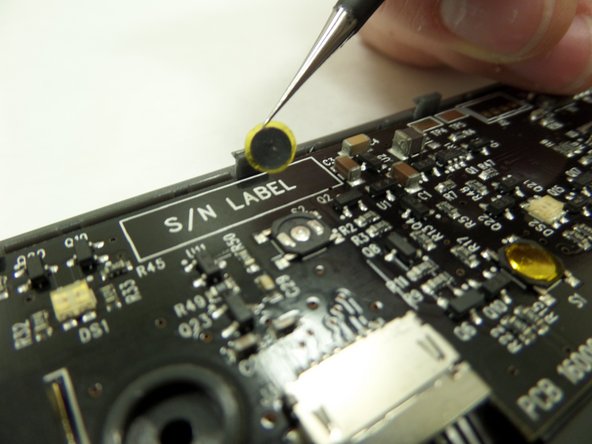
    • Using tweezers gently go around the edges of the copper plate to remove the adhesive.

  8. Boogie Board Rip Copper Button Plate Replacement: paso 8, imagen 1 de 2 Boogie Board Rip Copper Button Plate Replacement: paso 8, imagen 2 de 2
    • Use tweezers to grip the outer edge of the copper plate and lift the button straight off.

Conclusión

To reassemble your device, follow these instructions in reverse order.

Gareth

Miembro Desde 09/09/14

384 Reputación

3 Guías creadas

Equipo

CSU Fullerton, Team 2-6, Bruce Fall 2014 Miembro de CSU Fullerton, Team 2-6, Bruce Fall 2014

CSUF-BRUCE-F14S2G6

4 Miembros

6 Guías creadas

0 comentarios

Agregar Comentario

Ver Estadísticas:

Ultimas 24 horas: 0

Ultimos 7 días: 4

Ultimos 30 días: 8

Todo El Tiempo: 2,583