Introducción
Since the rear facing camera is exposed to the elements, it can often be vulnerable to accidental breaking or cracking. This guide will describe how to disassemble the phone in order to repair it.
Qué necesitas
-
-
In order to remove the back case, start by flipping the phone to the back side and look at it from the top.
-
-
-
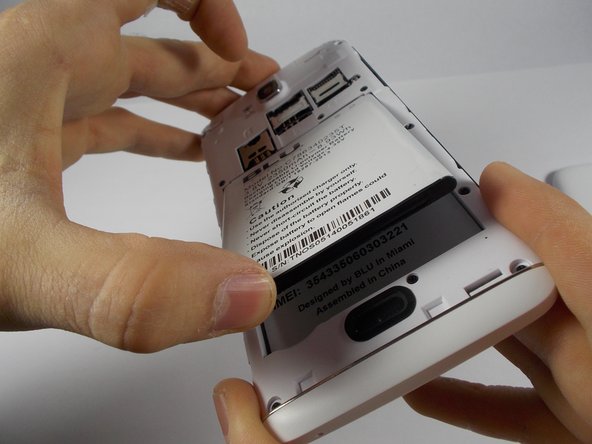
Place your finger in the small notch on the left side of the charging port (facing from the back).
-
Once your finger is in the notch, pull the back case towards yourself to remove it.
-
-
-
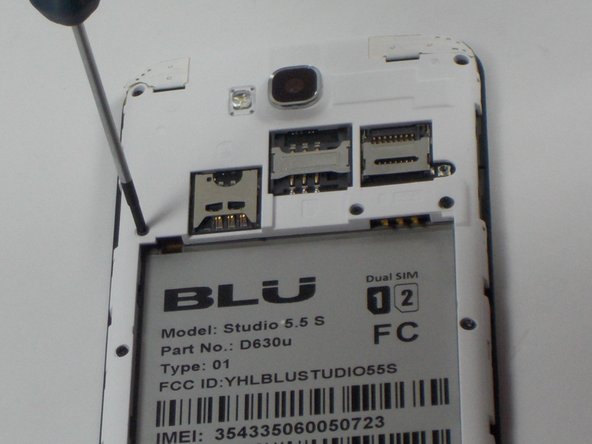
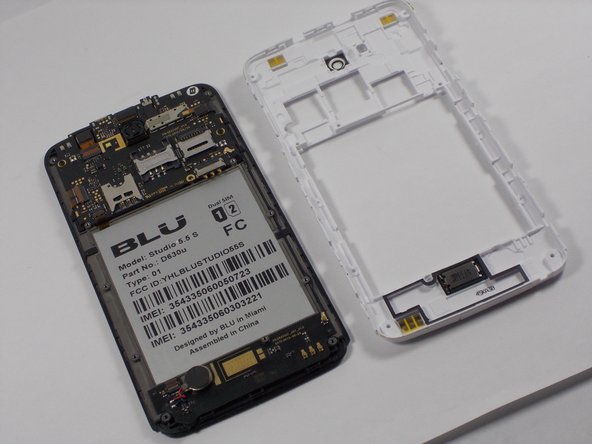
Once the back case is removed, locate the battery. It is the large brick embedded in the phone. It has BLU Products, a caution statement, and a barcode on it.
-
Insert your finger into the notch near the lower left of the battery, apply pressure and lift up.
-
-
-
-
The speaker is located behind the inner back case. Using a Phillips #0 screwdriver, unscrew the 10, 7mm screws.
-
Using the Phillips #00 screwdriver, unscrew the two, 10mm screws at the bottom.
-
-
-
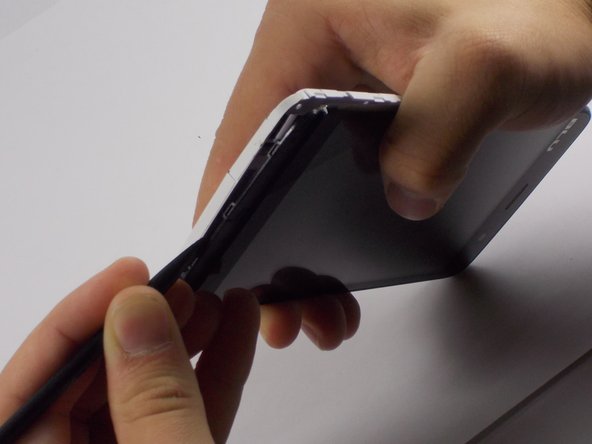
Apply pressure and pop off the bottom aesthetic case, being careful not to break it.
-
-
-
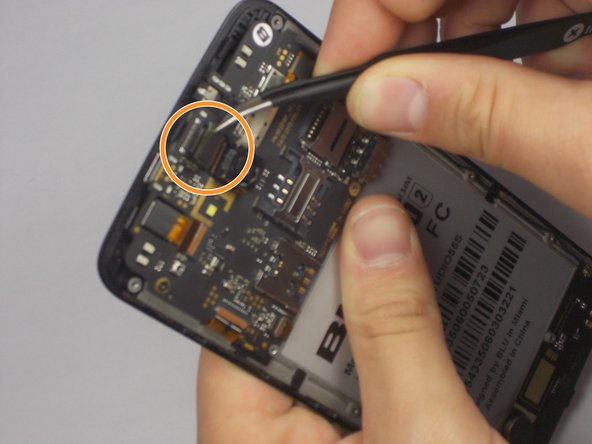
The rear camera is located in the center of the motherboard . It is connected by a ribbon wire / prong system.
-
Use tweezers to gently pop off the prong system, by pulling upwards on the black cap piece connected to the motherboard from the ribbon wire.
-
Use the Tweezers to pull the camera out of the housing.
-


To reassemble your device, follow these instructions in reverse order.
To reassemble your device, follow these instructions in reverse order.
Cancelar: No complete esta guía.
Una persona más ha completado esta guía.
Equipo

UMass Dartmouth, Team 4-8, Miles Fall 2014 Miembro de UMass Dartmouth, Team 4-8, Miles Fall 2014
UMASSD-MILES-F14S4G8
2 Miembros
6 Guías creadas