Esta guía ha sufrido modificaciones. Revisa la última versión sin revisar.
Introducción
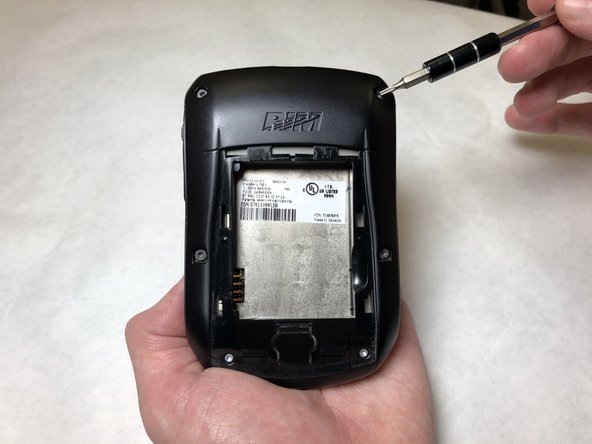
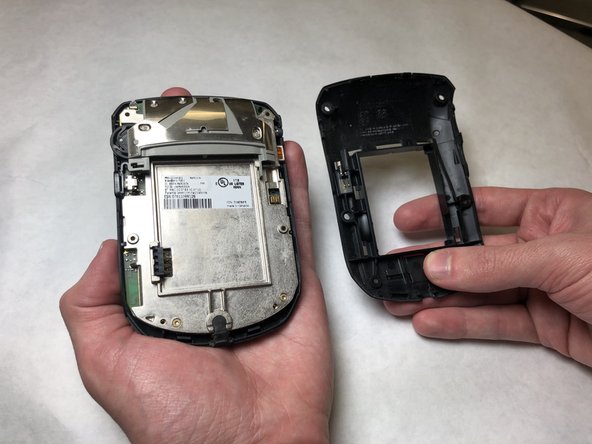
This guide will be useful in replacing the back housing for the Blackberry RIM 7250. For this guide, you will need a plastic opening tool and a Torx #6 screwdriver head.
Qué necesitas
-
-
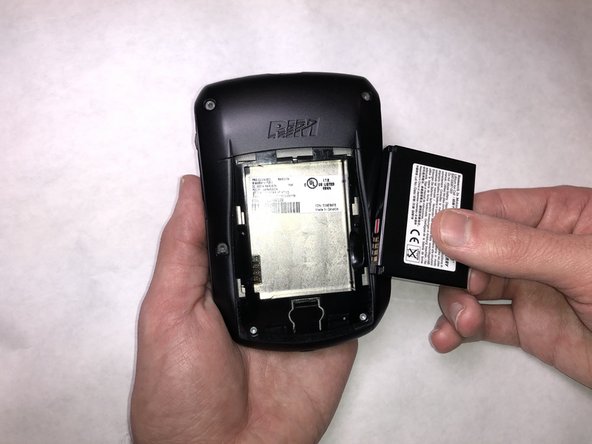
Push the release button down and away from the device.
-
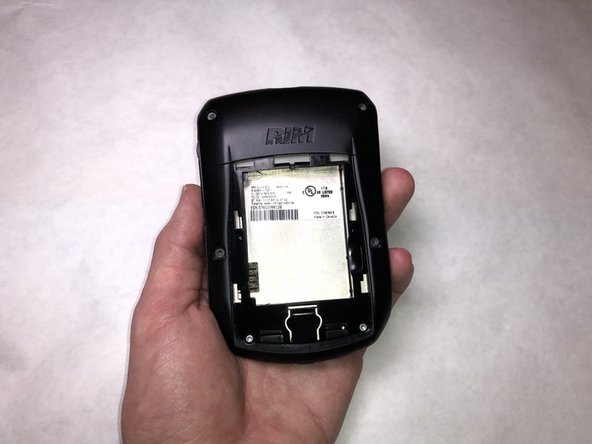
Slide the cover off toward the bottom of the device, revealing the battery compartment.
-
-


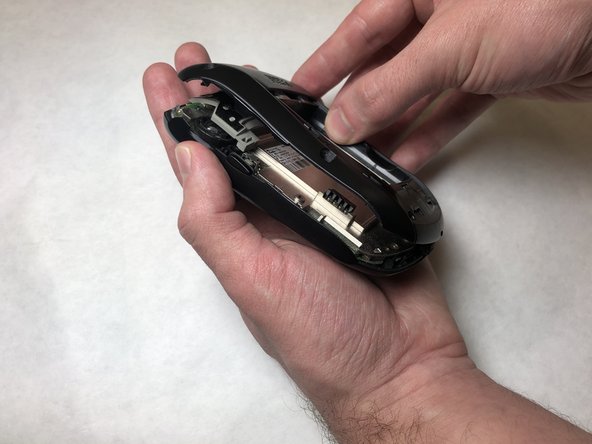
To reassemble your device, follow these instructions in reverse order.
To reassemble your device, follow these instructions in reverse order.
Equipo

IUPUI, Team S2-G4, Baechle Fall 2018 Miembro de IUPUI, Team S2-G4, Baechle Fall 2018
IUPUI-BAECHLE-F18S2G4
3 Miembros
5 Guías creadas