Saltar al contenido principal

Blackberry Bold 9900 Trackpad Replacement

Qué necesitas

  1. Blackberry Bold 9900 Trackpad Replacement, Battery: paso 1, imagen 1 de 1
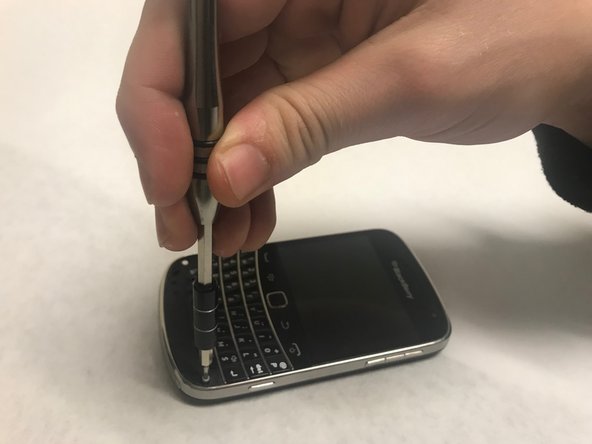
    • Place phone screen down.

    • Use your finger to life upward on the battery case.

    • Pull the cover away from the battery.

  2. Blackberry Bold 9900 Trackpad Replacement: paso 2, imagen 1 de 1
    • Lift the edge of battery with the green stripe upward to remove battery.

  3. Blackberry Bold 9900 Trackpad Replacement, MicroSD card: paso 3, imagen 1 de 2 Blackberry Bold 9900 Trackpad Replacement, MicroSD card: paso 3, imagen 2 de 2
    • The MicroSD card is located where the red rectangle is shown.

    • To remove MicroSD card, push the card inward towards the top of the phone then release. The MicroSD card will be ejected.

  4. Blackberry Bold 9900 Trackpad Replacement, Keyboard: paso 4, imagen 1 de 2 Blackberry Bold 9900 Trackpad Replacement, Keyboard: paso 4, imagen 2 de 2
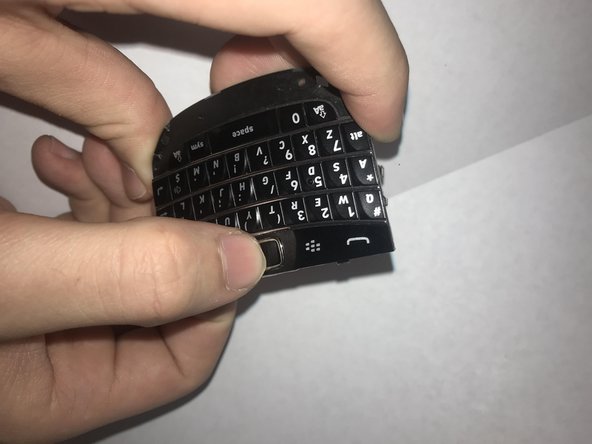
    • Lift the bezel at the bottom of the phone up and peel it away from the phone.

  5. Blackberry Bold 9900 Trackpad Replacement: paso 5, imagen 1 de 2 Blackberry Bold 9900 Trackpad Replacement: paso 5, imagen 2 de 2
    • Remove the two exposed screws using the T5 Torx screwdriver.

  6. Blackberry Bold 9900 Trackpad Replacement: paso 6, imagen 1 de 1
    • Now lever the keyboard up using the screwdriver in the indicated hole.

  7. Blackberry Bold 9900 Trackpad Replacement: paso 7, imagen 1 de 2 Blackberry Bold 9900 Trackpad Replacement: paso 7, imagen 2 de 2
    • The keyboard is attached via a ribbon cable. Pull the cable up to remove the keyboard.

  8. Blackberry Bold 9900 Trackpad Replacement, Trackpad: paso 8, imagen 1 de 3 Blackberry Bold 9900 Trackpad Replacement, Trackpad: paso 8, imagen 2 de 3 Blackberry Bold 9900 Trackpad Replacement, Trackpad: paso 8, imagen 3 de 3
    • Push into the trackpad. This will release the trackpad supporting piece.

  9. Blackberry Bold 9900 Trackpad Replacement: paso 9, imagen 1 de 2 Blackberry Bold 9900 Trackpad Replacement: paso 9, imagen 2 de 2
    • The trackpad is attached via ribbon cable. Pull this cable up in order to release the trackpad.

Conclusión

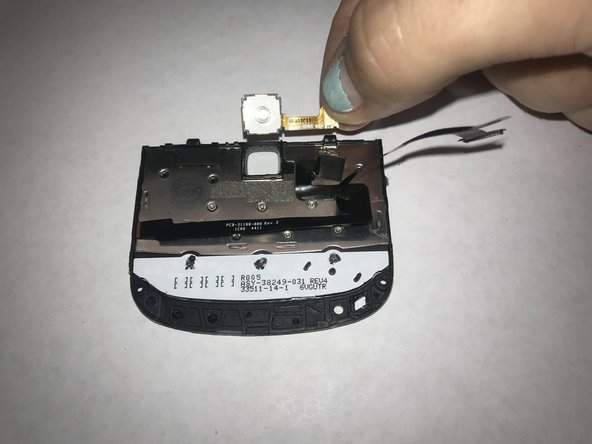
To reassemble your device, follow these instructions in reverse order.

Chris Velasquez

Miembro Desde 01/30/18

214 Reputación

2 Guías creadas

Equipo

Baylor, Team S1-G4, Johnson Spring 2018 Miembro de Baylor, Team S1-G4, Johnson Spring 2018

BU-JOHNSON-S18S1G4

3 Miembros

6 Guías creadas

0 comentarios

Agregar Comentario

Ver Estadísticas:

Ultimas 24 horas: 3

Ultimos 7 días: 5

Ultimos 30 días: 19

Todo El Tiempo: 1,027