Saltar al contenido principal

Esta versión puede contener ediciones incorrectas. Cambie a la última instantánea verificada.

Qué necesitas

  1. Este paso está sin traducir. Ayuda a traducirlo

    : paso 1, imagen 1 de 1
    • Remove the back cover and the battery from the device.

  2. Este paso está sin traducir. Ayuda a traducirlo

    : paso 2, imagen 1 de 1
    • 4 screws should be visible. Pry off the lower portion of the back to reveal all 6 screws.

  3. Este paso está sin traducir. Ayuda a traducirlo

    : paso 3, imagen 1 de 1
    • Remove all six T6 screws from the midframe.

  4. Este paso está sin traducir. Ayuda a traducirlo

    : paso 4, imagen 1 de 1
    • Separate the midframe from the rest of the device.

  5. Este paso está sin traducir. Ayuda a traducirlo

    : paso 5, imagen 1 de 1
    • Gently pry back the plastic tabs that secure the motherboard to the case.

    • Slowly work your way around the case prying the tabs until the motherboard comes free.

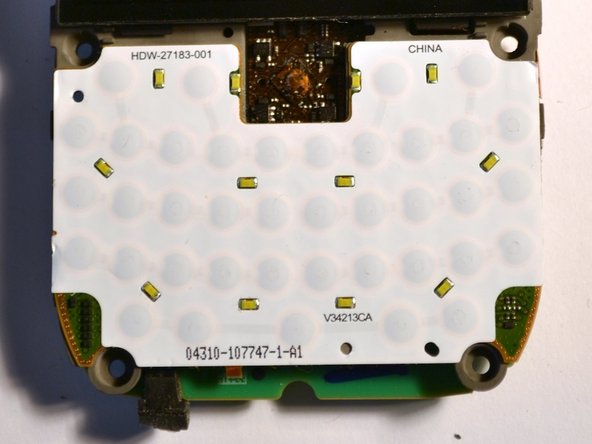
    • Remove the motherboard.

    • The keypad and navigation ball may become loose and fall away from the motherboard.

  6. Este paso está sin traducir. Ayuda a traducirlo

    : paso 6, imagen 1 de 3 : paso 6, imagen 2 de 3 : paso 6, imagen 3 de 3
    • Lift the keypad from the motherboard.

    • When replacing the keypad, be sure that the navigation ball is in its original position.

Linea de Meta

3 personas más completaron esta guía.

Renae Bishop

Miembro Desde 09/07/11

68 Reputación

4 Guías creadas

Equipo

Cuesta, Team 1-3, Zipperian Fall 2011 Miembro de Cuesta, Team 1-3, Zipperian Fall 2011

CUESTA-ZIPPERIAN-F11S1G3

3 Miembros

8 Guías creadas

0 comentarios

Agregar Comentario

Ver Estadísticas:

Ultimas 24 horas: 1

Ultimos 7 días: 10

Ultimos 30 días: 15

Todo El Tiempo: 6,995