Introducción
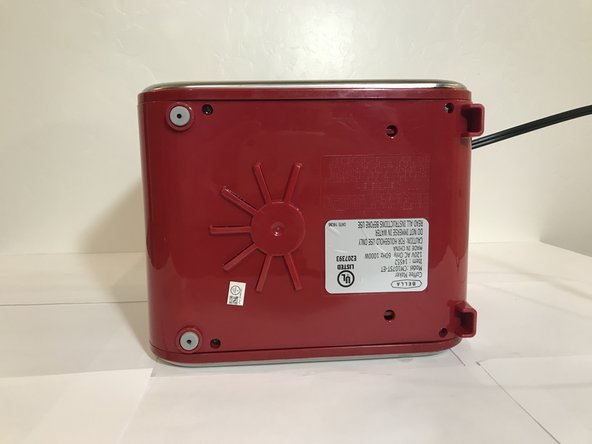
Disruption in the flow of water of your Bella Linea coffee maker (model CM1075T-ET) can have several causes, including clogged or damaged water tubes and valves. Signs that your coffee maker has clogged or damaged water tubes and valves include slower brewing than usual, not brewing the full amount of water put into the reservoir, and water leaking from the bottom of the coffee maker. Use this guide to access and clean or replace these malfunctioning parts.
Clogs in a coffeemaker are often caused by calcium buildup within the machine from constant water flow. This buildup can be minimized by using a descaling cleaner on a regular basis. Instructions on how to clean your coffee maker can be found at this link. Before replacing any parts of your Bella Linea coffee maker, try using one of the cleaning methods linked above and see if it solves the issue you are having.
Sometimes, the calcium buildup is too large to be broken down chemically, or another issue is causing the disruption you are noticing. When this is the case, the valves and tubes that make up the water flow system need to be either deeply cleaned or replaced.
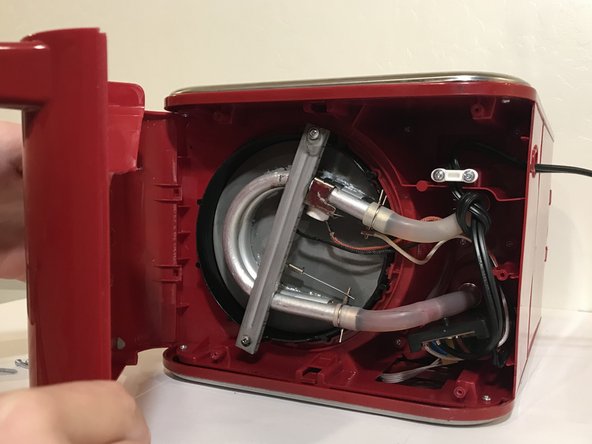
This guide will teach you how to access three of the water tubes in your Bella Linea coffee maker. One of these connects the water reservoir to the heating element. Another is part of the heating element, and the final tube connects the heating element to the water dispenser.
The tube that connects the water reservoir to the heating element is clear and hollow, while the tube that is part of the heating element is metal and curved. The tube going from the heating element to the water dispenser is clear and has a valve inside of it that only allows water to flow from the heating element to the water dispenser. This guide focuses on replacing the clear tube with the valve in it, which will be referred to as the water tube valve. You can see images of these tubes in steps 7 and 8.
Before buying a new water tube valve, try cleaning out each of the water tubes with a pipe cleaner or similar device. Run the water tube valve under a faucet to see if it is allowing water to flow. If the water tube valve is damaged or not allowing water to flow properly, use this guide to replace it.
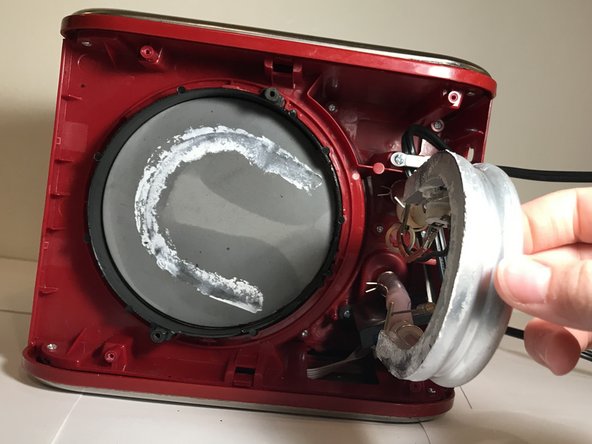
In addition, thermal paste may only be necessary if the paste holding the heating element to the hot plate is removed or worn away. The thermal paste is not necessary if there is not corrosion or damage to it through the process of completing this guide or by other means.
Qué necesitas
-
-
Turn off the coffee maker by pressing the button labelled ON/OFF that is located on the top right of the front panel.
-
-
-
-
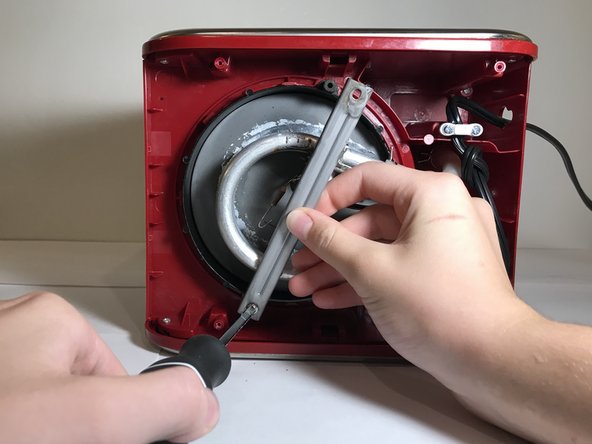
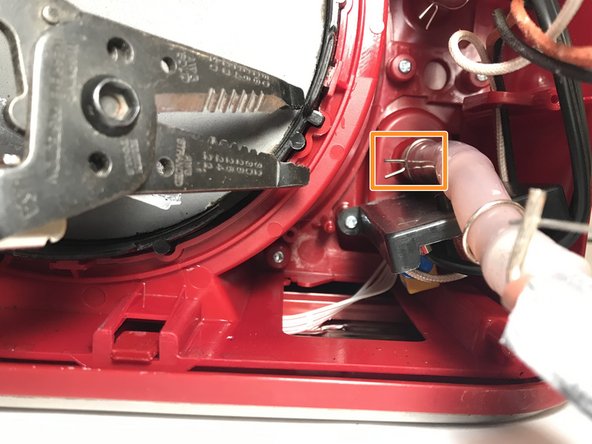
Use pliers to pinch and remove the clamp holding the water tube valve onto the metal tube.
-
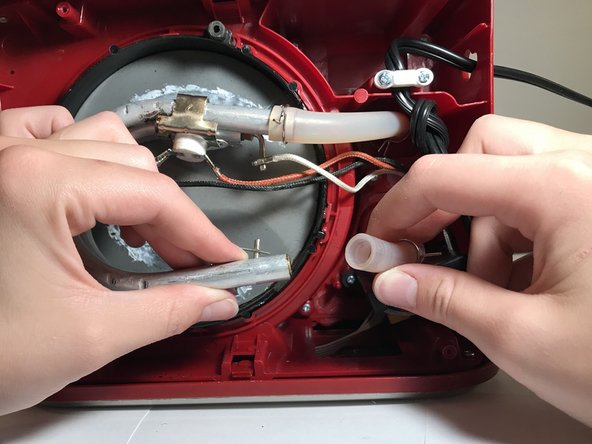
Rotate the metal tube to the right so it is perpendicular to the bottom of the coffee maker.
-
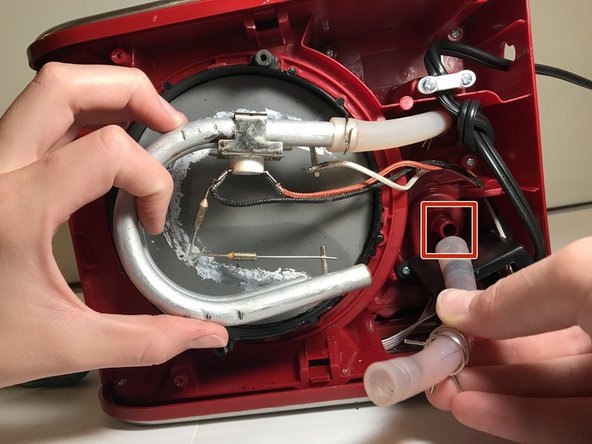
Use pliers to pinch and remove the second clamp attaching the water tube valve to the connection of the water dispenser.
-


To reassemble your device, follow these instructions in reverse order.
After finishing the reassembly of your coffee maker, brew a pot of water to clean the new water tube valve and confirm that everything is working properly.
To reassemble your device, follow these instructions in reverse order.
After finishing the reassembly of your coffee maker, brew a pot of water to clean the new water tube valve and confirm that everything is working properly.
Cancelar: No complete esta guía.
Una persona más ha completado esta guía.

Equipo

Embry-Riddle Aeronautical University, Team S3-G23, Cromer Twal Fall 2020 Miembro de Embry-Riddle Aeronautical University, Team S3-G23, Cromer Twal Fall 2020
ERAU-CROMER TWAL-F20S3G23
1 Miembro
1 Guía escrita