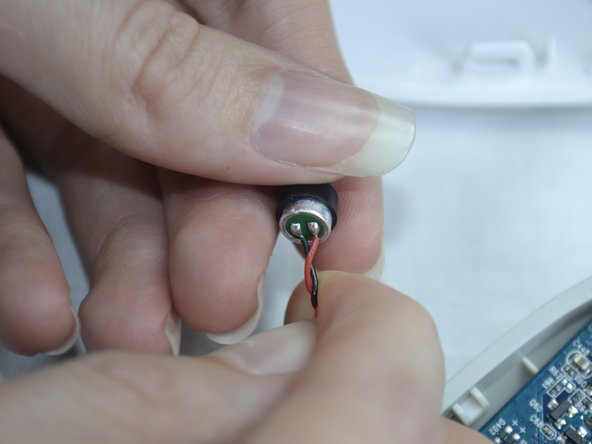
Saltar al contenido principal

Belkin NetCam HD Microphone Replacement

Qué necesitas

  1. Belkin NetCam HD Microphone Replacement, Case: paso 1, imagen 1 de 1
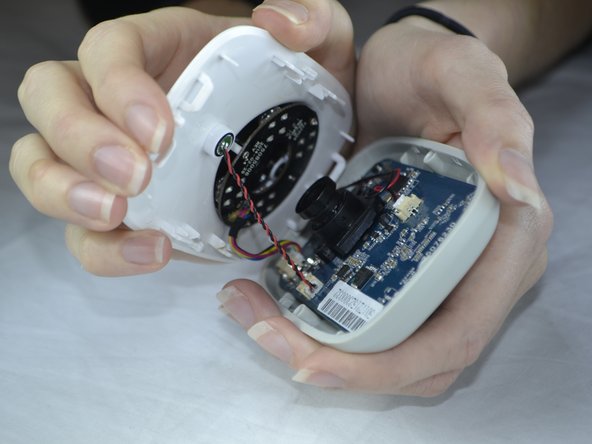
    • Use a wrench to loosen up the stand from the back in order to hold the NetCam more comfortably.

  2. Belkin NetCam HD Microphone Replacement: paso 2, imagen 1 de 1
    • Work a plastic opening tool into the seam and pry the face plate away from the back panel.

  3. Belkin NetCam HD Microphone Replacement: paso 3, imagen 1 de 2 Belkin NetCam HD Microphone Replacement: paso 3, imagen 2 de 2
    • Use pressure to separate the covers.

    • When pulling the device apart, separate from the bottom up in order to avoid pulling the wiring at the top apart.

  4. Belkin NetCam HD Microphone Replacement, Microphone: paso 4, imagen 1 de 2 Belkin NetCam HD Microphone Replacement, Microphone: paso 4, imagen 2 de 2
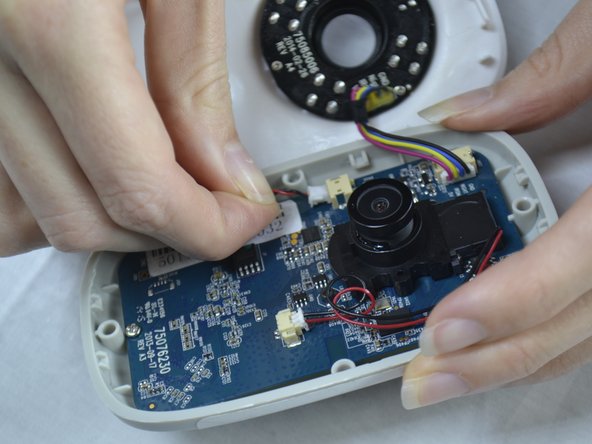
    • Use tweezers to gently pull out the white attachment from the port.

    • Use your fingers to pull out the white attachment from the tan port on the front of the board a little.

  5. Belkin NetCam HD Microphone Replacement: paso 5, imagen 1 de 2 Belkin NetCam HD Microphone Replacement: paso 5, imagen 2 de 2
    • Use a pair of tweezers to wedge between the mic and the rubber guard to remove the mic from the front cover.

    • If the rubber guard comes off with the mic just remove the guard from mic and place back on the front cover.

Conclusión

To reassemble your device, follow these instructions in reverse order.

Equipo

USF Tampa, Team 3-5, Sullivan Fall 2016 Miembro de USF Tampa, Team 3-5, Sullivan Fall 2016

USFT-SULLIVAN-F16S3G5

4 Miembros

14 Guías creadas

0 comentarios

Agregar Comentario

Ver Estadísticas:

Ultimas 24 horas: 0

Ultimos 7 días: 0

Ultimos 30 días: 2

Todo El Tiempo: 311