Saltar al contenido principal

Beboncool Wireless Switch Pro Controller Motherboard Replacement

Qué necesitas

  1. Beboncool Wireless Switch Pro Controller Motherboard Replacement, Motherboard: paso 1, imagen 1 de 1
    • Use a Phillips #0 screwdriver to remove the seven 5 mm screws from the back of the controller.

  2. Beboncool Wireless Switch Pro Controller Motherboard Replacement: paso 2, imagen 1 de 2 Beboncool Wireless Switch Pro Controller Motherboard Replacement: paso 2, imagen 2 de 2
    • Gently separate the top and bottom halves of the controller.

  3. Beboncool Wireless Switch Pro Controller Motherboard Replacement: paso 3, imagen 1 de 2 Beboncool Wireless Switch Pro Controller Motherboard Replacement: paso 3, imagen 2 de 2
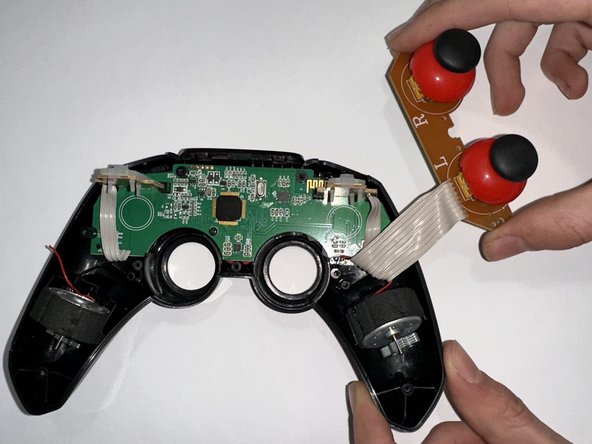
    • Use a Phillips #0 screwdriver to remove the two 5 mm screws holding the joystick motherboard in place.

  4. Beboncool Wireless Switch Pro Controller Motherboard Replacement: paso 4, imagen 1 de 1
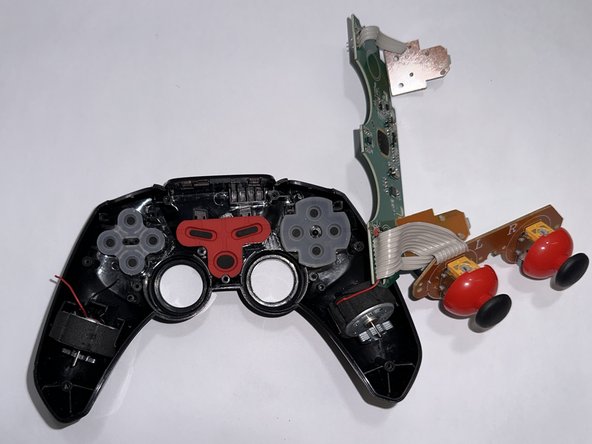
    • Carefully move the bumper buttons out of the way.

  5. Beboncool Wireless Switch Pro Controller Motherboard Replacement: paso 5, imagen 1 de 2 Beboncool Wireless Switch Pro Controller Motherboard Replacement: paso 5, imagen 2 de 2
    • Use a Phillips #0 screwdriver to remove the 5 mm screw holding the motherboard in place.

    • Remove the motherboard.

Conclusión

To reassemble your device, follow these instructions in reverse order.

Tayah Appel

Miembro Desde 03/27/23

529 Reputación

5 Guías creadas

Equipo

0 comentarios

Agregar Comentario

Ver Estadísticas:

Ultimas 24 horas: 0

Ultimos 7 días: 0

Ultimos 30 días: 3

Todo El Tiempo: 50