Introducción
Hey headphone enthusiasts! Ever faced that frustrating moment when your Beats Studio3 won't charge properly? Don't worry, I've got a quick fix for you. In this guide, I'll walk you through a simple repair for the common issue of a faulty charging port. All you'll need are some basic tools, a replacement part if necessary, and about 30 minutes of your time. It's a hassle-free process that's a lifesaver for those unexpected charging glitches that can happen over time. Stick with me, and we'll have your favorite headphones back to full power in no time!"
Qué necesitas
-
-
-
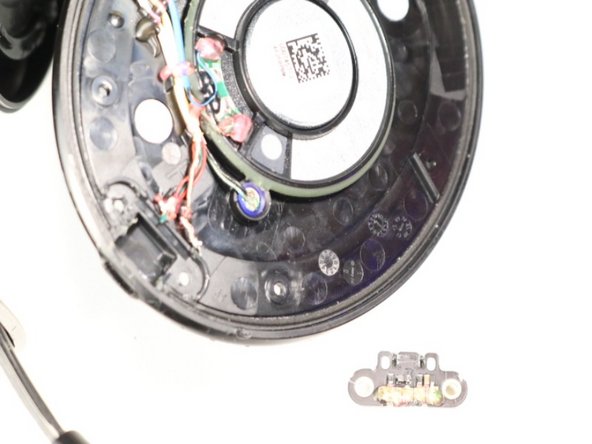
Use the soldering iron to carefully desolder five different wires from their respective points.
-
After disconnecting the wires, gently push the charger upward using your fingers to detach it from the base. Be careful to avoid damaging any components
-
Position the new charger by aligning it properly with the base. Push the new charger into place, ensuring it fits snugly and securely.
-
Reattach the five wires to their designated points on the new charger by soldering them securely. Ensure each wire is correctly connected to its corresponding point to guarantee proper functionality.
-


To reassemble your device, follow these instructions in reverse order.
To reassemble your device, follow these instructions in reverse order.
Cancelar: No complete esta guía.
Una persona más ha completado esta guía.
Equipo

CSU Los Angeles, Team 4-7, Kershman Fall 2023 Miembro de CSU Los Angeles, Team 4-7, Kershman Fall 2023
CSULA-KERSHMAN-F23S4G7
1 Miembro
1 Guía escrita