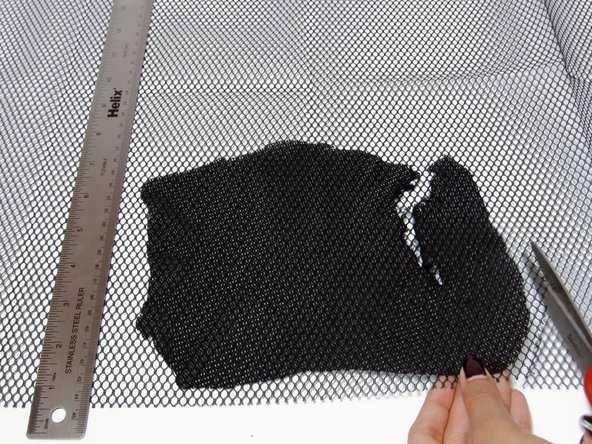
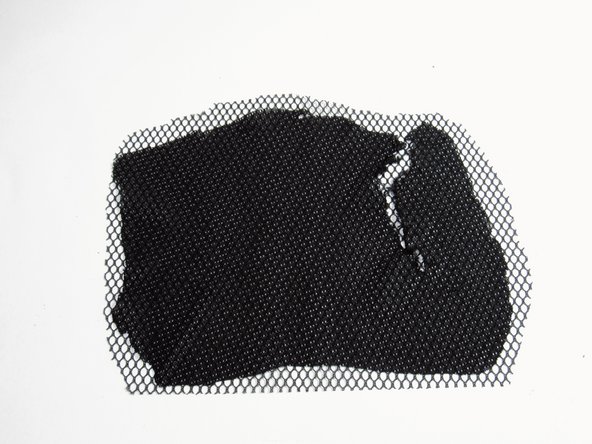
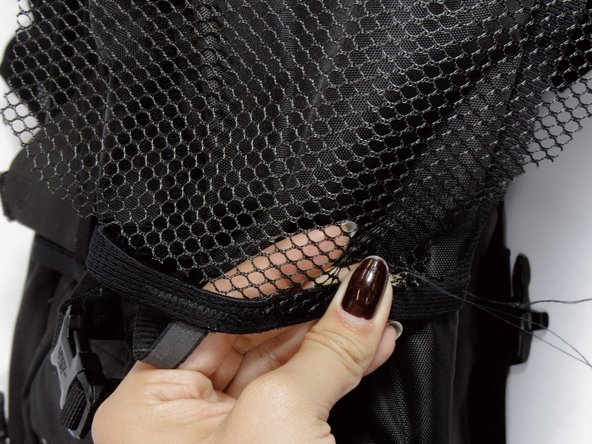
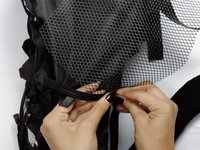
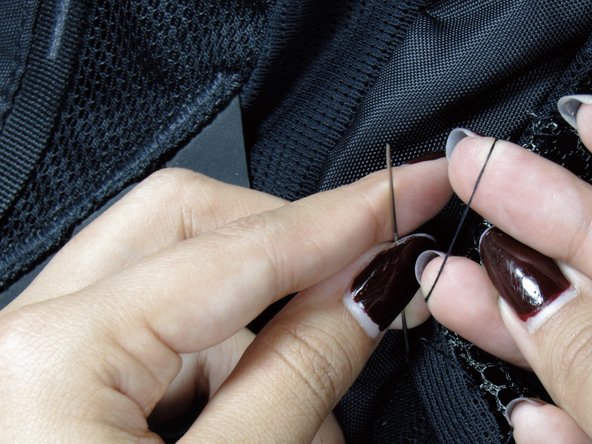
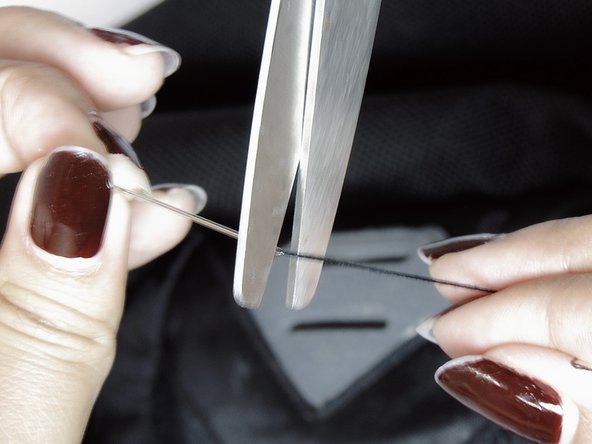
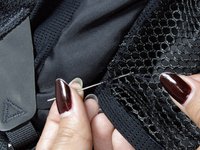
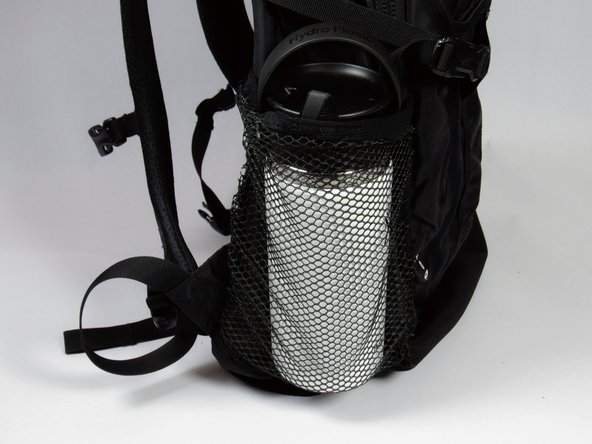
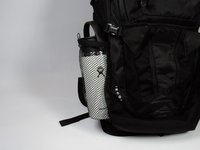
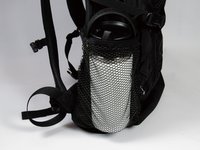
Saltar al contenido principal

Backpack Mesh Replacement

Qué necesitas

  1. Backpack Mesh Replacement, Backpack Mesh: paso 1, imagen 1 de 3 Backpack Mesh Replacement, Backpack Mesh: paso 1, imagen 2 de 3 Backpack Mesh Replacement, Backpack Mesh: paso 1, imagen 3 de 3
    • Use scissors to cut out the entire piece of mesh.

    • Avoid cutting the elastic on the top.

  2. Backpack Mesh Replacement: paso 2, imagen 1 de 3 Backpack Mesh Replacement: paso 2, imagen 2 de 3 Backpack Mesh Replacement: paso 2, imagen 3 de 3
    • Use the mesh cut-out and a ruler to measure a new sheet of mesh.

    • Add 1 cm of seam allowance to each side.

  3. Backpack Mesh Replacement: paso 3, imagen 1 de 1
    • Thread your sewing needle, leaving a long thread to work with.

  4. Backpack Mesh Replacement: paso 4, imagen 1 de 3 Backpack Mesh Replacement: paso 4, imagen 2 de 3 Backpack Mesh Replacement: paso 4, imagen 3 de 3
    • Sew the sides and the bottom of the mesh with an overcast stitch to the backpack.

  5. Backpack Mesh Replacement: paso 5, imagen 1 de 3 Backpack Mesh Replacement: paso 5, imagen 2 de 3 Backpack Mesh Replacement: paso 5, imagen 3 de 3
    • Once done sewing all sides, tie off your thread 2-4 times and cut off the excess.

  6. Backpack Mesh Replacement: paso 6, imagen 1 de 2 Backpack Mesh Replacement: paso 6, imagen 2 de 2
    • Insert an object to test the sturdiness of the new mesh. Pick up the backpack to see if the object can slip out and that the stitches are holding.

    • Check for any holes you might have missed while stitching

    • If there are stitches missing, return to step 4.

Linea de Meta

Catelyn Bu

Miembro Desde 11/05/24

133 Reputación

1 Guía escrita

Equipo

UC Davis, Team 2-3, Vidal-Chiesa Fall 2024 Miembro de UC Davis, Team 2-3, Vidal-Chiesa Fall 2024

UCD-VIDAL-CHIESA-F24S2G3

Miembros de 3

1 Guía escrita

0Guía Comentarios

Agregar Comentario

Ver Estadísticas:

Ultimas 24 horas: 3

Ultimos 7 días: 16

Ultimos 30 días: 100

Todo El Tiempo: 862