Saltar al contenido principal

Audio-Technica AT-LP120-USB Preamp Replacement

Qué necesitas

  1. Audio-Technica AT-LP120-USB Preamp Replacement, Outer Shell: paso 1, imagen 1 de 3 Audio-Technica AT-LP120-USB Preamp Replacement, Outer Shell: paso 1, imagen 2 de 3 Audio-Technica AT-LP120-USB Preamp Replacement, Outer Shell: paso 1, imagen 3 de 3
    • Remove the inner steel plate that spins on the turntable.

    • Carefully lift up the plate.

    • Place it near your device out of the way.

  2. Audio-Technica AT-LP120-USB Preamp Replacement: paso 2, imagen 1 de 1
    • Remove the power cord in the back of the device.

  3. Audio-Technica AT-LP120-USB Preamp Replacement: paso 3, imagen 1 de 1
    • Ensure that the Tone Arm clamp is in place.

  4. Audio-Technica AT-LP120-USB Preamp Replacement: paso 4, imagen 1 de 2 Audio-Technica AT-LP120-USB Preamp Replacement: paso 4, imagen 2 de 2
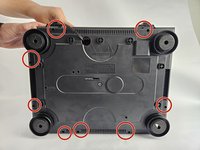
    • Use a Phillips #2 screwdriver to remove the eight 2 mm screws holding the back casing into place.

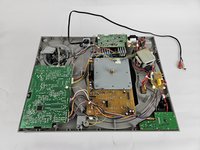
    • Carefully remove the back casing from the device to expose the interior.

  5. Audio-Technica AT-LP120-USB Preamp Replacement, Preamp: paso 5, imagen 1 de 3 Audio-Technica AT-LP120-USB Preamp Replacement, Preamp: paso 5, imagen 2 de 3 Audio-Technica AT-LP120-USB Preamp Replacement, Preamp: paso 5, imagen 3 de 3
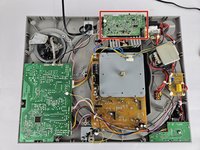
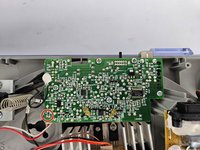
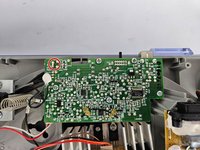
    • Identify the preamp.

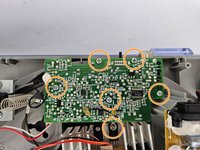
    • Use a Phillips #2 screwdriver to remove the six 5 mm screws that secure the preamp.

  6. Audio-Technica AT-LP120-USB Preamp Replacement: paso 6, imagen 1 de 2 Audio-Technica AT-LP120-USB Preamp Replacement: paso 6, imagen 2 de 2
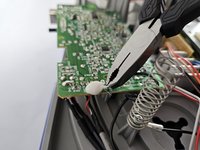
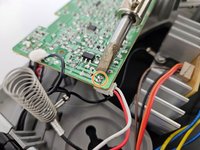
    • Use the pliers to clip off the black wire connected to the RTV Adhesive Sealant, and burn off/remove the sealant.

  7. Audio-Technica AT-LP120-USB Preamp Replacement: paso 7, imagen 1 de 3 Audio-Technica AT-LP120-USB Preamp Replacement: paso 7, imagen 2 de 3 Audio-Technica AT-LP120-USB Preamp Replacement: paso 7, imagen 3 de 3
    • Heat up the soldering iron, and wait until it is at its desired heat level. It will be used in the next three steps, so ensure it doesn't overheat.

    • The soldering iron can cause severe burns if used incorrectly.

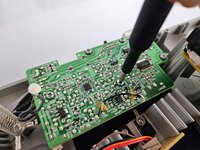
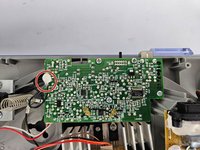
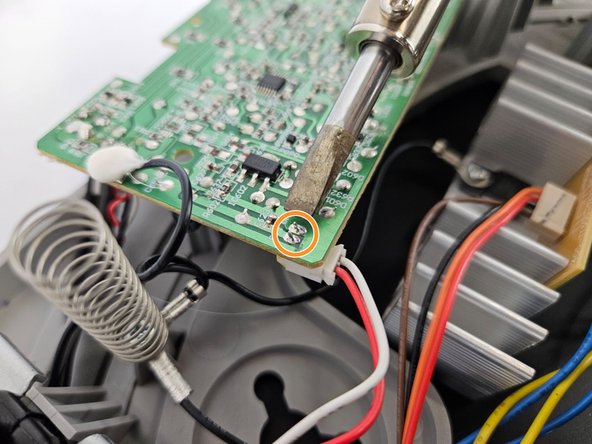
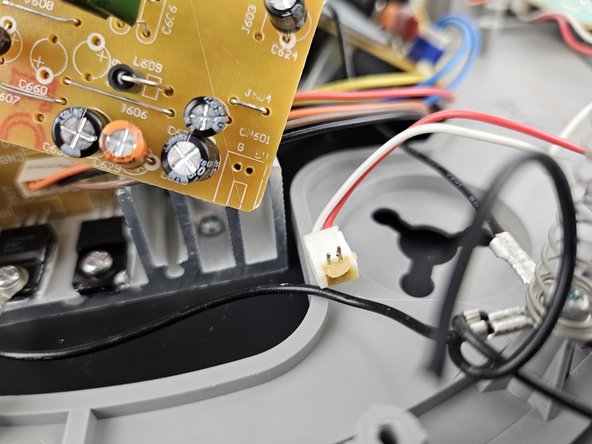
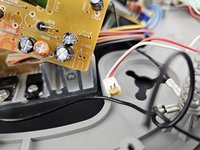
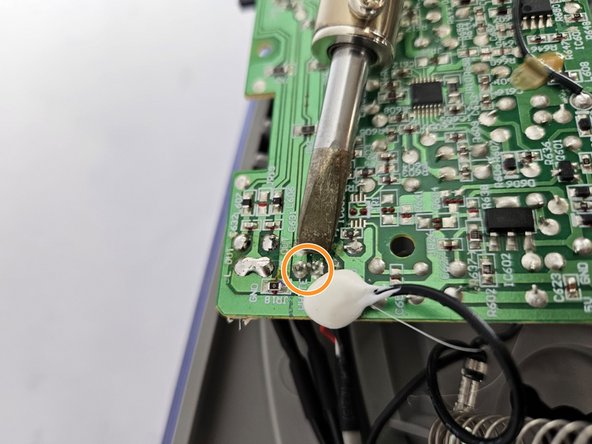
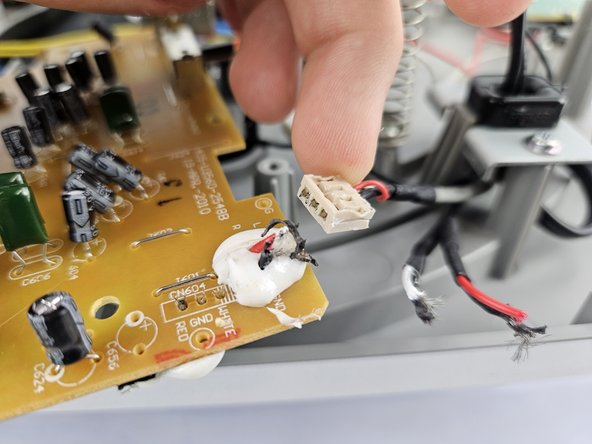
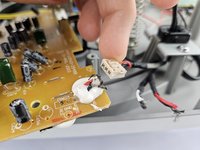
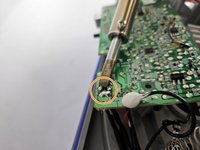
    • To solder off the white box with the red and white wire in the corner of the preamp, heat up the two metal studs on the opposite side of the preamp as shown, and gently pull the white box until it disconnects.

  8. Audio-Technica AT-LP120-USB Preamp Replacement: paso 8, imagen 1 de 3 Audio-Technica AT-LP120-USB Preamp Replacement: paso 8, imagen 2 de 3 Audio-Technica AT-LP120-USB Preamp Replacement: paso 8, imagen 3 de 3
    • Locate the next soldering location.

    • Use the soldering iron to heat up the two metal joints as shown in the photo, and gently pull the white box containing the wires until it disconnects.

  9. Audio-Technica AT-LP120-USB Preamp Replacement: paso 9, imagen 1 de 3 Audio-Technica AT-LP120-USB Preamp Replacement: paso 9, imagen 2 de 3 Audio-Technica AT-LP120-USB Preamp Replacement: paso 9, imagen 3 de 3
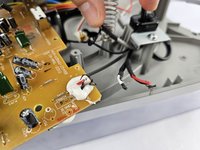
    • The final location that will be soldered are 4 individual wires, and be sure to take note of their exact order to ensure a proper re-connection later.

    • To solder off/on the wires, the RVC adhesive glue will need to be removed. If that is not an option, then remove the wires with the Pliers, as shown in step 2.

    • To solder off the individual wires, hold the heated soldering iron to the metal stud connection points and gently pull each wire until they disconnect.

  10. Audio-Technica AT-LP120-USB Preamp Replacement: paso 10, imagen 1 de 1
    • Once the wires have been cut, soldered and the screws removed, the board will be able to be removed.

Conclusión

To reassemble your device, follow these instructions in reverse order, and ensure to solder the wires back on in the correct order according to the preamp model you purchased.

Una persona más ha completado esta guía.

Amarre

Miembro Desde 10/24/24

375 Reputación

1 Guía escrita

Equipo

Cuesta, Team 20-3, Krynen Fall 2024 Miembro de Cuesta, Team 20-3, Krynen Fall 2024

CUESTA-KRYNEN-F24S20G3

Miembros de 5

6 Guías creadas

0 comentarios

Agregar Comentario

Ver Estadísticas:

Ultimas 24 horas: 2

Ultimos 7 días: 8

Ultimos 30 días: 30

Todo El Tiempo: 96