Introducción
The Asus Zenbook UX303L is a 13.3-inch multi-touch notebook with an Intel Core i7 processor and 8GB RAM. On average, this notebook has stability and cool surface temperatures under a high load.
This guide will provide you with step-by-step instructions on how to replace the cooling fan of the Zenbook.
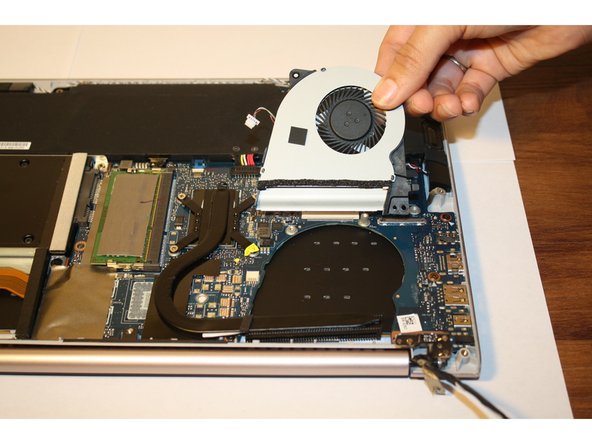
The purpose of the cooling fan is to circulate cool air throughout the device and prevent it from overheating, which will reduce hardware failure.
If your Zenbook is having problems such as performance lag, overheating, and shutting down this would be indicative that your fan may need to be replaced.
Make sure to remove or unplug the device to ensure the Zenbook doesn't power on while disassembled. This can also prevent inadvertently shorting components and causing further damages.
Qué necesitas
-
-
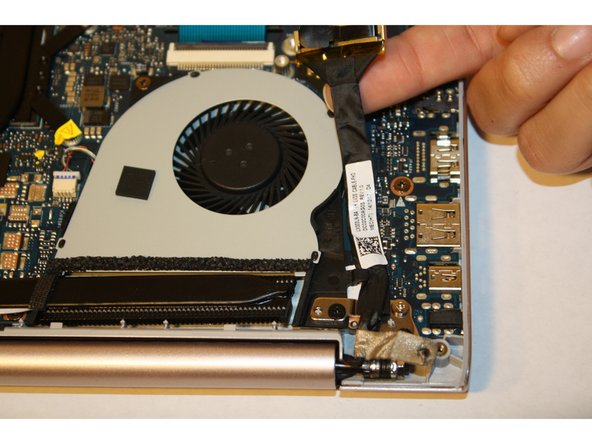
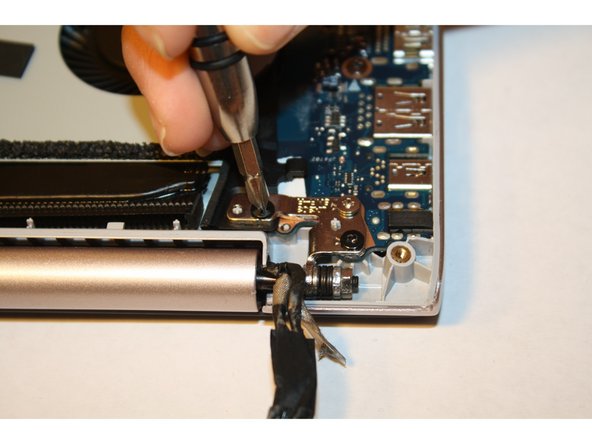
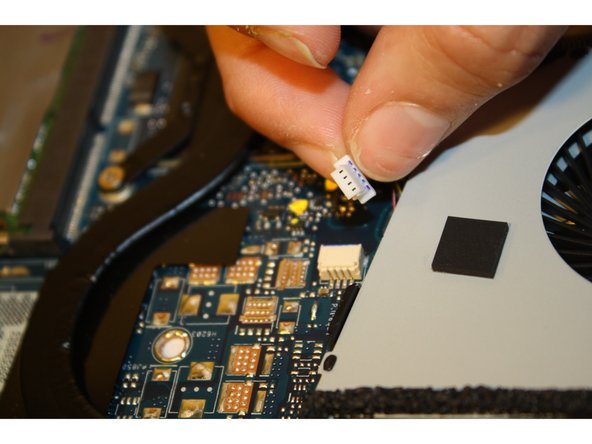
Make sure the device is turned off and disconnected from the battery charger.
-
-


To reassemble your device, follow these instructions in reverse order.
To reassemble your device, follow these instructions in reverse order.
Cancelar: No complete esta guía.
4 personas más completaron esta guía.
Equipo

Sam Houston State, Team 1-3, Blackburne Fall 2015 Miembro de Sam Houston State, Team 1-3, Blackburne Fall 2015
SHSU-BLACKBURNE-F15S1G3
3 Miembros
4 Guías creadas
3 comentarios
After the 6 step Would i then just remove the dust on the cooling fan and reassemble after that? or replace the fan as a whole