Esta versión puede contener ediciones incorrectas. Cambiar a la última instantánea verificada.
Qué necesitas
-
Este paso está sin traducir. Ayuda a traducirlo
-
Heat up the iOpener in the microwave for 30 seconds.
-
-
Este paso está sin traducir. Ayuda a traducirlo
-
Place the iOpener on the side of the phone until the iOpener gets cool (approximately 10-15 minutes).
-
Reheat the iOpener and reapply it to the other side of the phone.
-
-
Este paso está sin traducir. Ayuda a traducirlo
-
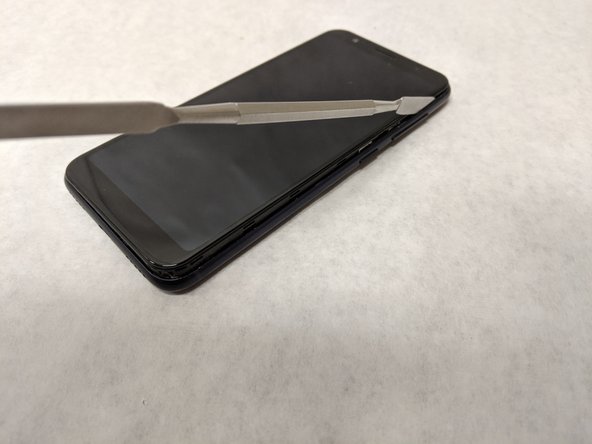
Gently slide the jimmy along the edges of the phone to break the adhesive.
-
Use opening picks and the opening tool to pry the back cover off.
-
Repeat the heating and prying process until the back cover can be fully removed.
-
-
Este paso está sin traducir. Ayuda a traducirlo
-
Use the #00 phillips head to take out the six phillips #00 3.175mm screws on the top cover plate.
-
Use the spudger to release the clasps along the edge of the top plate.
-
-
-
Este paso está sin traducir. Ayuda a traducirlo
-
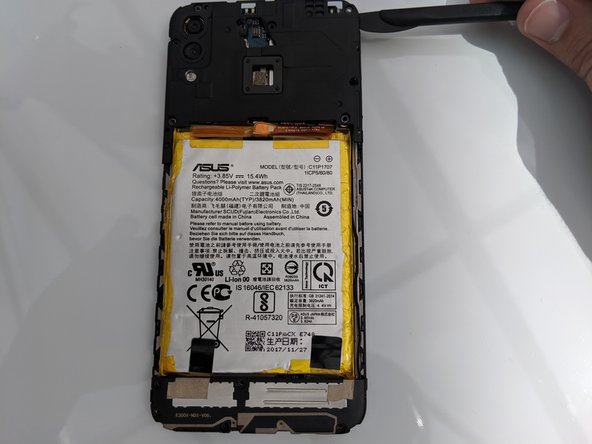
Disconnect the press fit connector located near the upper right corner of the battery to disengage the battery from the motherboard.
-
-
Este paso está sin traducir. Ayuda a traducirlo
-
Use the same screwdriver to remove the five phillips #00 3.96mm screws along the bottom plate.
-
Use the spudger to pry the bottom plate off.
-
-
Este paso está sin traducir. Ayuda a traducirlo
-
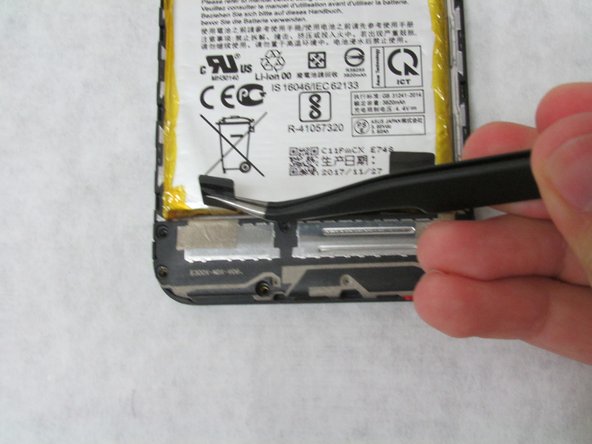
Pull on the two black tabs on the bottom of the battery until the battery is released.
-
Gently pull the battery out of its socket.
-
-
Este paso está sin traducir. Ayuda a traducirlo
-
Peel off the silver tape that is to the right of the audio jack about halfway, so it is off of the silver plate.
-
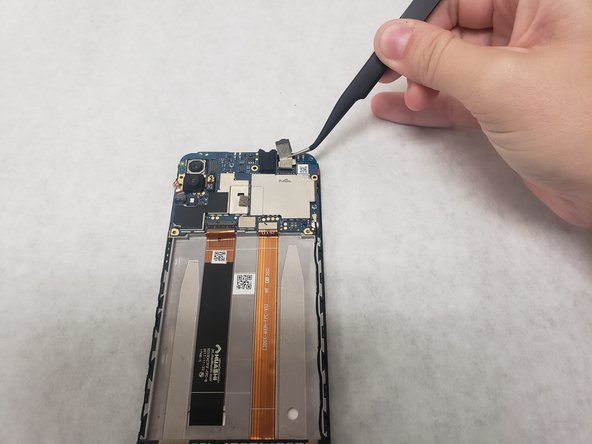
Use the tweezers to disconnect the press fit connector underneath the tape, right above the silver plate.
-
Gently lift up until the camera and the connector is removed.
-
-
Este paso está sin traducir. Ayuda a traducirlo
-
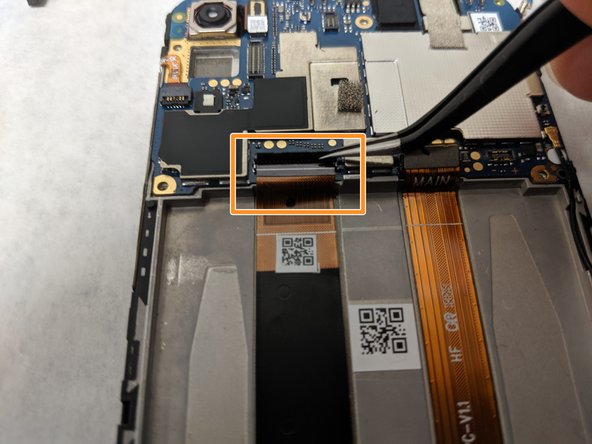
Right above the battery socket, pop up the press fit connector at the end of the orange ribbon cable on the right.
-
Pry up the tab of the ZIF connector on the left to disengage the locking connector.
-
Gently pull out the ribbon cable going into the opening created by lifting the tab.
-
-
Este paso está sin traducir. Ayuda a traducirlo
-
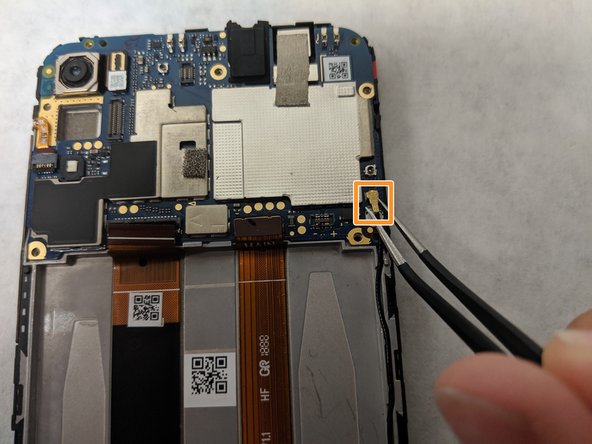
Pull the tab that is located to the left of the camera button, adjacent to the volume up button.
-
Pull out the gold headed coaxial cable on the bottom right of the motherboard.
-
Use the screwdriver to take out the one Phillips #00 head 3.175mm screw located directly to the right of the silver plate.
-
-
Este paso está sin traducir. Ayuda a traducirlo
-
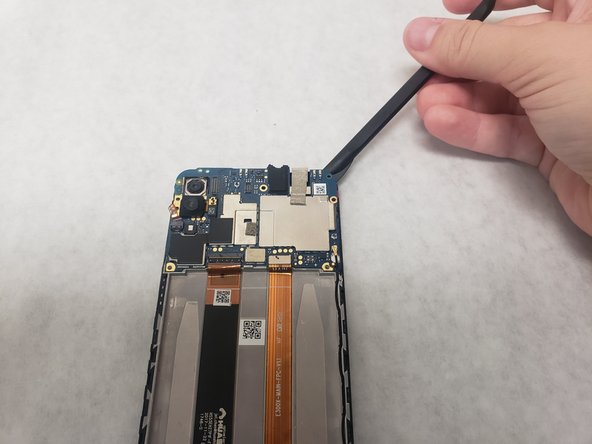
Pry off the tab to the right of the camera.
-
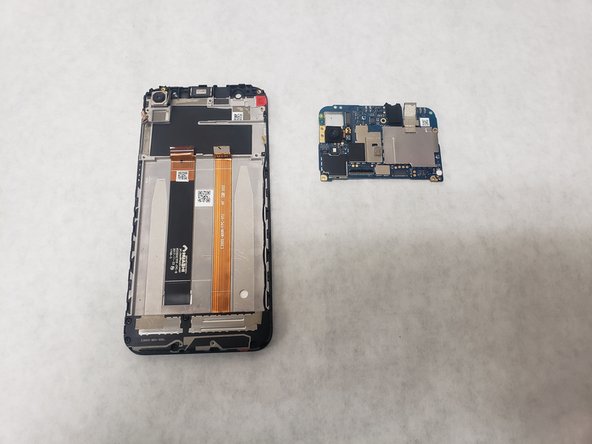
Use the spudger to pry off the motherboard around its edges.
-


Cancelar: No complete esta guía.
Una persona más ha completado esta guía.
Equipo

Embry-Riddle Aeronautical University, Team S3-G27, Watkins Summer 2019 Miembro de Embry-Riddle Aeronautical University, Team S3-G27, Watkins Summer 2019
ERAU-WATKINS-SU19S3G27
4 Miembros
9 Guías creadas