Esta versión puede contener ediciones incorrectas. Cambiar a la última instantánea verificada.
Qué necesitas
-
Este paso está sin traducir. Ayuda a traducirlo
-
Flip the device over so that the back cover is facing you.
-
-
Este paso está sin traducir. Ayuda a traducirlo
-
Remove the four 5mm Phillips #1 screws from the top of the laptop.
-
Remove the two 6mm Phillips #1 screws from the sides of the laptop.
-
Remove the four 2mm Phillips #1 screws from the bottom of the laptop.
-
-
Este paso está sin traducir. Ayuda a traducirlo
-
Use a plastic opening tool to gently pry the bottom of the laptop up. Slowly slide it along the edges, twisting it every so often to pop the bottom of the laptop out of the clips holding it in place.
-
-
Este paso está sin traducir. Ayuda a traducirlo
-
Lift off the cover and remove the back cover from the device.
-
-
Este paso está sin traducir. Ayuda a traducirlo
-
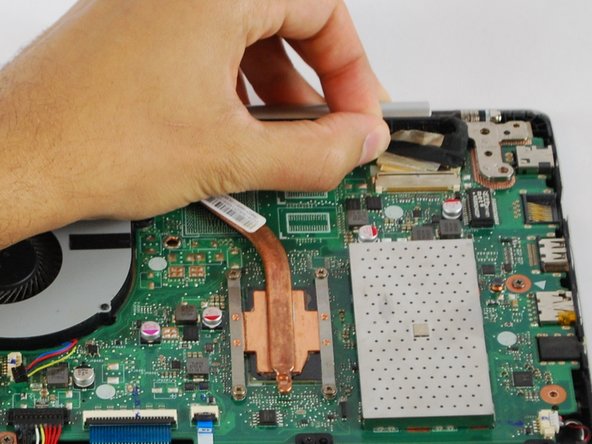
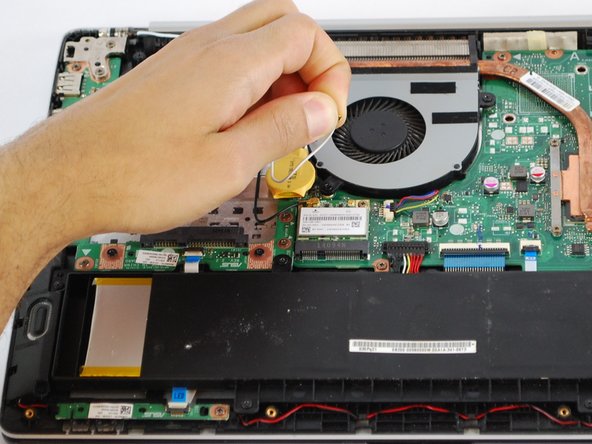
Using a Phillips #1 Screwdriver unscrew the four 4 mm screws holding the screen holder onto the motherboard.
-
-
-
Este paso está sin traducir. Ayuda a traducirlo
-
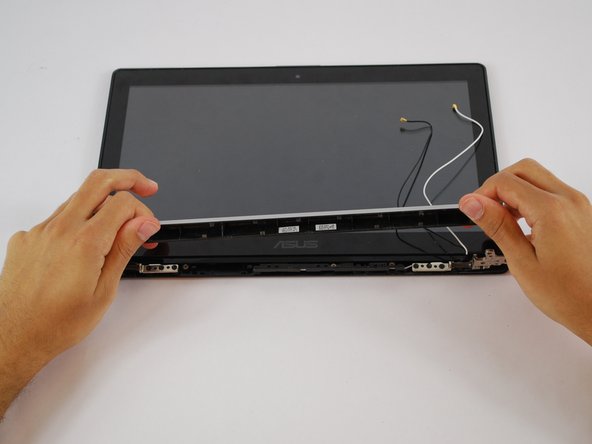
Remove the screen holder from the rest of the laptop.
-
-
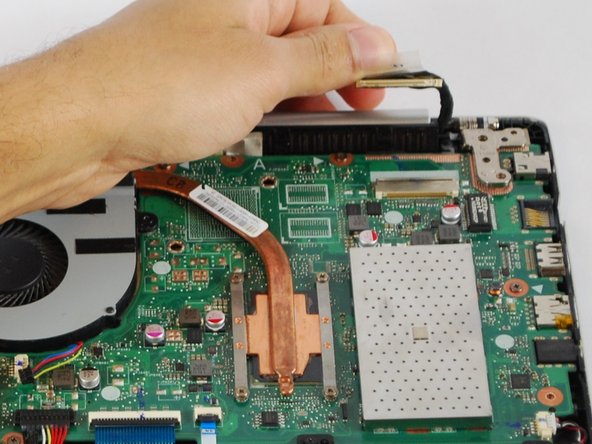
Este paso está sin traducir. Ayuda a traducirlo
-
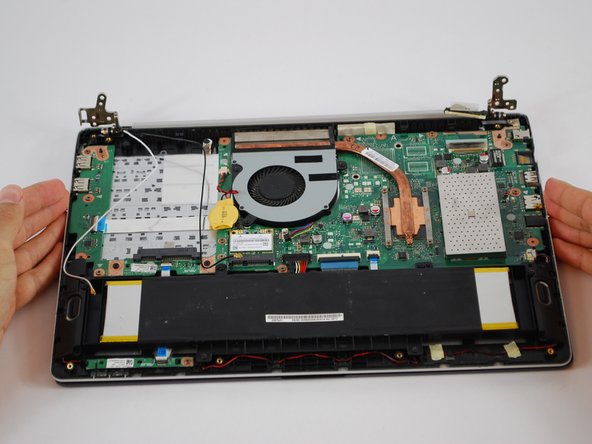
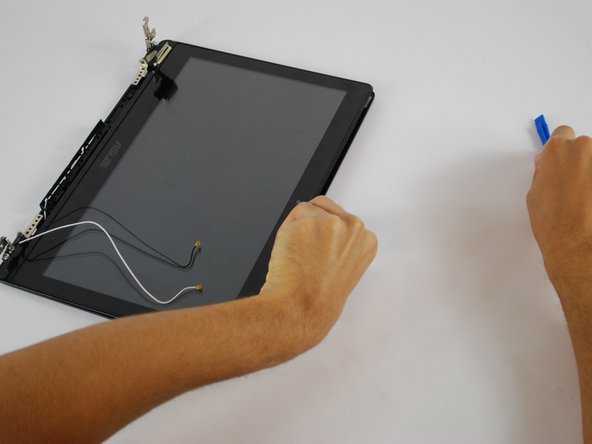
Remove the hinge cover by gently pulling to the right then upwards.
-
-
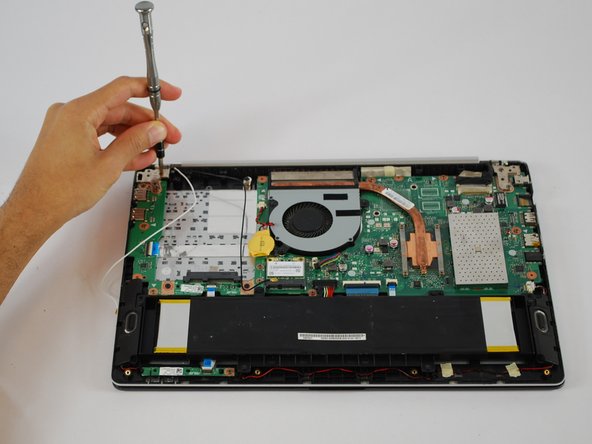
Este paso está sin traducir. Ayuda a traducirlo
-
Using a Phillips #1 Screwdriver unscrew the six 3 mm black screws and the three 2 mm copper screws that are keeping the screen in place.
-
-
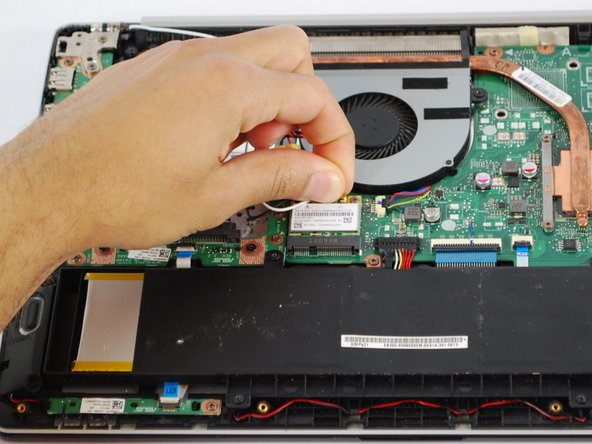
Este paso está sin traducir. Ayuda a traducirlo
-
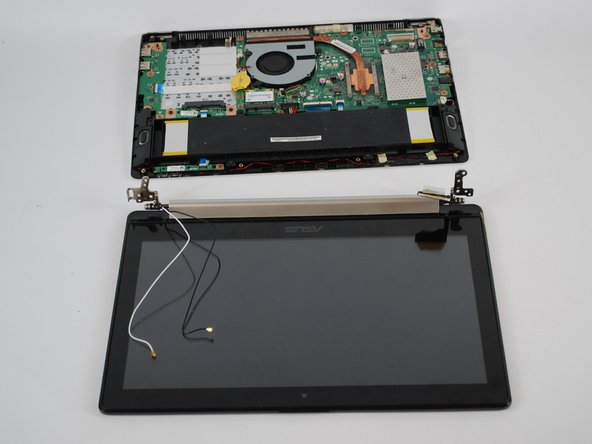
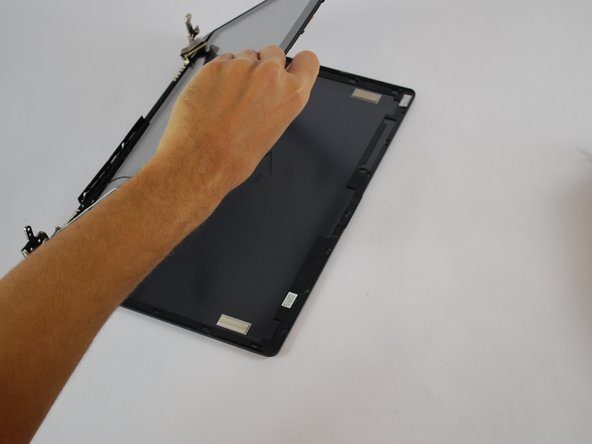
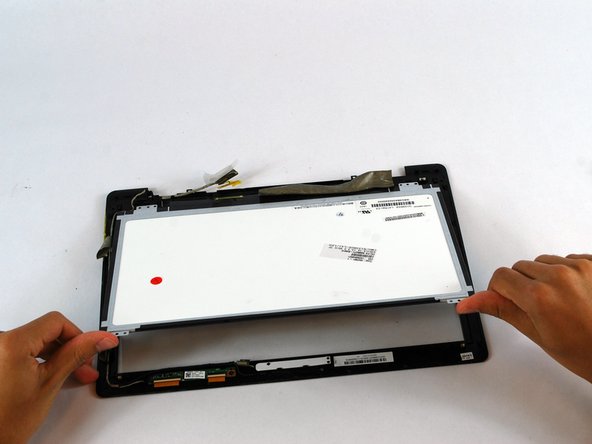
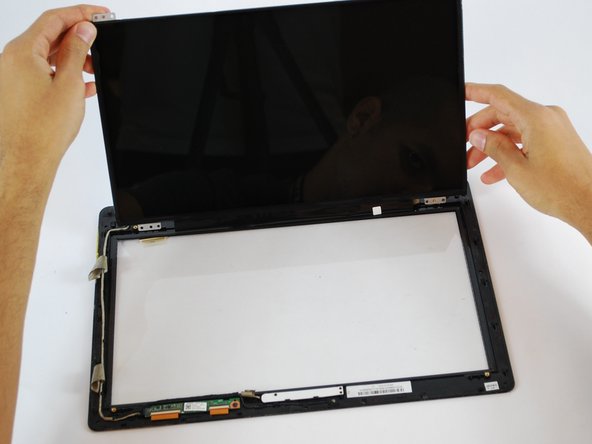
Push screen downwards then pull top of screen upwards and remove the screen.
-
-
Este paso está sin traducir. Ayuda a traducirlo
-
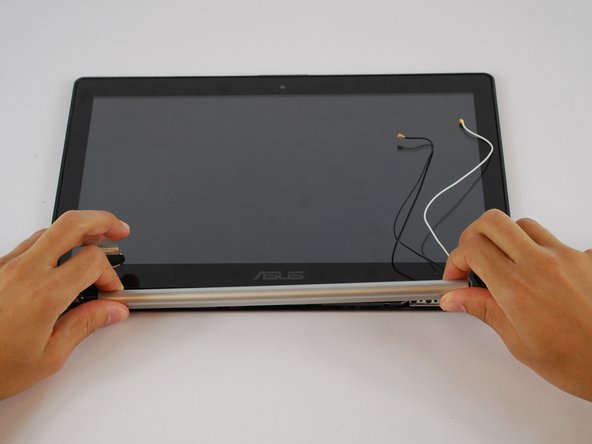
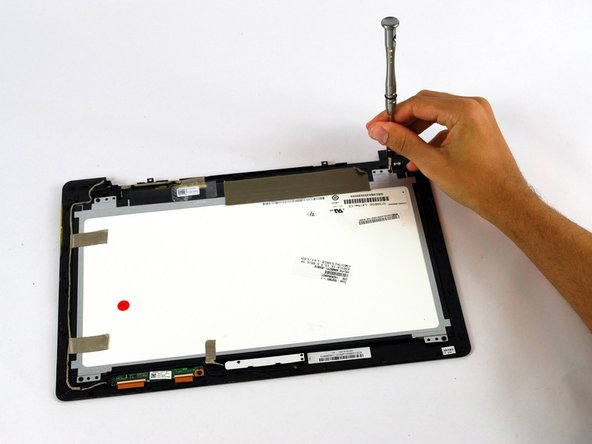
Using a Phillips #1 Screwdriver Unscrew the four 2 mm screws holding the screen onto the screen cover.
-
-
Este paso está sin traducir. Ayuda a traducirlo
-
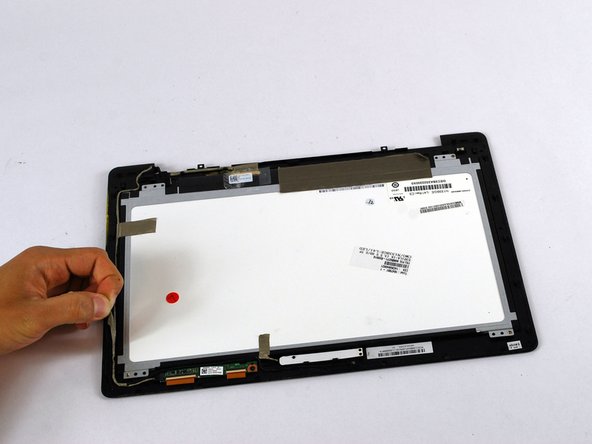
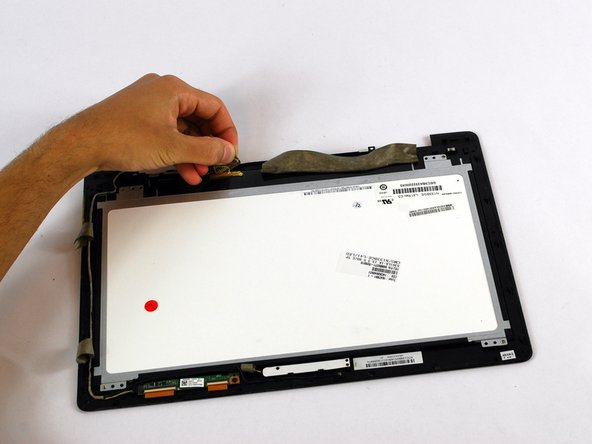
Use a sharp object to remove tape from the back of the screen.
-


Cancelar: No complete esta guía.
4 personas más completaron esta guía.

Equipo

USF Tampa, Team S10-G3, Thompson Fall 2017 Miembro de USF Tampa, Team S10-G3, Thompson Fall 2017
USFT-THOMPSON-F17S10G3
4 Miembros
6 Guías creadas