Esta guía ha sufrido modificaciones. Revisa la última versión sin revisar.
Introducción
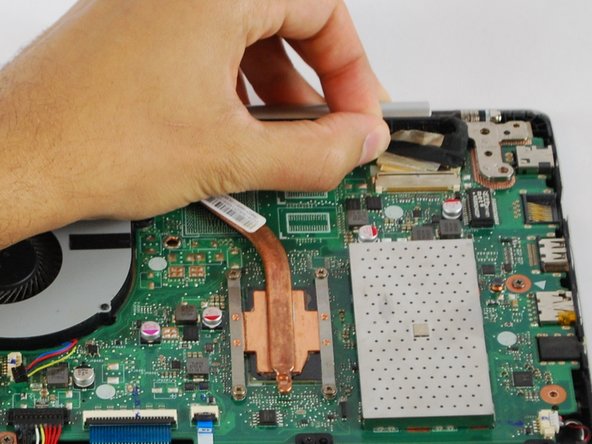
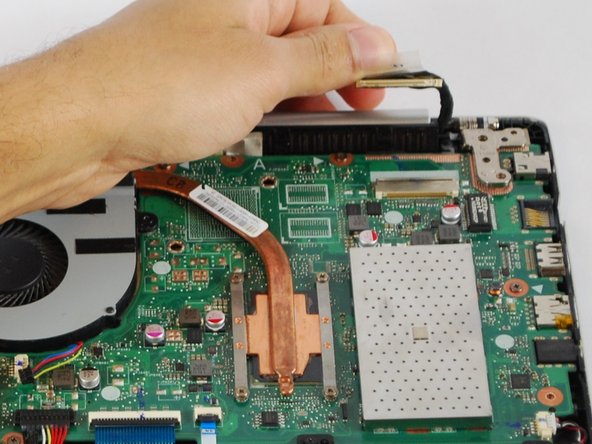
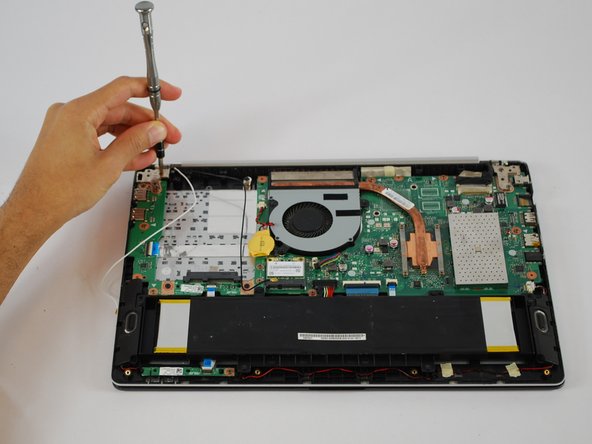
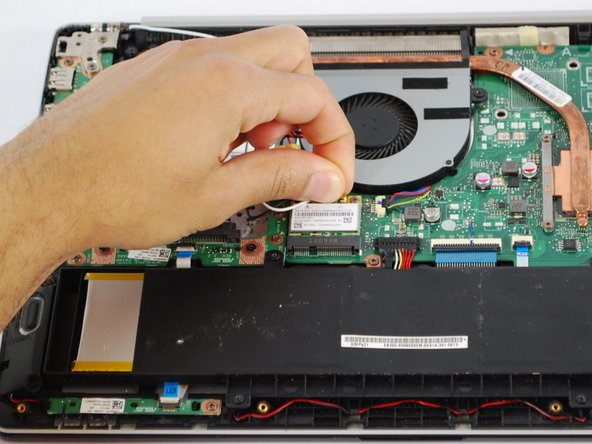
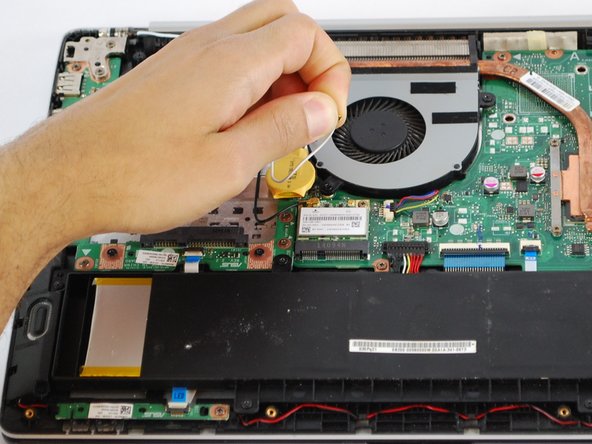
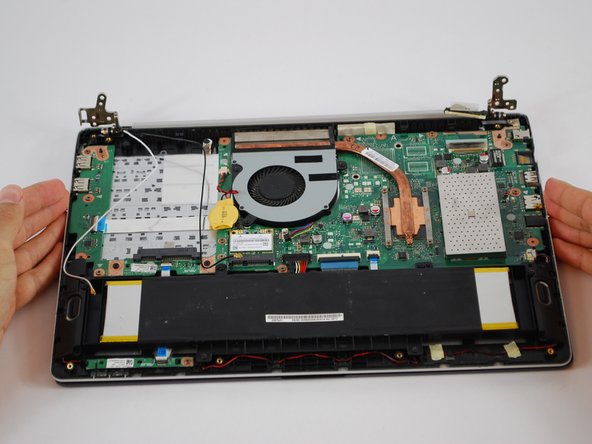
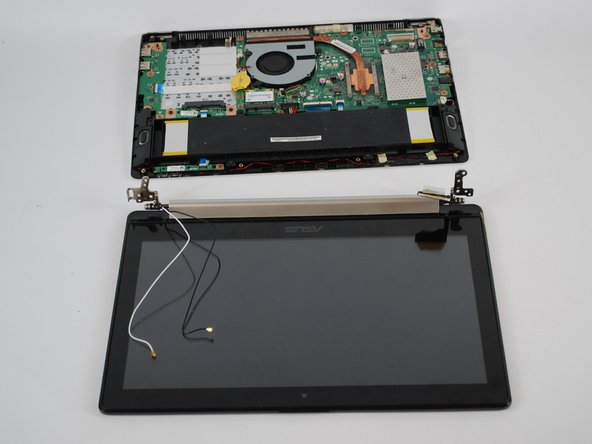
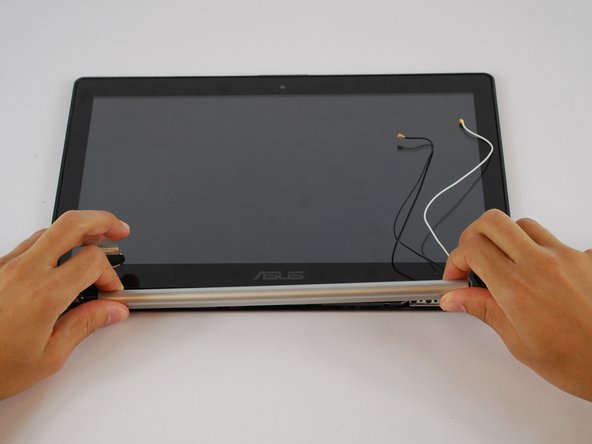
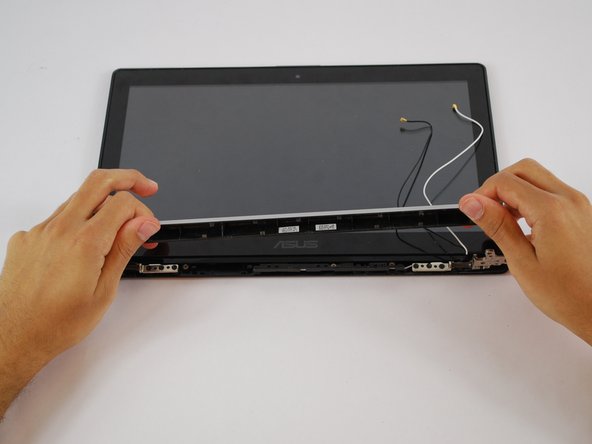
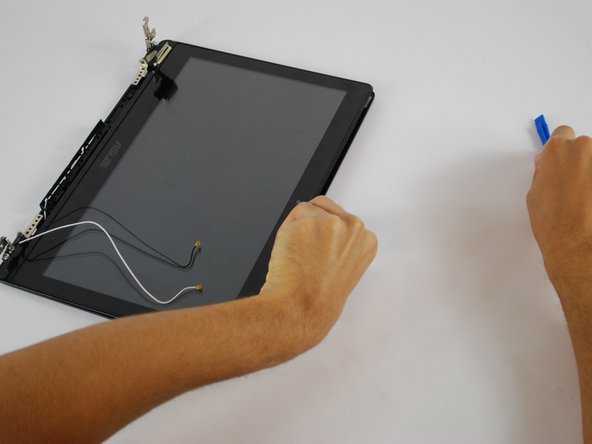
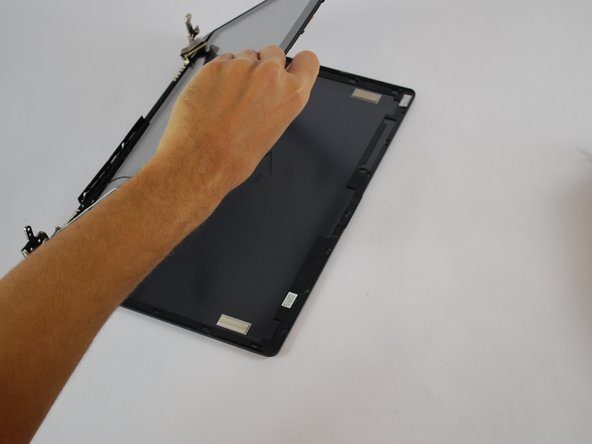
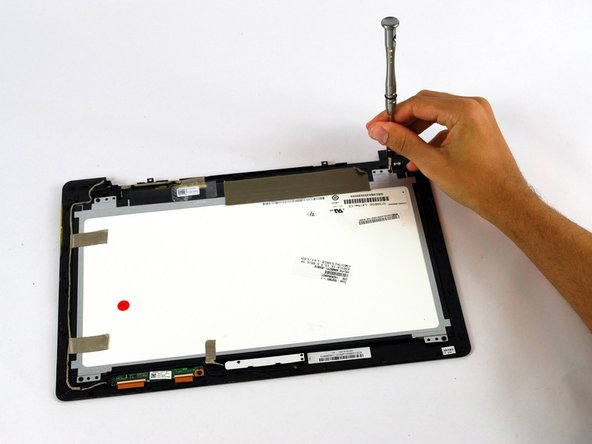
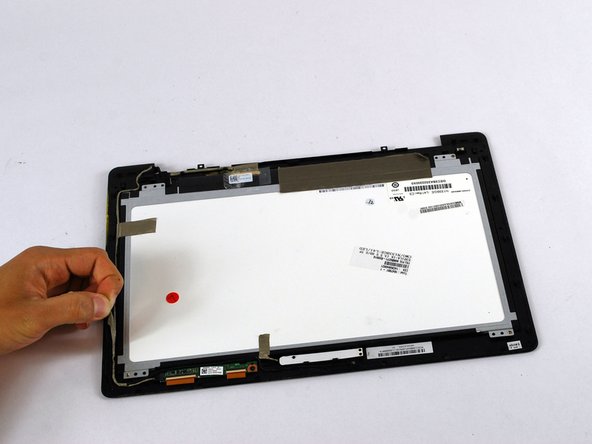
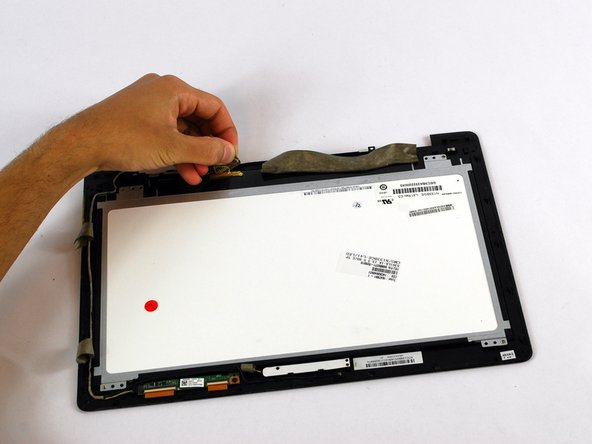
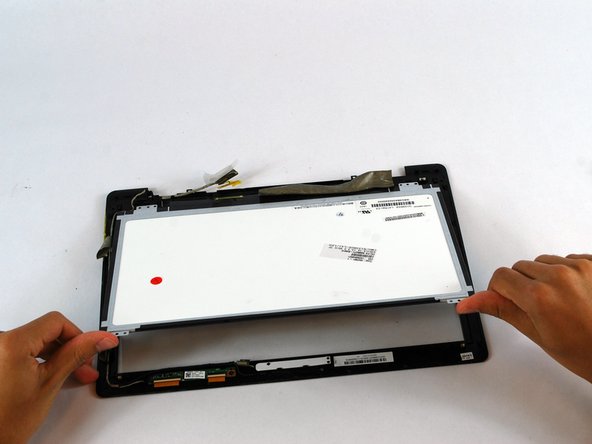
This guide will help you replace a defective screen, patience and extreme care is required. It will require a major disassembly of the laptop.
Qué necesitas


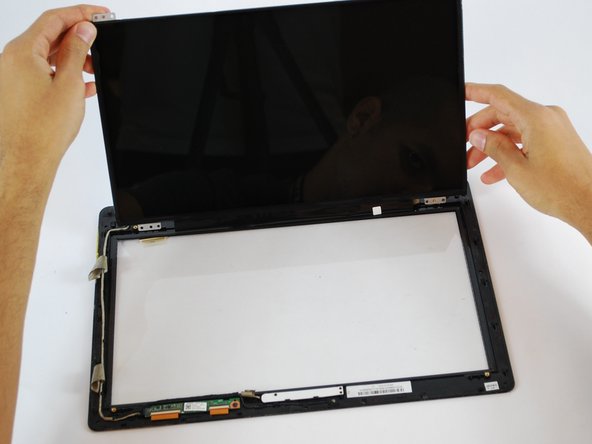
To reassemble your device, follow these instructions in reverse order.
To reassemble your device, follow these instructions in reverse order.
Cancelar: No complete esta guía.
4 personas más completaron esta guía.

Equipo

USF Tampa, Team S10-G3, Thompson Fall 2017 Miembro de USF Tampa, Team S10-G3, Thompson Fall 2017
USFT-THOMPSON-F17S10G3
4 Miembros
6 Guías creadas