Esta versión puede contener ediciones incorrectas. Cambiar a la última instantánea verificada.
Qué necesitas
-
Este paso está sin traducir. Ayuda a traducirlo
-
Use a Phillips 0 screwdriver to remove nine Phillips screws from the back of the laptop (four 7mm from the top hinge, four 5mm from the bottom hinge, and one 10mm screw from the center).
-
-
Este paso está sin traducir. Ayuda a traducirlo
-
Use a plastic opening tool to pry the back panel off.
-
-
Este paso está sin traducir. Ayuda a traducirlo
-
Use a Phillips 0 screwdriver to remove the eight 5mm Phillips screws holding the battery in place.
-
-
-
Este paso está sin traducir. Ayuda a traducirlo
-
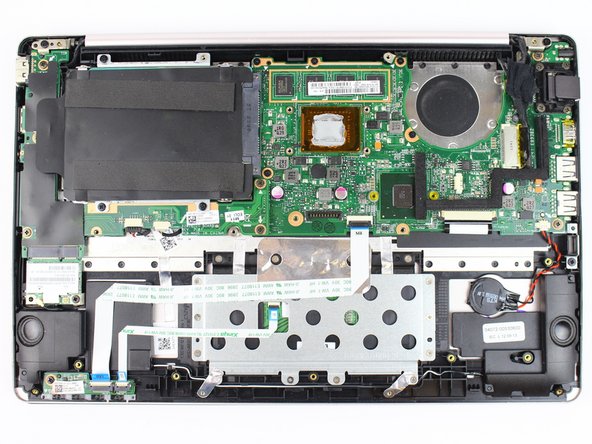
Remove five 5mm screws using a Phillips 0 screwdriver.
-
Remove the two 2mm screws with a Phillips 000 screwdriver.
-
-
Este paso está sin traducir. Ayuda a traducirlo
-
Disconnect the fan's power cable by pulling upward on the pin connector with a pair of tweezers.
-
-
Este paso está sin traducir. Ayuda a traducirlo
-
Grab the sides of the fan assembly and remove it by lifting upwards.
-
-
Este paso está sin traducir. Ayuda a traducirlo
-
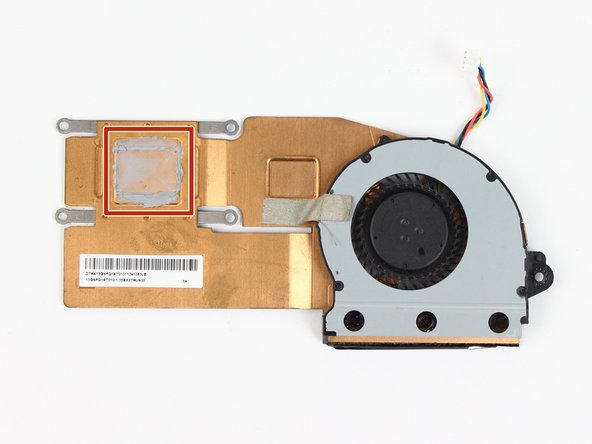
Use isopropyl alcohol and a cotton ball to clean thermal paste off the CPU and back of the heatsink.
-
Apply a drop of thermal paste on the CPU.
-
Carefully place heatsink/fan assembly back.
-


Equipo

USF Tampa, Team 16-2, Eyestone Fall 2016 Miembro de USF Tampa, Team 16-2, Eyestone Fall 2016
USFT-EYESTONE-F16S16G2
3 Miembros
6 Guías creadas