Qué necesitas
-
-
Use an opening tool to pry up the small rubber cover on the upper right corner of the RAM access door.
-
-
-
-
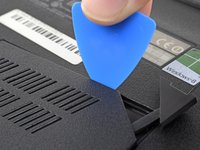
Insert the wide edge of an opening pick into a new part of the seam between the door and the computer.
-
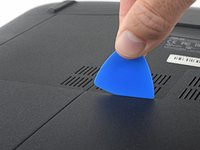
Pry the door up to release the clips closest to the pick.
-
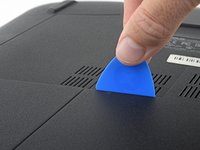
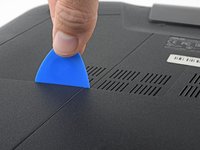
Continue to slide the pick along the seam all the way around the door, prying as you go, until all the clips holding the door down have been released.
-
-
-
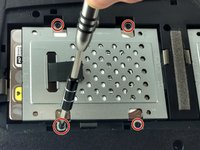
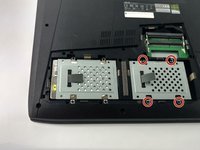
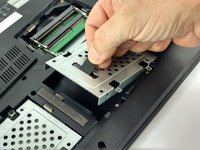
Remove the four 2.4 mm screws securing the left hard drive with a Phillips screwdriver.
-
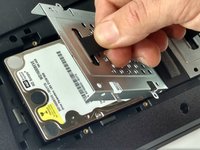
Use the pull-tab to lift the hard drive housing and pull the hard drive away from the connector.
-


To reassemble your device, follow the above steps in reverse order.
Take your e-waste to an R2 or e-Stewards certified recycler.
Repair didn’t go as planned? Check out our Answers community for troubleshooting help.
To reassemble your device, follow the above steps in reverse order.
Take your e-waste to an R2 or e-Stewards certified recycler.
Repair didn’t go as planned? Check out our Answers community for troubleshooting help.
Cancelar: No complete esta guía.
Una persona más ha completado esta guía.
Equipo

USF Tampa, Team 2-1, Sullivan Fall 2016 Miembro de USF Tampa, Team 2-1, Sullivan Fall 2016
USFT-SULLIVAN-F16S2G1
Miembros de 4
20 Guías creadas
1Guía Comentario
Dose the Asus ROG G751JL have any m.2 port in there anywhere? And what is the maximum capacity of SSD use in the Asus ROG G751JL?