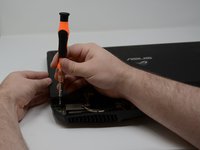
Introducción
Use this guide if your keyboard is not operating correctly or to clean out any stuck keys.
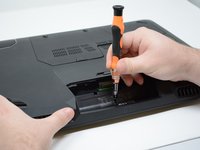
Qué necesitas
-
-
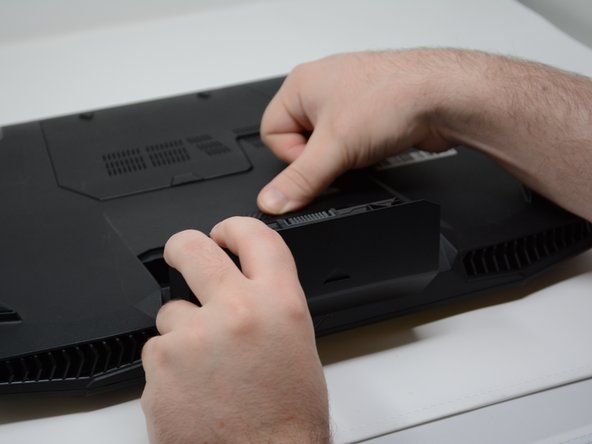
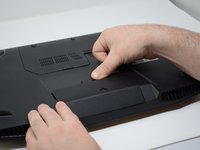
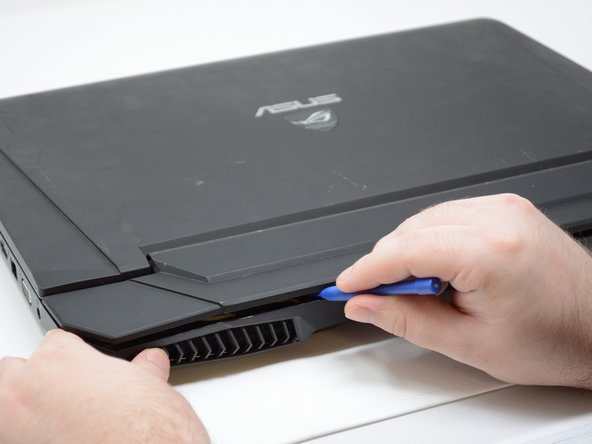
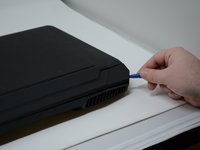
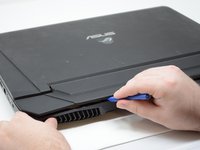
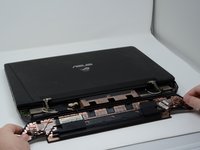
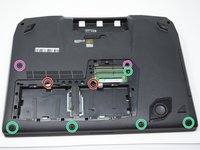
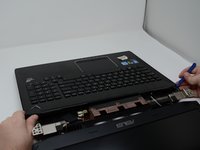
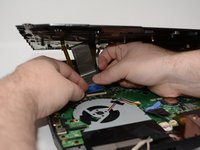
Using a plastic opening tool, remove the two rubber tabs circled in red.
-
-
-
-
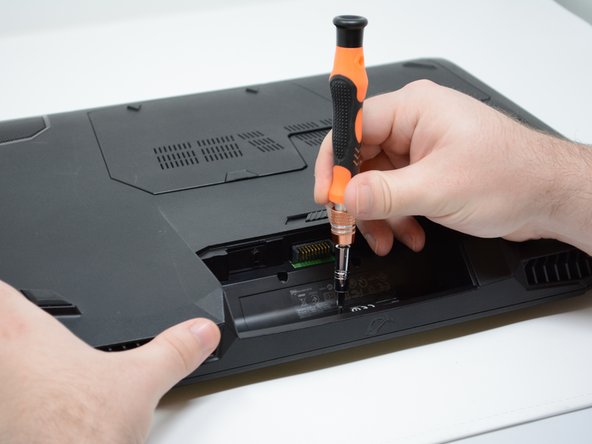
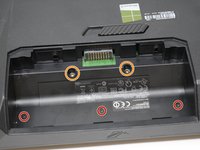
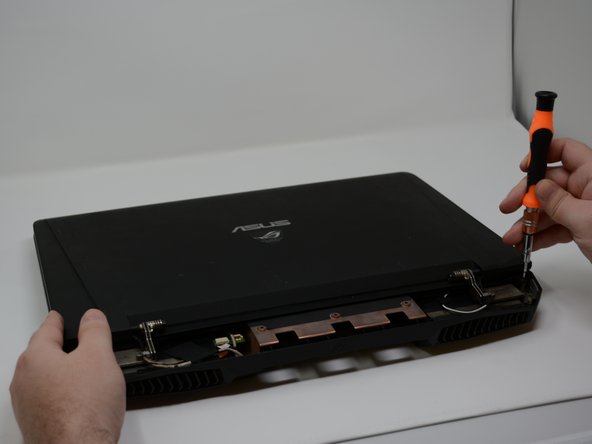
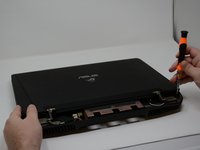
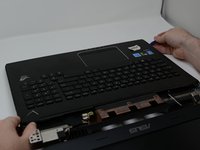
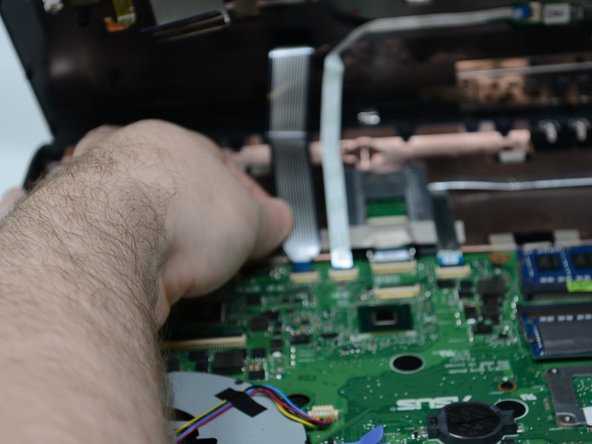
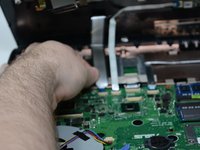
Remove the six 8mm Phillips #2 screws to remove the display.
-
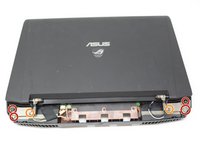
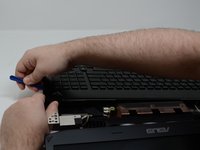
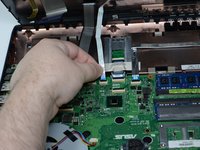
Remove the two 4mm Phillips #2 screws.
-


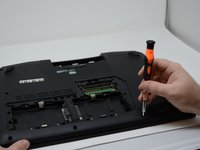
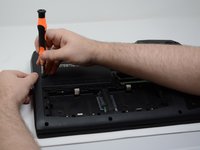


To reassemble your device, follow these instructions in reverse order.
To reassemble your device, follow these instructions in reverse order.
Cancelar: No complete esta guía.
2 personas más completaron esta guía.
Equipo

Central Washington University, Team S1-G6, Pengilly Fall 2018 Miembro de Central Washington University, Team S1-G6, Pengilly Fall 2018
CWU-PENGILLY-F18S1G6
Miembros de 3
5 Guías creadas
2 comentarios
Thanks for the guide!
Thanks for your efforts. It could be improved upon, some steps I could figure out, but they are a bit more difficult for other people perhaps, but if you have never done this before, it’s great that this shows you where and how to start. Missing in my opinion is what to do with the display after you have removed the screws. That is not so self evident in my opinion. Also perhaps some warnings about turning the computer upside down after all those screws have been taken out. You have to be careful of that and if people have not taken the display off first…. Finally, to all who read this: create plastgic bags or paper bags (anything) to keep the different sizes of screws clearly separated and indicate how many mm they are and where they came from. It’s easy to mix everything up and then when you have to assemble it back together it’s nasty when you can’t find the proper screwsize anymore. Finally, I started reading this because I needed to replace the keyboard itself without the top and without the backlight.