Introducción
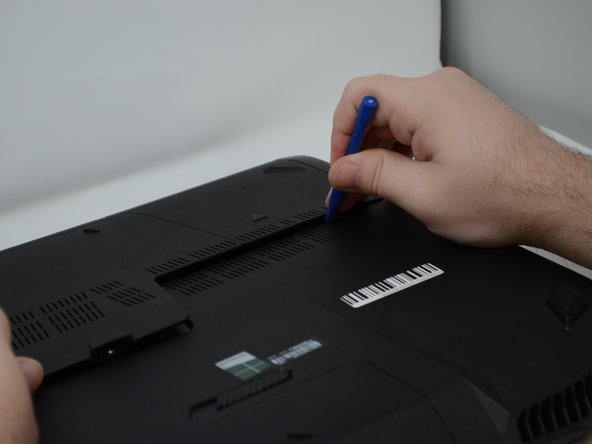
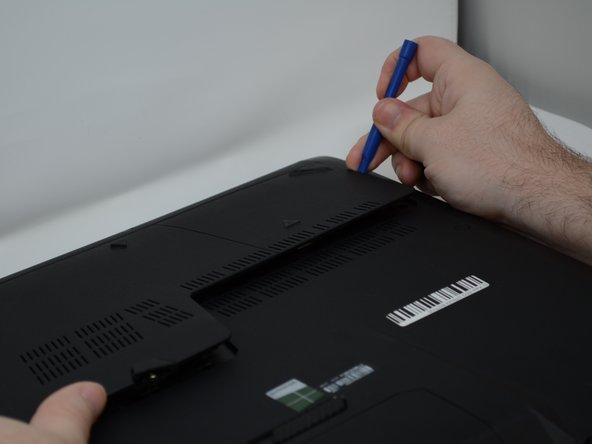
To access your hard drive, remove the back plate as shown in these steps.
Qué necesitas
-
-
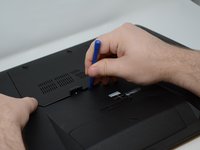
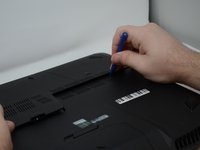
With the computer upside down, lift up on the rubber cap on the back plate to access the captive Phillips #2 screw.
-
-


To reassemble your device, follow these instructions in reverse order.
To reassemble your device, follow these instructions in reverse order.
Cancelar: No complete esta guía.
Una persona más ha completado esta guía.
Equipo

Central Washington University, Team S1-G6, Pengilly Fall 2018 Miembro de Central Washington University, Team S1-G6, Pengilly Fall 2018
CWU-PENGILLY-F18S1G6
Miembros de 3
5 Guías creadas