Esta versión puede contener ediciones incorrectas. Cambie a la última instantánea verificada.
Qué necesitas
-
Este paso está sin traducir. Ayuda a traducirlo
-
Unscrew the 10 screws around the edge of the back panel. Eight of the screws are 0.0793mm T5 , two of them are 0.0793 JIS #0.
-
-
Este paso está sin traducir. Ayuda a traducirlo
-
Use the plastic opening tool to pry the back panel off the base of the laptop.
-
-
-
Este paso está sin traducir. Ayuda a traducirlo
-
Un-clip both wire clips on the upper and right side of the battery.
-
Lift the battery out of the device.
-
-
Este paso está sin traducir. Ayuda a traducirlo
-
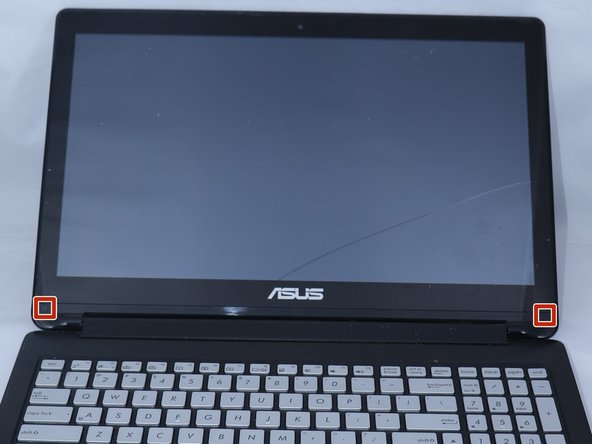
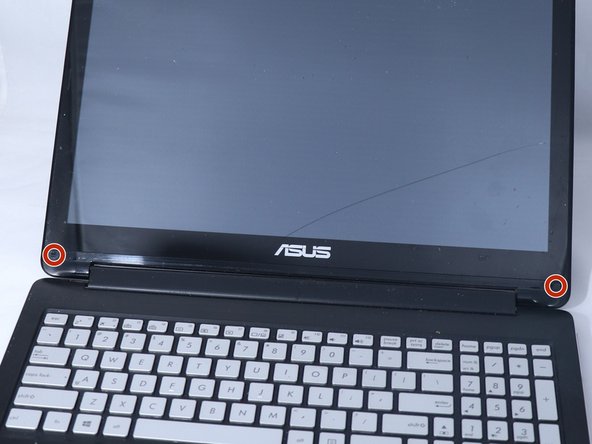
Use the metal spudger to gently lift the two plastic squares off the screen.
-
-
Este paso está sin traducir. Ayuda a traducirlo
-
Use the plastic opening tool to pry the front edges of the screen off of the back.
-
-
Este paso está sin traducir. Ayuda a traducirlo
-
Take off the tapes.
-
Gently pry the LCD from the front frame.
-


Cancelar: No complete esta guía.
4 personas más completaron esta guía.
Equipo

Eastern Washington University, Team S3-G2, Rowley Spring 2018 Miembro de Eastern Washington University, Team S3-G2, Rowley Spring 2018
EWU-ROWLEY-S18S3G2
3 Miembros
4 Guías creadas