Saltar al contenido principal

Esta guía ha sufrido modificaciones. Revisa la última versión sin revisar.

Asus Q550LF-BBI7T07 Hard Drive Replacement

Qué necesitas

  1. Asus Q550LF-BBI7T07 Hard Drive Replacement, Battery: paso 1, imagen 1 de 2 Asus Q550LF-BBI7T07 Hard Drive Replacement, Battery: paso 1, imagen 2 de 2
    • Use a T4 Torx screwdriver head to remove the ten 4mm Torx head screws on the bottom of the laptop.

  2. Asus Q550LF-BBI7T07 Hard Drive Replacement: paso 2, imagen 1 de 2 Asus Q550LF-BBI7T07 Hard Drive Replacement: paso 2, imagen 2 de 2
    • Use an opening tool to pry open the rear cover. Lift the cover off and away from the board.

  3. Asus Q550LF-BBI7T07 Hard Drive Replacement: paso 3, imagen 1 de 2 Asus Q550LF-BBI7T07 Hard Drive Replacement: paso 3, imagen 2 de 2
    • Use a Phillips #0 screwdriver head to remove the three black 7mm Phillips head screws that hold the battery in place.

  4. Asus Q550LF-BBI7T07 Hard Drive Replacement: paso 4, imagen 1 de 2 Asus Q550LF-BBI7T07 Hard Drive Replacement: paso 4, imagen 2 de 2
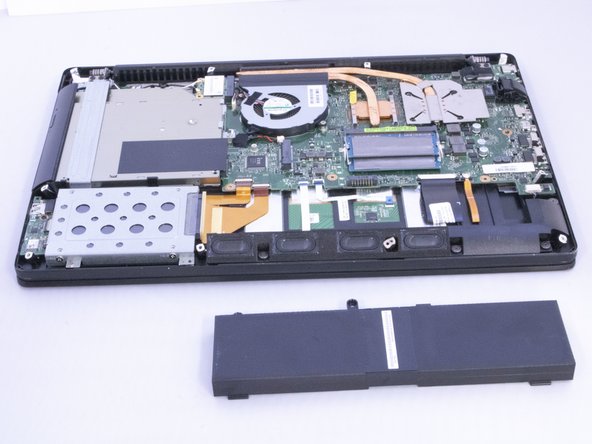
    • Once the screws have been removed, gently lift the battery out.

  5. Asus Q550LF-BBI7T07 Hard Drive Replacement, Hard Drive: paso 5, imagen 1 de 2 Asus Q550LF-BBI7T07 Hard Drive Replacement, Hard Drive: paso 5, imagen 2 de 2
    • Use the Phillips #0 Screwdriver to unscrew the four silver 5mm screws.

  6. Asus Q550LF-BBI7T07 Hard Drive Replacement: paso 6, imagen 1 de 2 Asus Q550LF-BBI7T07 Hard Drive Replacement: paso 6, imagen 2 de 2
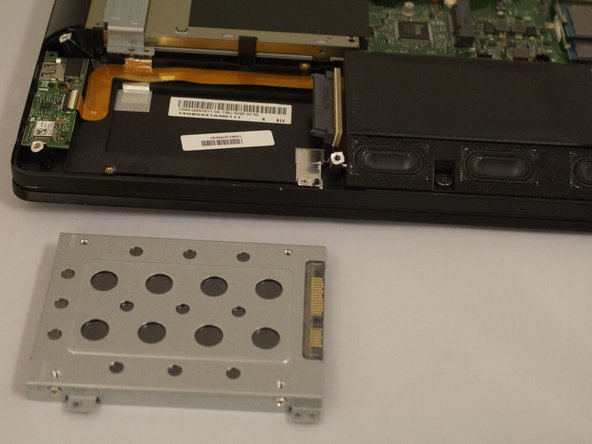
    • Gently disconnect the Hard Drive from the connector cable. Lift out to remove it.

Conclusión

To reassemble your device, follow these instructions in reverse order.

Una persona más ha completado esta guía.

0 comentarios

Agregar Comentario

Ver Estadísticas:

Ultimas 24 horas: 0

Ultimos 7 días: 2

Ultimos 30 días: 10

Todo El Tiempo: 1,579