Saltar al contenido principal

Asus Q304UA Hard Drive Replacement

Qué necesitas

  1. Asus Q304UA Hard Drive Replacement, Remove Bottom Cover: paso 1, imagen 1 de 1
    • Remove ten Phillips #0 screws that secure the plastic bottom cover to the chassis.

    • Six 9.6 mm screws

    • Four 4.6 mm screws

    • Throughout this guide, keep careful track of your screws so that each one goes back where it came from during reassembly. Installing a screw in the wrong place can cause permanent damage.

  2. Asus Q304UA Hard Drive Replacement: paso 2, imagen 1 de 3 Asus Q304UA Hard Drive Replacement: paso 2, imagen 2 de 3 Asus Q304UA Hard Drive Replacement: paso 2, imagen 3 de 3
    • Use a plastic pry tool to get in-between the bottom cover and the lower case assembly.

    • Be careful not separate the cover too violently or you will risk breaking the plastic clips that are on the bottom cover.

  3. Asus Q304UA Hard Drive Replacement, Disconnect the battery: paso 3, imagen 1 de 3 Asus Q304UA Hard Drive Replacement, Disconnect the battery: paso 3, imagen 2 de 3 Asus Q304UA Hard Drive Replacement, Disconnect the battery: paso 3, imagen 3 de 3
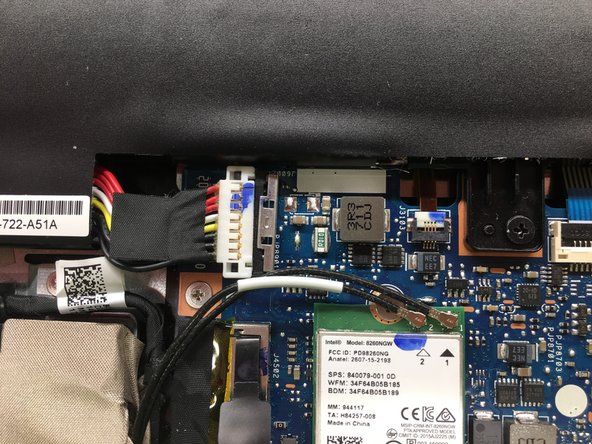
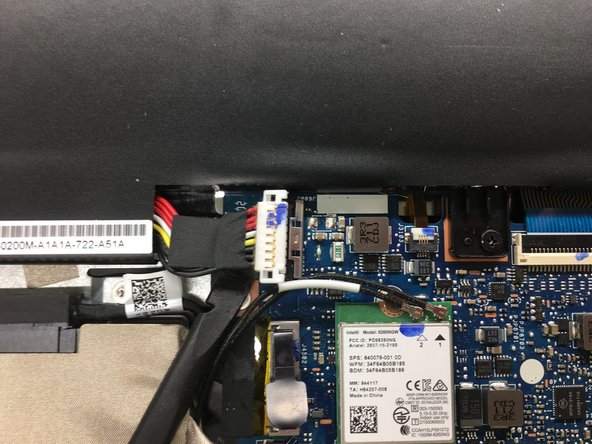
    • Push metal bracket away from battery connector.

    • Use a spudger to push the battery connection straight up.

    • If you pry too hard, or attempt to disconnect the battery with the metal bracket still in place, you risk pulling the connector off of the motherboard.

    • Make sure the computer is powered off before removing the battery.

  4. Asus Q304UA Hard Drive Replacement, Disconnect RF Cables: paso 4, imagen 1 de 3 Asus Q304UA Hard Drive Replacement, Disconnect RF Cables: paso 4, imagen 2 de 3 Asus Q304UA Hard Drive Replacement, Disconnect RF Cables: paso 4, imagen 3 de 3
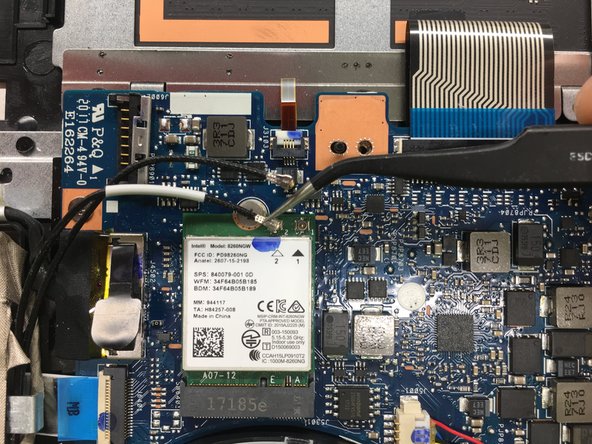
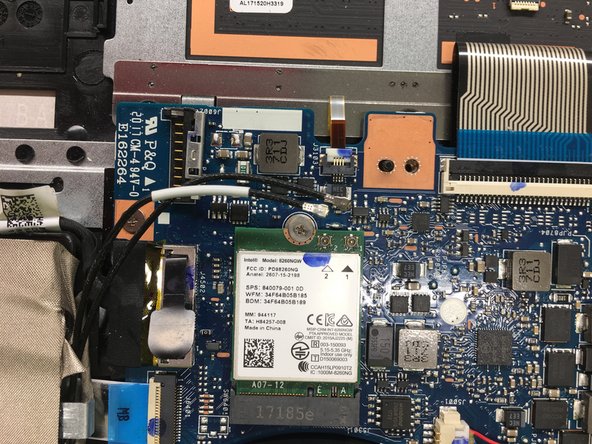
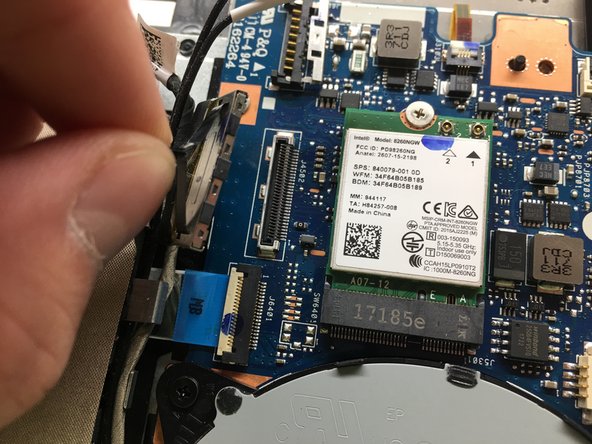
    • Disconnect the Wifi/Bluetooth RF cables from the wireless card.

    • Pull the RF cables by the metal connector, not by the rubber shielding. This avoids damaging the connector and the cable.

  5. Asus Q304UA Hard Drive Replacement, Hard Drive Assembly: paso 5, imagen 1 de 2 Asus Q304UA Hard Drive Replacement, Hard Drive Assembly: paso 5, imagen 2 de 2
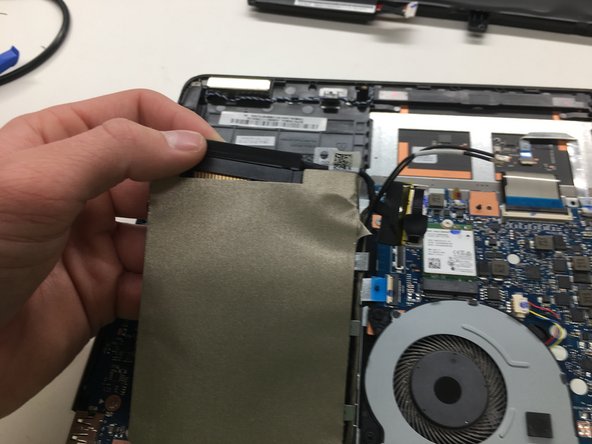
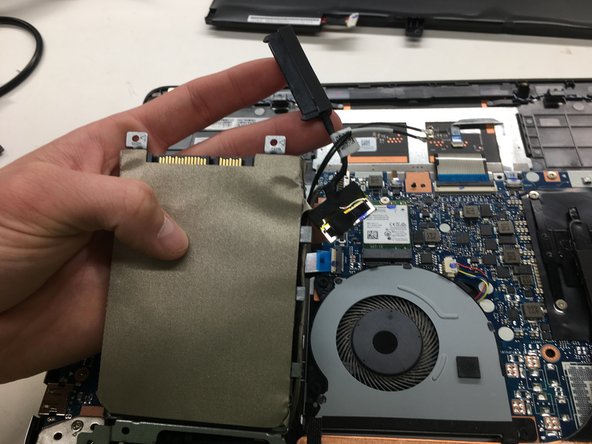
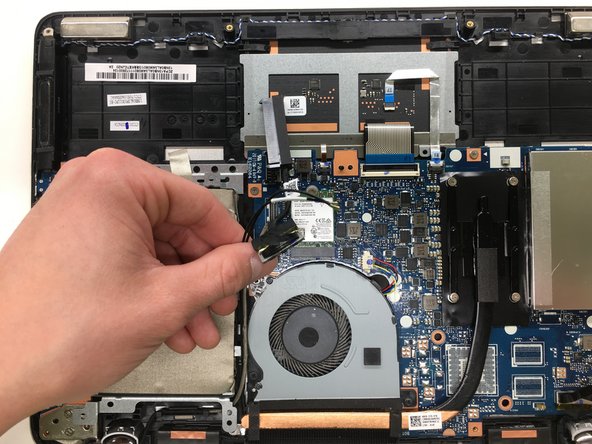
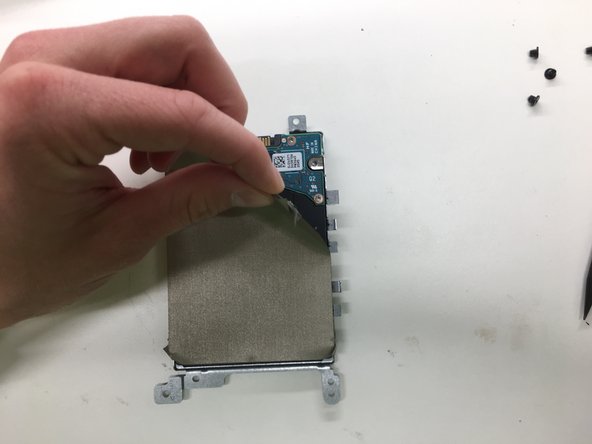
    • Pull straight up to disconnect the SATA combo cable from the motherboard.

  6. Asus Q304UA Hard Drive Replacement: paso 6, imagen 1 de 1
    • Remove three Phillips #0 that secure the hard drive bracket to the chassis, of the following lengths:

    • Two 2.3 mm screws

    • One 5.6 mm screw

  7. Asus Q304UA Hard Drive Replacement: paso 7, imagen 1 de 3 Asus Q304UA Hard Drive Replacement: paso 7, imagen 2 de 3 Asus Q304UA Hard Drive Replacement: paso 7, imagen 3 de 3
    • Tilt the drive up slightly by the connector

    • Remove the SATA combo connector

  8. Asus Q304UA Hard Drive Replacement: paso 8, imagen 1 de 2 Asus Q304UA Hard Drive Replacement: paso 8, imagen 2 de 2
    • De-route the SATA and RF cables from the side of the drive bay.

  9. Asus Q304UA Hard Drive Replacement: paso 9, imagen 1 de 1
    • Insert wisdom here.

  10. Asus Q304UA Hard Drive Replacement, Hard Drive Bracket Assembly: paso 10, imagen 1 de 2 Asus Q304UA Hard Drive Replacement, Hard Drive Bracket Assembly: paso 10, imagen 2 de 2
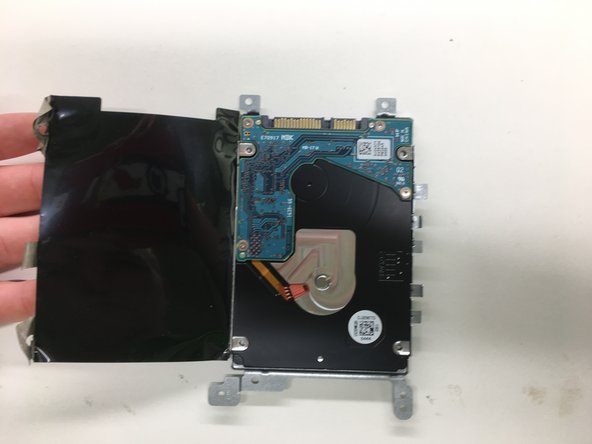
    • Remove the four Phillips #0 screws that secure the hard drive to the hard drive bracket.

    • Four 3.7 mm screws

  11. Asus Q304UA Hard Drive Replacement: paso 11, imagen 1 de 3 Asus Q304UA Hard Drive Replacement: paso 11, imagen 2 de 3 Asus Q304UA Hard Drive Replacement: paso 11, imagen 3 de 3
    • Peal back thermal cover.

    • Be careful not to tear the cover on the side of the drive as you peel it off.

  12. Asus Q304UA Hard Drive Replacement: paso 12, imagen 1 de 1
    • Remove drive from hard drive bracket.

Conclusión

To reassemble your device, follow these instructions in reverse order.

3 personas más completaron esta guía.

iHelpU.Tech

Miembro Desde 08/02/17

3,558 Reputación

5 Guías creadas

Equipo

iHelpU.tech Miembro de iHelpU.tech

Business

2 Miembros

16 Guías creadas

Un comentario

This should be rated moderate. Easy is sliding out a drive bay on a old Dell laptop from 15 years ago. :)

Michael Maxson - Contestar

Agregar Comentario

Ver Estadísticas:

Ultimas 24 horas: 0

Ultimos 7 días: 8

Ultimos 30 días: 22

Todo El Tiempo: 5,051