Saltar al contenido principal

Asus MeMO Pad HD 8 ME180A Motherboard Replacement

Qué necesitas

  1. Asus MeMO Pad HD 8 ME180A Motherboard Replacement, Battery: paso 1, imagen 1 de 2 Asus MeMO Pad HD 8 ME180A Motherboard Replacement, Battery: paso 1, imagen 2 de 2
    • Use a plastic opening tool to separate the back half from the front half.

    • Pull the back panel away from the device.

    • The volume buttons can fall out of the case. Be careful not to lose them.

    I would not suggest this to a beginner, quite thankfully I have been just practising my fixing skills, yet I managed to break the lid of the display of the tablet and the tool even with the triangle plastics that hold it opened, it broke and shattered

    Lukáš Otáhal - Contestar

  2. Asus MeMO Pad HD 8 ME180A Motherboard Replacement: paso 2, imagen 1 de 1
    Herramienta utilizada en este paso:
    Anti-Static Wrist Strap
    $7.95
    Comprar
  3. Asus MeMO Pad HD 8 ME180A Motherboard Replacement: paso 3, imagen 1 de 3 Asus MeMO Pad HD 8 ME180A Motherboard Replacement: paso 3, imagen 2 de 3 Asus MeMO Pad HD 8 ME180A Motherboard Replacement: paso 3, imagen 3 de 3
    • Lift the white bar on the ZIF connector and pull the metal connector out.

  4. Asus MeMO Pad HD 8 ME180A Motherboard Replacement: paso 4, imagen 1 de 2 Asus MeMO Pad HD 8 ME180A Motherboard Replacement: paso 4, imagen 2 de 2
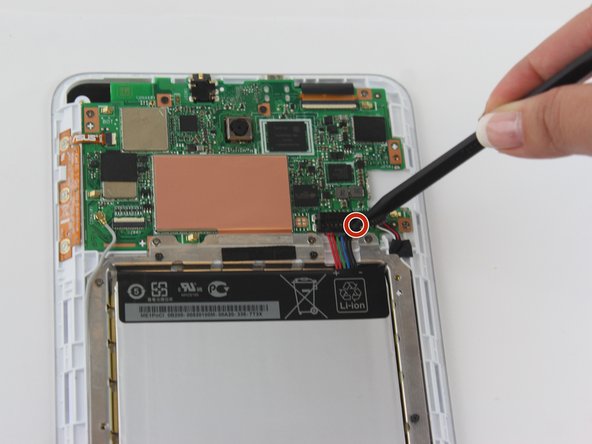
    • Using your spudger, press down on the two spots shown in order to release the cables.

    • Ensure that the touchscreen cables are fully disconnected.

  5. Asus MeMO Pad HD 8 ME180A Motherboard Replacement: paso 5, imagen 1 de 2 Asus MeMO Pad HD 8 ME180A Motherboard Replacement: paso 5, imagen 2 de 2
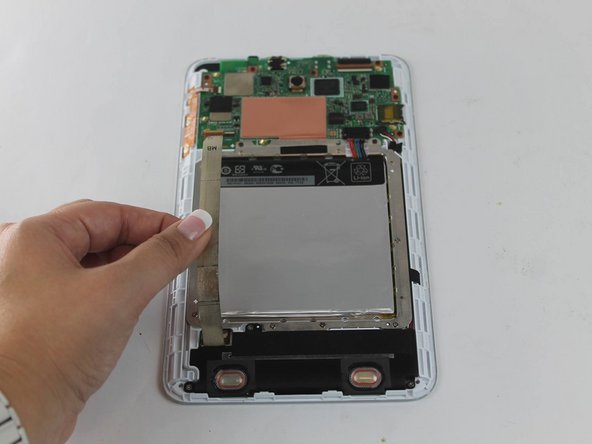
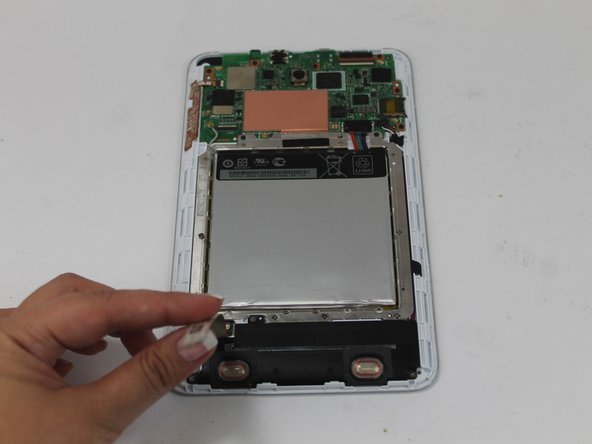
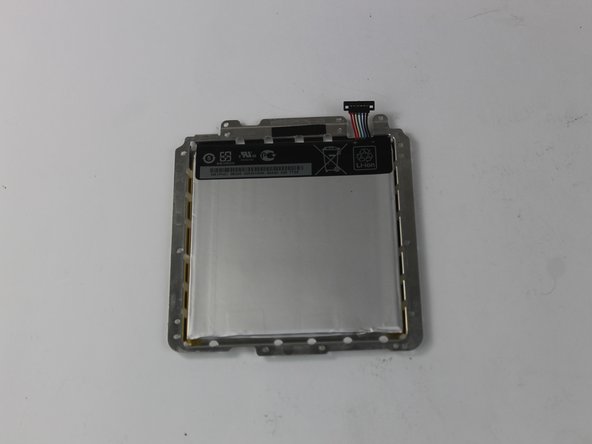
    • Using a PH#0 screwdriver, remove the twelve silver 3.2 mm screws.

    • Pull the battery out.

  6. Asus MeMO Pad HD 8 ME180A Motherboard Replacement, Motherboard: paso 6, imagen 1 de 1
    • Disconnect GPS Antenna cable.

  7. Asus MeMO Pad HD 8 ME180A Motherboard Replacement: paso 7, imagen 1 de 1
    • Flip the latch and pull the ribbon cable to disconnect the ZIF connector.

  8. Asus MeMO Pad HD 8 ME180A Motherboard Replacement: paso 8, imagen 1 de 1
    • Flip the latch and pull the ribbon cable to disconnect the ZIF connector.

  9. Asus MeMO Pad HD 8 ME180A Motherboard Replacement: paso 9, imagen 1 de 2 Asus MeMO Pad HD 8 ME180A Motherboard Replacement: paso 9, imagen 2 de 2
    • Use a PH#0 screwdriver to unscrew the six 3.0 mm black screws.

    • Lift the motherboard straight up to remove.

Conclusión

To reassemble your device, follow these instructions in reverse order.

2 personas más completaron esta guía.

Equipo

USF Tampa, Team 2-5, Nance Fall 2016 Miembro de USF Tampa, Team 2-5, Nance Fall 2016

USFT-NANCE-F16S2G5

3 Miembros

10 Guías creadas

2 comentarios

Où je peux avoir une carte mère pour asus memo pad8 me 180

David Leblanc - Contestar

Shouldn’t there be a step to handle the camera?

Haggai Eran - Contestar

Agregar Comentario

Ver Estadísticas:

Ultimas 24 horas: 0

Ultimos 7 días: 0

Ultimos 30 días: 1

Todo El Tiempo: 745