Introducción
Hard drive space is constantly filled up with today's large file sizes. So adding a bigger and better hard drive is a common practice. This guide will demonstrate how to unscrew the back panel from the laptop and then to replace the hard drive.
Qué necesitas
-
-
Place your laptop face down in front of you.
-
Slide the button in the top right corner to the right so that the orange marker is showing.
-
Press the spring loaded latch to release the battery from the computer.
-
-
-
-
Unscrew the four 5mm Phillips #1 screws.
-
Lift the hard drive out of the computer.
-
-
-
Unscrew the screws on the hard drive case.
-
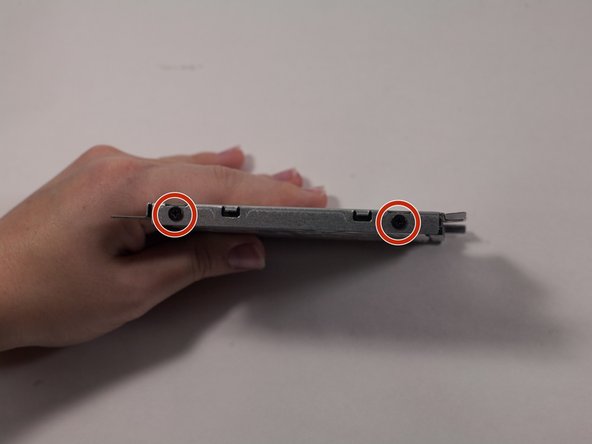
Two 3mm Phillips #1 screws are located on one edge of the case.
-
The last two 3mm #1 Phillips screws are located on the opposite side of the case.
-
After you unscrew all four screws, the metal cage will fall off, leaving you with the hard drive.
-


To reassemble your device, follow these instructions in reverse order.
To reassemble your device, follow these instructions in reverse order.
Equipo

UMass Dartmouth, Team 1-1, Catania Fall 2016 Miembro de UMass Dartmouth, Team 1-1, Catania Fall 2016
UMASSD-CATANIA-F16S1G1
3 Miembros
7 Guías creadas