Esta versión puede contener ediciones incorrectas. Cambie a la última instantánea verificada.
Qué necesitas
-
Este paso está sin traducir. Ayuda a traducirlo
-
Flip the notebook over and remove the 10 screws from the back plate with a #0 Phillips head screwdriver.
-
-
Este paso está sin traducir. Ayuda a traducirlo
-
With a plastic opening tool, gently lift and remove the back cover to expose the internal components.
-
-
Este paso está sin traducir. Ayuda a traducirlo
-
Unscrew the three 5.7 mm hard drive-motherboard connection screws with a #0 Phillips head screwdriver.
-
Remove the small rectangular hard drive-motherboard connection board.
-
-
-
Este paso está sin traducir. Ayuda a traducirlo
-
Unscrew the four 5.7 mm battery screws with a #0 Phillips head screwdriver.
-
Remove the battery.
-
-
Este paso está sin traducir. Ayuda a traducirlo
-
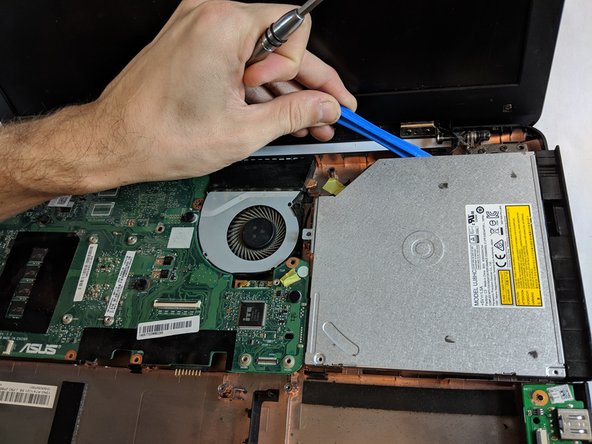
Unscrew the two 2.7 mm and one 5.7 mm CD drive screws with the Phillips #00 screwdriver.
-
With the plastic opening tool, gently pry the drive out from the metal brackets that hold it in place.
-
-
Este paso está sin traducir. Ayuda a traducirlo
-
Remove the eight 5.7mm screws using the Phillips #0 Screwdriver.
-
-
Este paso está sin traducir. Ayuda a traducirlo
-
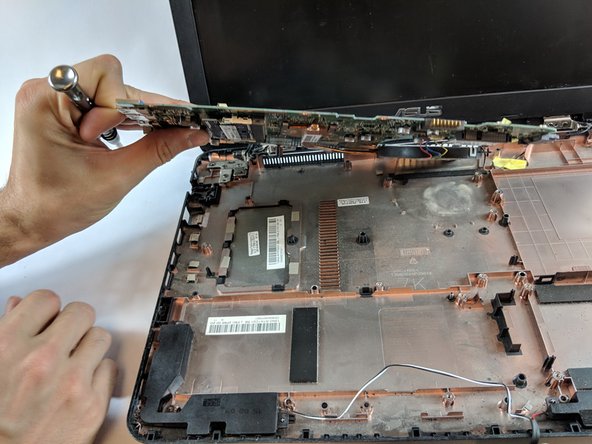
Unscrew and remove the two 5.7mm screws from the fan with the Phillips #0 Screwdriver.
-
Gently lift the motherboard and fan to access the components underneath.
-
-
Este paso está sin traducir. Ayuda a traducirlo
-
Unscrew and remove the four 0.01mm screws using the Phillips #0 Screwdriver from the heatsink.
-
-
Este paso está sin traducir. Ayuda a traducirlo
-
Gently unplug power strip with fingers or tweezers to remove fan.
-
Gently pull fan from heatsink.
-
Replace fan.
-


Equipo

USF Tampa, Team S1-G2, Leahy Fall 2018 Miembro de USF Tampa, Team S1-G2, Leahy Fall 2018
USFT-LEAHY-F18S1G2
4 Miembros
6 Guías creadas