Saltar al contenido principal

Asus Chromebook C300M USB Port Replacement

Qué necesitas

  1. Asus Chromebook C300M USB Port Replacement, USB Port: paso 1, imagen 1 de 2 Asus Chromebook C300M USB Port Replacement, USB Port: paso 1, imagen 2 de 2
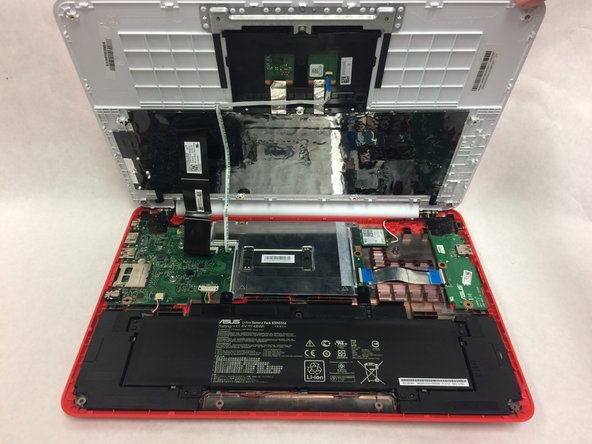
    • Flip the chromebook on its front.

    • Remove the screws on the back using the Phillips #1 screwdriver.

    • Remove the six 8mm screws.

    • Remove the five 5mm screws.

  2. Asus Chromebook C300M USB Port Replacement: paso 2, imagen 1 de 1
    • Separate the plastic case from the keyboard at the seam using a plastic opening tool.

  3. Asus Chromebook C300M USB Port Replacement: paso 3, imagen 1 de 2 Asus Chromebook C300M USB Port Replacement: paso 3, imagen 2 de 2
    • Fully separate the plastic case from the keyboard by lifting it upward.

  4. Asus Chromebook C300M USB Port Replacement: paso 4, imagen 1 de 2 Asus Chromebook C300M USB Port Replacement: paso 4, imagen 2 de 2
    • The small and wide ribbon cables connect the keyboard to the motherboard.

    • Disconnect the small ribbon cable by lifting the flap and sliding it out of the motherboard input toward the battery using a spudger.

    • Disconnect the wide ribbon cable by lifting the flap and sliding it out of the motherboard input toward the battery using a spudger.

  5. Asus Chromebook C300M USB Port Replacement: paso 5, imagen 1 de 2 Asus Chromebook C300M USB Port Replacement: paso 5, imagen 2 de 2
    • Disconnect the USB port in the top right corner from the motherboard.

    • Unplug the the wide ribbon cable using spudger.

  6. Asus Chromebook C300M USB Port Replacement: paso 6, imagen 1 de 2 Asus Chromebook C300M USB Port Replacement: paso 6, imagen 2 de 2
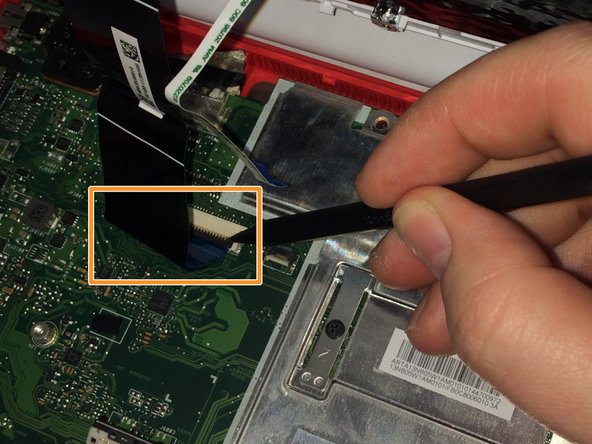
    • Remove the single 3mm screw on the left and bottom side of the USB Port using the Phillips #1 screwdriver.

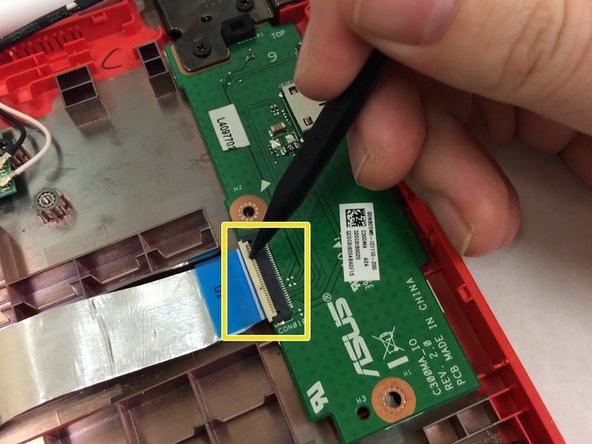
    • Remove the three 5mm screws on the upper part of the USB port with the same screwdriver.

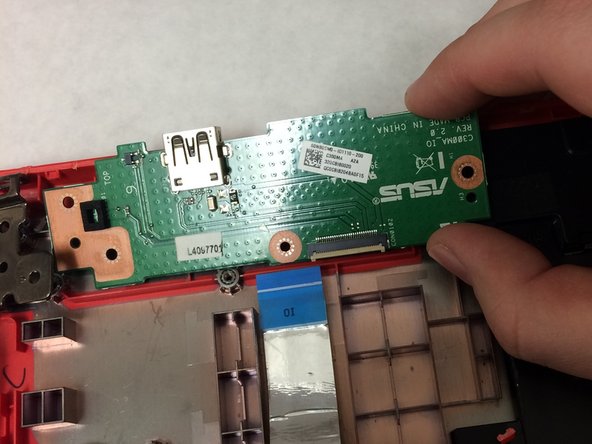
    • Lift the edge of the white casing. Remove the USB Port by pulling it toward the bottom of the laptop.

Conclusión

To reassemble your device, follow these instructions in reverse order.

2 personas más completaron esta guía.

Rachel Cadle

Miembro Desde 04/02/19

259 Reputación

2 Guías creadas

Equipo

IUPUI, Team S3-G2, Harley Spring 2019 Miembro de IUPUI, Team S3-G2, Harley Spring 2019

IUPUI-HARLEY-S19S3G2

3 Miembros

4 Guías creadas

0 comentarios

Agregar Comentario

Ver Estadísticas:

Ultimas 24 horas: 0

Ultimos 7 días: 2

Ultimos 30 días: 8

Todo El Tiempo: 733