Introducción
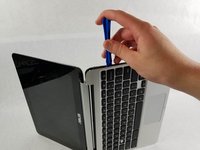
Replacing the Asus Chromebook C101P touchpad is a simple procedure, so if you ever spill liquid onto your touchpad and it refuses to work anymore, don’t be scared. With just a few steps, you’ll be able to have a functioning touchpad again. It is important that you unplug and shut your Chromebook off before attempting this replacement in order to prevent electrocuting yourself.
Qué necesitas
-
-
Flip the Chromebook so that the bottom is facing up.
-
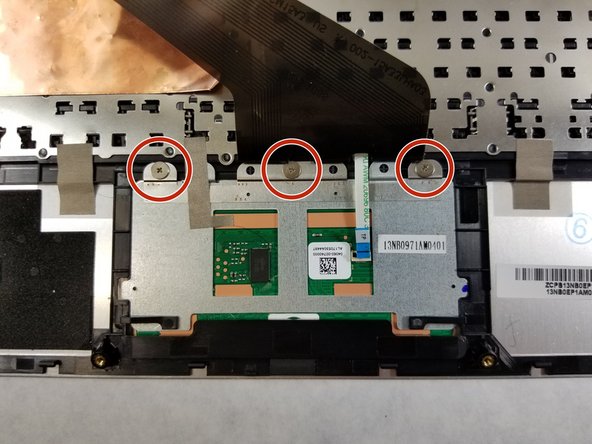
Remove the nine T5 Torx screws.
-
-
-
Herramienta utilizada en este paso:Tweezers$4.99
-
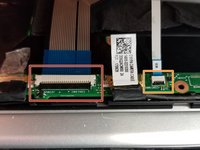
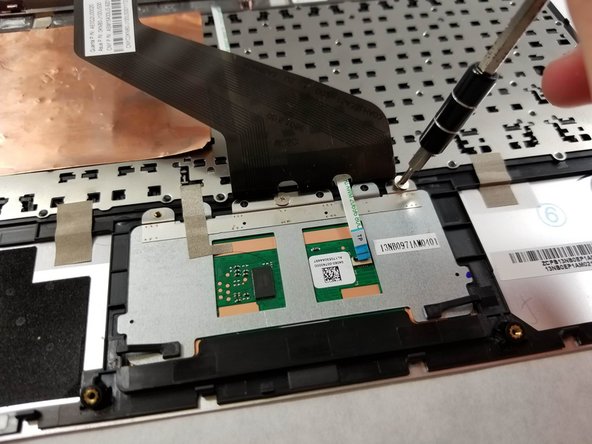
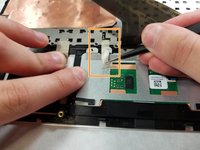
Pull back the black lever on the base of the cable. While pulling back, take your tweezers and pull back on the large ribbon cable.
-
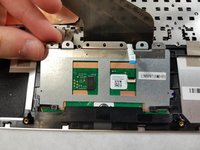
Pull back the black lever on the base of the cable. While pulling back, take your tweezers and pull back on the small ribbon cable.
-
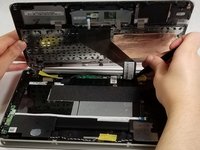
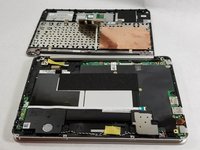
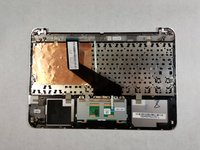
Separate the keyboard from the rest of the laptop.
-


To reassemble your device, follow these instructions in reverse order.
To reassemble your device, follow these instructions in reverse order.
Equipo

UMass Dartmouth, Team S1-G2, O'Connell Fall 2019 Miembro de UMass Dartmouth, Team S1-G2, O'Connell Fall 2019
UMASSD-O'CONNELL-F19S1G2
Miembros de 2
5 Guías creadas