Introducción
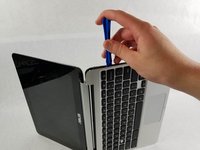
The touch screen on the ASUS Chromebook C101P is great for work as a tablet or as a simple screen. Like other laptop screens, this one is equally susceptible to breaking or not responding. Replacing it is a little tricky, requiring not only the screen, but the hinge to be removed as well. It is advised to turn off the Chromebook before taking apart the screen.
Qué necesitas
-
-
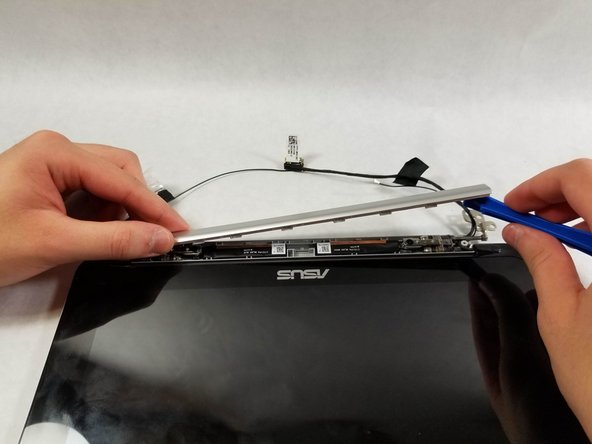
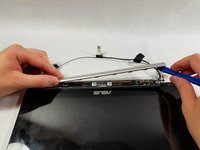
Flip the Chromebook so that the bottom is facing up.
-
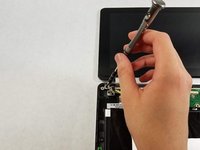
Remove the nine T5 Torx screws.
-
-
-
Herramienta utilizada en este paso:Tweezers$4.99
-
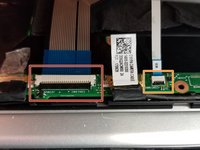
Pull back the black lever on the base of the cable. While pulling back, take your tweezers and pull back on the large ribbon cable.
-
Pull back the black lever on the base of the cable. While pulling back, take your tweezers and pull back on the small ribbon cable.
-
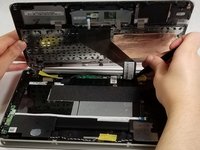
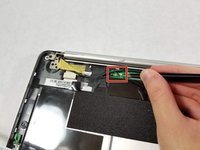
Separate the keyboard from the rest of the laptop.
-
-
Herramienta utilizada en este paso:Tweezers$4.99
-
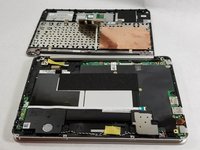
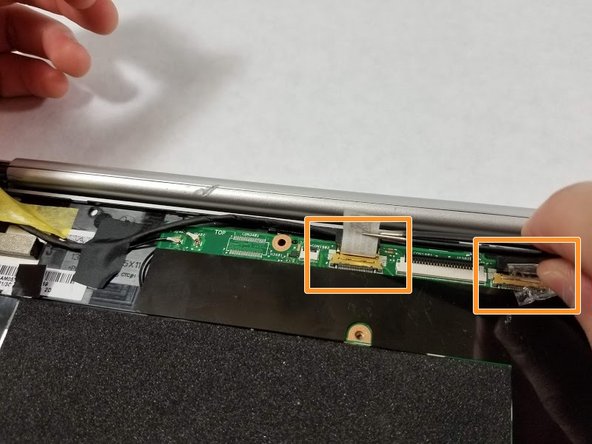
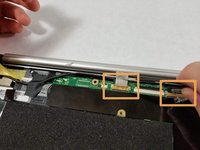
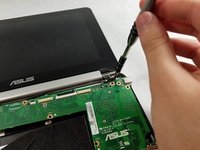
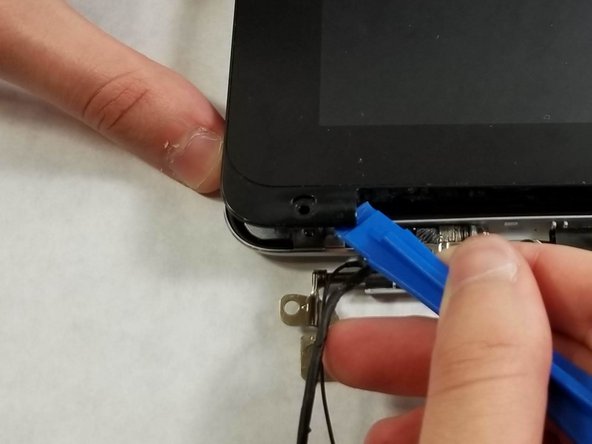
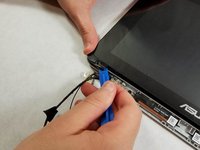
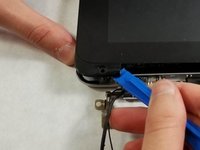
Detach the the screen cables from the motherboard using a pair of tweezers.
-
Peel off the tape or seal to easily remove the screen cables.
-


To reassemble your device, follow these instructions in reverse order.
To reassemble your device, follow these instructions in reverse order.
Cancelar: No complete esta guía.
2 personas más completaron esta guía.
Equipo

UMass Dartmouth, Team S1-G2, O'Connell Fall 2019 Miembro de UMass Dartmouth, Team S1-G2, O'Connell Fall 2019
UMASSD-O'CONNELL-F19S1G2
Miembros de 2
5 Guías creadas