Saltar al contenido principal

Asus A53U-ES21 Optical Drive Replacement

Qué necesitas

  1. Asus A53U-ES21 Optical Drive Replacement, Battery: paso 1, imagen 1 de 2 Asus A53U-ES21 Optical Drive Replacement, Battery: paso 1, imagen 2 de 2
    • Make sure the laptop is off.

    • Flip the laptop upside down so that the battery is facing you.

  2. Asus A53U-ES21 Optical Drive Replacement: paso 2, imagen 1 de 2 Asus A53U-ES21 Optical Drive Replacement: paso 2, imagen 2 de 2
    • Move the two sliders towards the outer edge of the laptop.

    • Pull the battery out with your left hand while holding the right slider.

  3. Asus A53U-ES21 Optical Drive Replacement, Optical Drive: paso 3, imagen 1 de 3 Asus A53U-ES21 Optical Drive Replacement, Optical Drive: paso 3, imagen 2 de 3 Asus A53U-ES21 Optical Drive Replacement, Optical Drive: paso 3, imagen 3 de 3
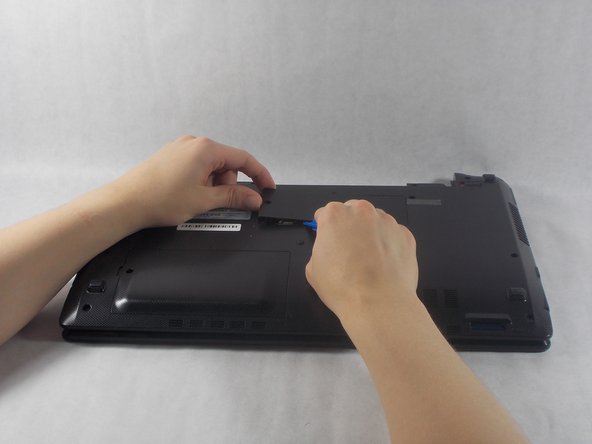
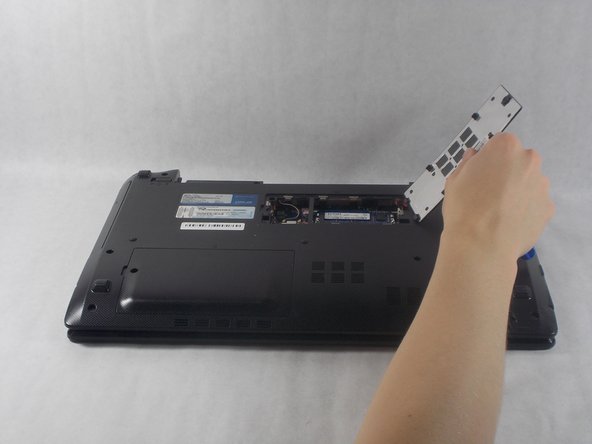
    • Remove the 5mm screw using a Phillips #1 screwdriver.

    • Use the iFixit opening tools to remove the RAM panel.

  4. Asus A53U-ES21 Optical Drive Replacement: paso 4, imagen 1 de 3 Asus A53U-ES21 Optical Drive Replacement: paso 4, imagen 2 de 3 Asus A53U-ES21 Optical Drive Replacement: paso 4, imagen 3 de 3
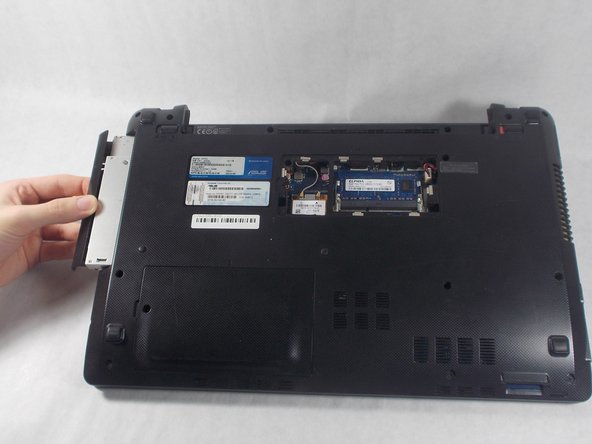
    • Remove the 7mm screw using a Phillips #1 screwdriver.

    • Pull the optical drive out from the side of the laptop.

Conclusión

To reassemble your device, follow these instructions in reverse order.

Chase Poirier

Miembro Desde 10/23/18

544 Reputación

5 Guías creadas

Equipo

0 comentarios

Agregar Comentario

Ver Estadísticas:

Ultimas 24 horas: 0

Ultimos 7 días: 1

Ultimos 30 días: 2

Todo El Tiempo: 268