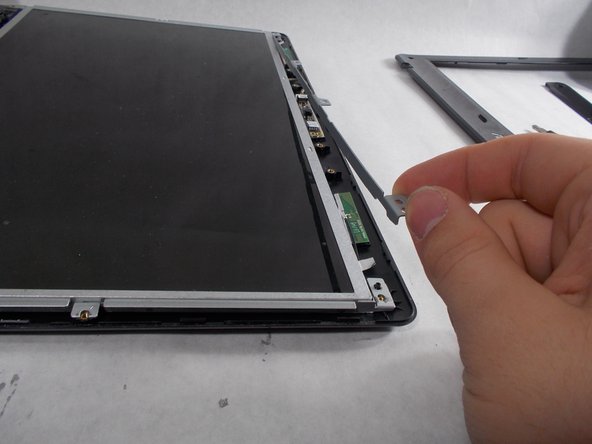
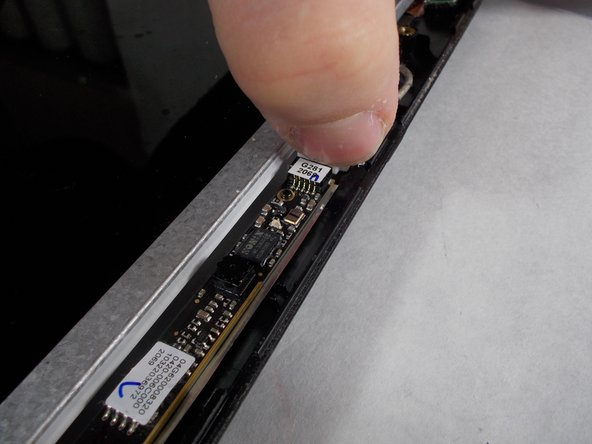
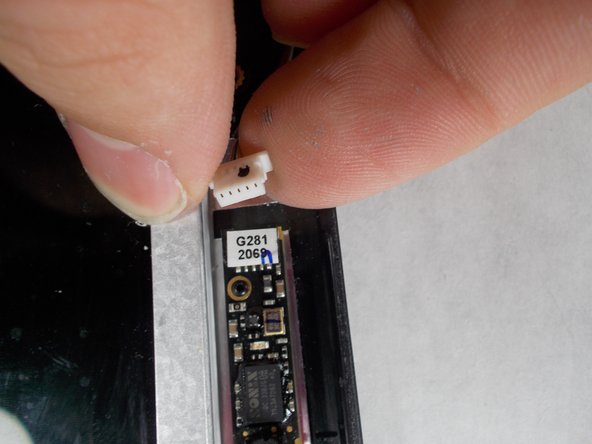
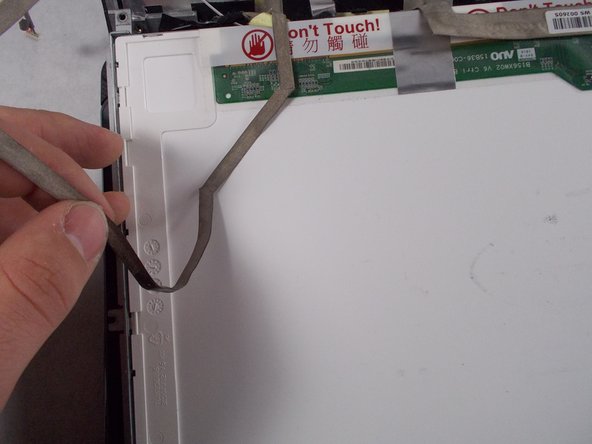
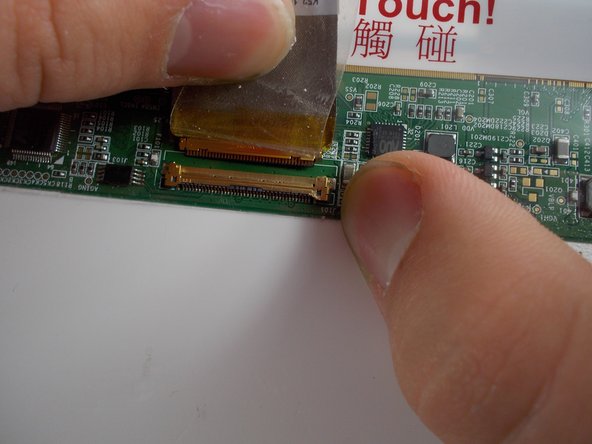
Saltar al contenido principal

Asus A52F Screen Replacement

Qué necesitas

  1. Asus A52F Screen Replacement, Screen: paso 1, imagen 1 de 2 Asus A52F Screen Replacement, Screen: paso 1, imagen 2 de 2
    • Remove the six rubber pads around the border of the screen using a spudger.

  2. Asus A52F Screen Replacement: paso 2, imagen 1 de 1
    • Remove the six screws using a Phillips #0 screwdriver.

  3. Asus A52F Screen Replacement: paso 3, imagen 1 de 2 Asus A52F Screen Replacement: paso 3, imagen 2 de 2
    • Separate the plastic bezel from the rest of the screen using an opening tool.

  4. Asus A52F Screen Replacement: paso 4, imagen 1 de 2 Asus A52F Screen Replacement: paso 4, imagen 2 de 2
    • Lift the metal bar on the top of the screen away from the device.

  5. Asus A52F Screen Replacement: paso 5, imagen 1 de 3 Asus A52F Screen Replacement: paso 5, imagen 2 de 3 Asus A52F Screen Replacement: paso 5, imagen 3 de 3
    • Gently detach the wire to the left of the webcam.

  6. Asus A52F Screen Replacement: paso 6, imagen 1 de 2 Asus A52F Screen Replacement: paso 6, imagen 2 de 2
    • Carefully pull the screen toward you and lay it on the keyboard.

    • Peel the webcam wire off the back of the screen.

  7. Asus A52F Screen Replacement: paso 7, imagen 1 de 3 Asus A52F Screen Replacement: paso 7, imagen 2 de 3 Asus A52F Screen Replacement: paso 7, imagen 3 de 3
    • Peel back the tape holding the screen cable in its socket.

    • Gently pull the tape and cable away from you to remove the cable from the socket.

    • The screen is now disconnected and can be removed.

Conclusión

To reassemble your device, follow these instructions in reverse order.

Una persona más ha completado esta guía.

Morgan Hays

Miembro Desde 03/08/17

330 Reputación

2 Guías creadas

Equipo

0 comentarios

Agregar Comentario

Ver Estadísticas:

Ultimas 24 horas: 0

Ultimos 7 días: 2

Ultimos 30 días: 14

Todo El Tiempo: 1,069