Introducción
This guide is going to help replace your speakers in the Archos 101 G9 tablet.
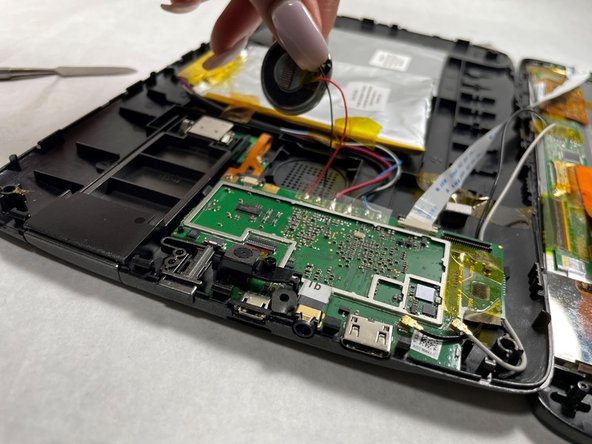
The purpose of the speaker is to produce audio output that can be heard by the listener. Speakers are transducers that convert electromagnetic waves into sound waves. The speakers receive audio input from a device such as a computer or an audio receiver. Some tablets have two speakers and stereo sound, some only have one speaker. When you get to Step 6 of this guide, you will be prying the speaker free from the case. As you desolder HP+ and HP- connections on the motherboard, make sure you are gentle with the connections.
Qué necesitas
-
-
Place an iFixit opening tool in the crease where the display assembly and back of the device meet.
-
Slide the tool firmly through the crease on one side of the device, twisting as you go to create separation.
-
When you reach the corner, carefully pry the two halves of the device apart.
-
Repeat for the remaining three sides and corners.
-
-


To reassemble your device, follow these instructions in reverse order.
To reassemble your device, follow these instructions in reverse order.

Equipo

UMass Dartmouth, Team 4-1, Gulbrandsen Fall 2021 Miembro de UMass Dartmouth, Team 4-1, Gulbrandsen Fall 2021
UMASSD-GULBRANDSEN-F21S4G1
3 Miembros
6 Guías creadas