Saltar al contenido principal

Apple Time Capsule Model A1254 Back Plate Replacement

Qué necesitas

  1. Apple Time Capsule Model A1254 Back Plate Replacement, Back Plate: paso 1, imagen 1 de 3 Apple Time Capsule Model A1254 Back Plate Replacement, Back Plate: paso 1, imagen 2 de 3 Apple Time Capsule Model A1254 Back Plate Replacement, Back Plate: paso 1, imagen 3 de 3
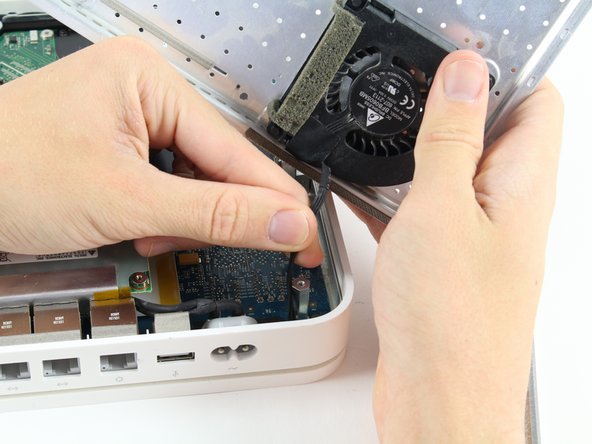
    • Turn the device upside down to reveal the rubber section of the back plate. Using a metal spudger, carefully wedge the blunt tip into the space between the aluminum back plate and the rubber, separating the two pieces.

    • This may take a few minutes to pry the rubber off completely. Once your are able to get a grip on the rubber it is easier to peel it off using your hands.

    • Depending on air temperature and how set the adhesive is, you may need to spend some time warming the back plate with a hot plate (on low) or hair dryer.

    • Don't worry about re-applying adhesive to the rubber; the remaining adhesive has plenty of strength to affix itself to the aluminum.

  2. Apple Time Capsule Model A1254 Back Plate Replacement: paso 2, imagen 1 de 2 Apple Time Capsule Model A1254 Back Plate Replacement: paso 2, imagen 2 de 2
    • Remove the ten 3mm screws with a Phillips #00 screwdriver.

    • The screws with adhesive covering do not need to be removed.

  3. Apple Time Capsule Model A1254 Back Plate Replacement: paso 3, imagen 1 de 2 Apple Time Capsule Model A1254 Back Plate Replacement: paso 3, imagen 2 de 2
    • The fan affixed to the back plate is connected to the logic board. A small wire must be detached to fully remove the back plate.

    • Pull the base of the wire close to the logic board and the connector will pop off.

Conclusión

To reassemble your device, follow these instructions in reverse order.

9 personas más completaron esta guía.

Equipo

Cal Poly, Team 4-2, Livingston Fall 2016 Miembro de Cal Poly, Team 4-2, Livingston Fall 2016

CPSU-LIVINGSTON-F16S4G2

4 Miembros

17 Guías creadas

2 comentarios

I had to open to destroy the hard drive for security reasons. The rubber bottom was so old it just tore to bits. I used a Dremel Multi-Max with a flat scraper blade to remove it in the end.

steve - Contestar

must I put back on the rubber bottom or can I leave it off for maximum airflow?

Strider - Contestar

Agregar Comentario

Ver Estadísticas:

Ultimas 24 horas: 2

Ultimos 7 días: 9

Ultimos 30 días: 28

Todo El Tiempo: 6,166