Esta versión puede contener ediciones incorrectas. Cambie a la última instantánea verificada.
Qué necesitas
-
Este paso está sin traducir. Ayuda a traducirlo
-
Remove the three 14.3mm T7 Torx screws from the bottom of AirPort.
-
-
Este paso está sin traducir. Ayuda a traducirlo
-
Remove the 5.1mm Phillips screw from the bottom of the AirPort. This screw is located under the identification sticker. You will have to remove the sticker or make a hole to remove it.
-
-
Este paso está sin traducir. Ayuda a traducirlo
-
Lift the bottom and top casing straight apart and then lift metal casing straight up from the bottom plastic casing.
-
-
-
Este paso está sin traducir. Ayuda a traducirlo
-
Unplug the black connector on the top of the metal casing by gently pulling horizontally.
-
-
Este paso está sin traducir. Ayuda a traducirlo
-
Remove the four 4.3mm phillips screws from the bottom of the metal casing.
-
-
Este paso está sin traducir. Ayuda a traducirlo
-
Lift and separate the top and bottom of the metal casing. You will now expose the motherboard and the AirPort card.
-
To remove the AirPort card, gently pull the plastic tab horizontally.
-
-
Este paso está sin traducir. Ayuda a traducirlo
-
Locate and remove the three 5.0mm phillips screws from the heat sink.
-
Lift to remove the heat sink from the motherboard.
-
-
Este paso está sin traducir. Ayuda a traducirlo
-
Locate and remove the five 7.5mm phillips screws from the motherboard.
-
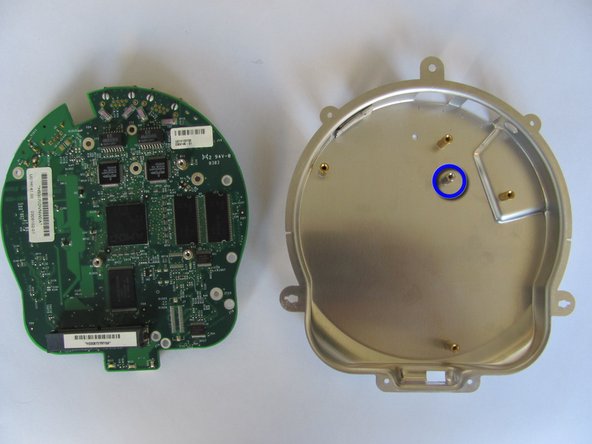
Lift and separate the motherboard from the bottom metal casing.
-
-
Este paso está sin traducir. Ayuda a traducirlo
-
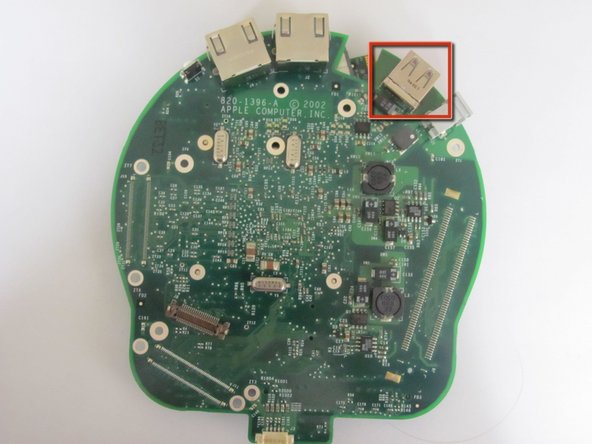
Desolder the six connections located under the USB.
-
Refer to Cómo soldar y desoldar conexiones for soldering techniques.
-
Cancelar: No complete esta guía.
2 personas más completaron esta guía.


