Introducción
This guide details how to fully remove the Capacitive Touch Sensor of the Anki Vector.
Remember to only embark on this guide if you have followed the Anki Vector Troubleshooting and the device is still broken.
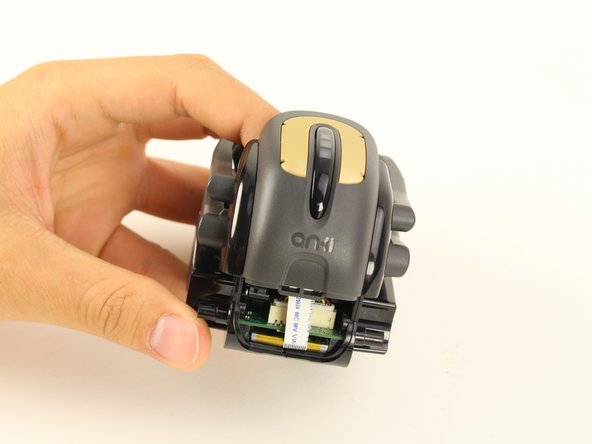
While disassembling Vector, make sure to look out for disconnected cables and other broken parts, as often times these can be fixed without entirely replacing the sensor.
Qué necesitas
-
-
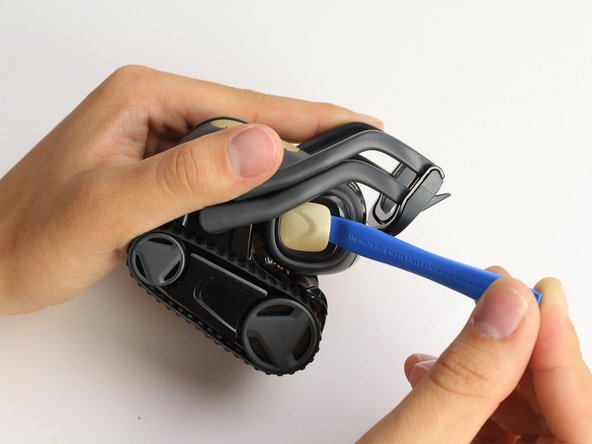
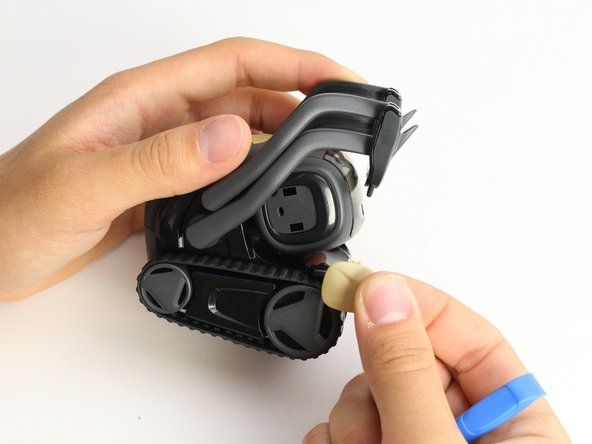
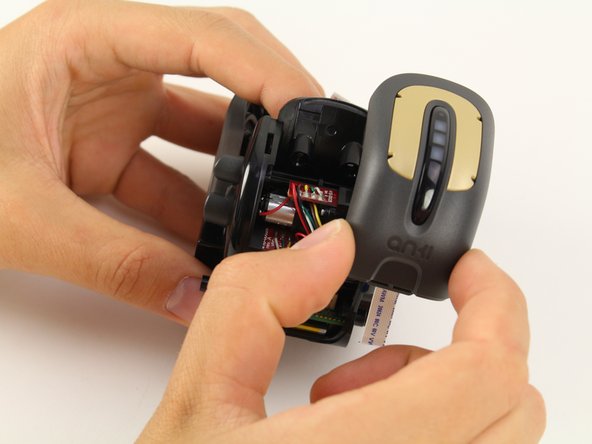
Using the iFixit opening tool, insert the corner under Vector's golden side panel and lightly twist.
-
Repeat this step on the other side.
-
-
-
-
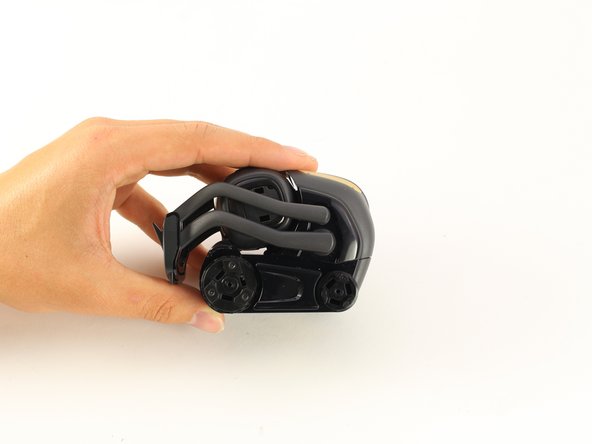
Using the Jimmy, insert the straight edge of the blade in recess groove in Vector's front wheel.
-
Slowly apply torque to the jimmy until the wheel cover pops off.
-
Repeat for the rear wheel.
-


To reassemble your device, follow these instructions in reverse order.
To reassemble your device, follow these instructions in reverse order.
Cancelar: No complete esta guía.
Una persona más ha completado esta guía.
Equipo

Cal Poly, Team S2-G6, Maness Spring 2019 Miembro de Cal Poly, Team S2-G6, Maness Spring 2019
CPSU-MANESS-S19S2G6
4 Miembros
10 Guías creadas