Saltar al contenido principal

Alldaymall A88X Camera Replacement

Qué necesitas

  1. Alldaymall A88X Camera Replacement, Alldaymall A88X Back Cover: paso 1, imagen 1 de 3 Alldaymall A88X Camera Replacement, Alldaymall A88X Back Cover: paso 1, imagen 2 de 3 Alldaymall A88X Camera Replacement, Alldaymall A88X Back Cover: paso 1, imagen 3 de 3
    • Using a plastic opening tool, carefully pry the device apart. Make your way around the entire perimeter of the device and carefully place the two panels next to each other.

    • After the panels are separated, watch out for the speaker on the rear panel as it's wire is rather short.

    • When separating the panels keep an eye out for the power button and volume rocker as they can be dislodged.

  2. Alldaymall A88X Camera Replacement: paso 2, imagen 1 de 1
    Herramienta utilizada en este paso:
    Tweezers
    $4.99
    Comprar
    • Grip the speaker from the sides with your fingers or a pair of tweezers and slowly begin to remove it from the rear panel.

    • When removing the speaker, make sure not to disconnect the wires in any way.

    • After the speaker has been removed, place the rear panel aside.

  3. Alldaymall A88X Camera Replacement, Speaker: paso 3, imagen 1 de 3 Alldaymall A88X Camera Replacement, Speaker: paso 3, imagen 2 de 3 Alldaymall A88X Camera Replacement, Speaker: paso 3, imagen 3 de 3
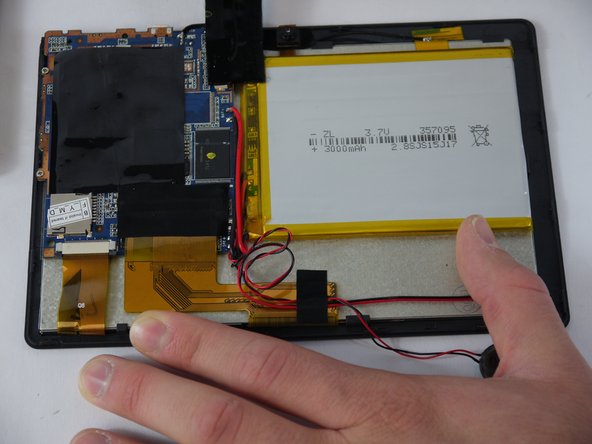
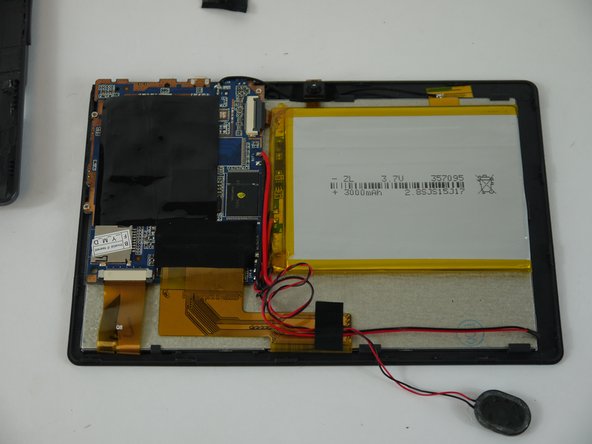
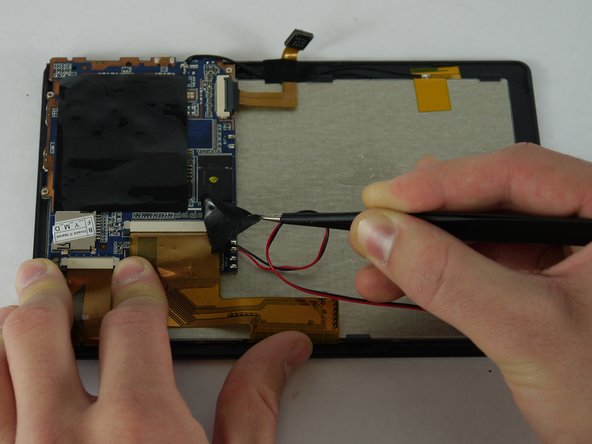
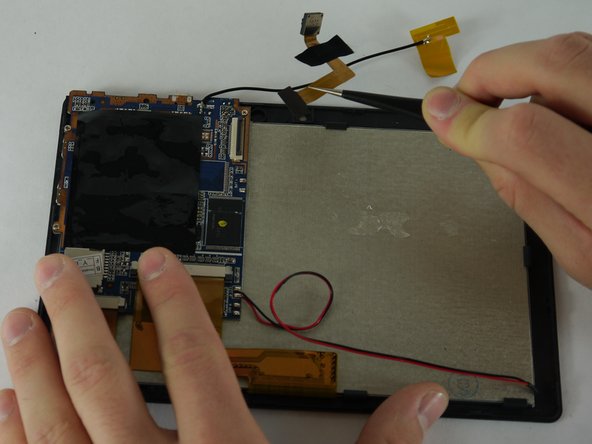
    • Carefully separate the speaker wire from the tape and proceed to peel the tape off in an upwards direction.

    • The tape we are removing covers a number of connections on the motherboard. Be extra careful not to sever any of these.

  4. Alldaymall A88X Camera Replacement: paso 4, imagen 1 de 3 Alldaymall A88X Camera Replacement: paso 4, imagen 2 de 3 Alldaymall A88X Camera Replacement: paso 4, imagen 3 de 3
    Herramienta utilizada en este paso:
    Tweezers
    $4.99
    Comprar
    • Using a pair of tweezers, begin separating the tape downwards from the back panel.

    • Pull the tape away from the wire bundle beneath.

    • Isolate the wire running from the speaker to the motherboard.

  5. Alldaymall A88X Camera Replacement: paso 5, imagen 1 de 3 Alldaymall A88X Camera Replacement: paso 5, imagen 2 de 3 Alldaymall A88X Camera Replacement: paso 5, imagen 3 de 3
    • Desolder the speaker wires from the motherboard.

  6. Alldaymall A88X Camera Replacement, Camera: paso 6, imagen 1 de 3 Alldaymall A88X Camera Replacement, Camera: paso 6, imagen 2 de 3 Alldaymall A88X Camera Replacement, Camera: paso 6, imagen 3 de 3
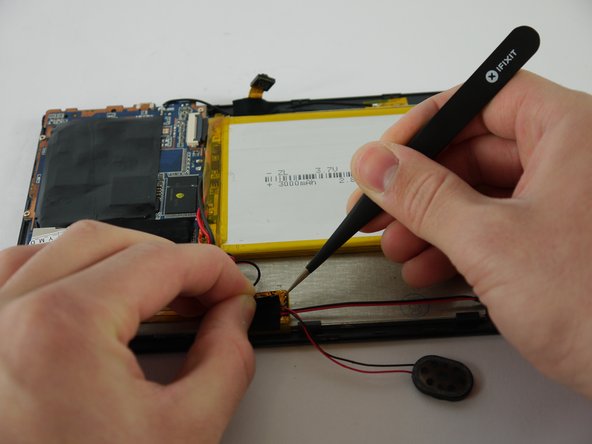
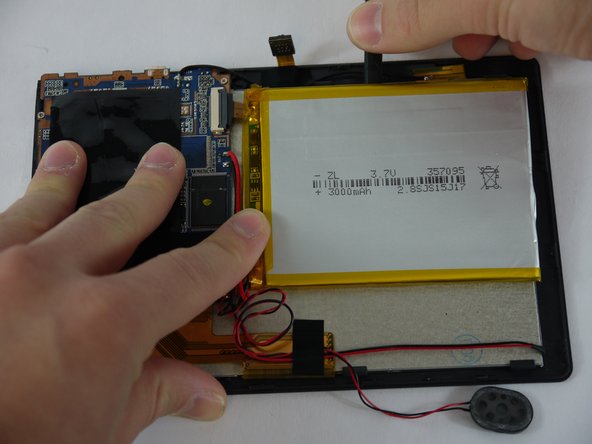
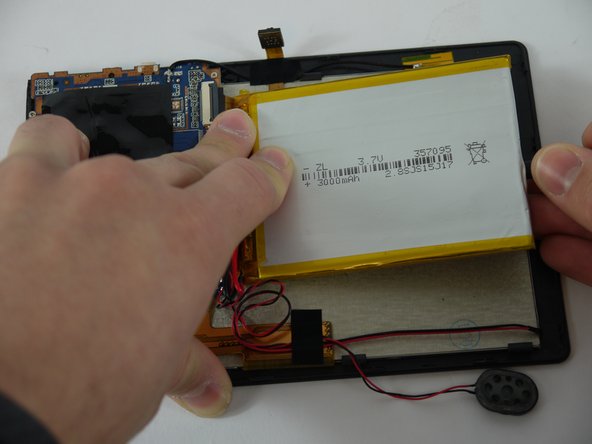
    • Using a nylon spudger, slowly work your way underneath the battery separating it from the panel beneath.

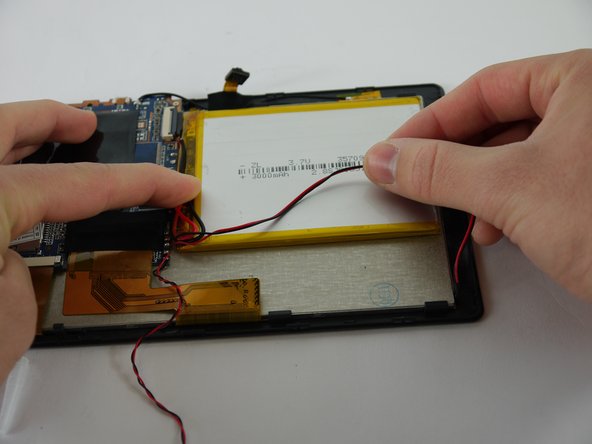
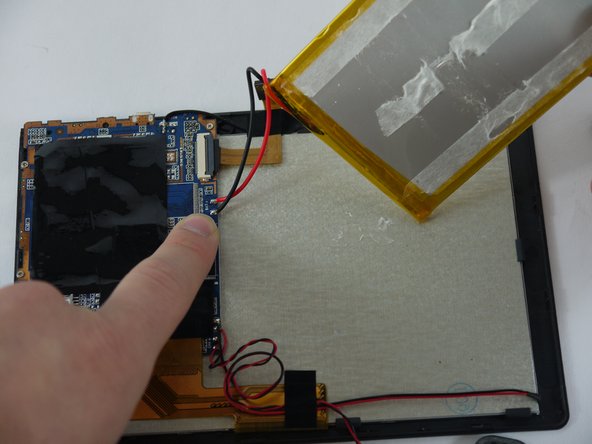
    • After the battery is separated from the panel make sure to place it face down above the tablet itself.

    • Throughout the removal process keep an eye on the battery's wires and make sure they do not break.

  7. Alldaymall A88X Camera Replacement: paso 7, imagen 1 de 2 Alldaymall A88X Camera Replacement: paso 7, imagen 2 de 2
    • Desolder the wires that connect the battery to the motherboard.

  8. Alldaymall A88X Camera Replacement: paso 8, imagen 1 de 2 Alldaymall A88X Camera Replacement: paso 8, imagen 2 de 2
    Herramienta utilizada en este paso:
    Tweezers
    $4.99
    Comprar
    • Using a pair of tweezers begin to peel the tape covering the ribbon cable on the motherboard.

  9. Alldaymall A88X Camera Replacement: paso 9, imagen 1 de 3 Alldaymall A88X Camera Replacement: paso 9, imagen 2 de 3 Alldaymall A88X Camera Replacement: paso 9, imagen 3 de 3
    • Using a pair of tweezers begin to peel the antenna from the metal panel.

    • Work your way down until the antenna is completely removed.

    • Be careful not deform the antenna or sever its connection.

  10. Alldaymall A88X Camera Replacement: paso 10, imagen 1 de 1
    • Using a pair of tweezers remove the tape securing the cameras to the back panel.

  11. Alldaymall A88X Camera Replacement: paso 11, imagen 1 de 1
    • Using a plastic opening tool lift up the flap on the ribbon cable receptacle.

  12. Alldaymall A88X Camera Replacement: paso 12, imagen 1 de 2 Alldaymall A88X Camera Replacement: paso 12, imagen 2 de 2
    • Using a pair of tweezers remove the camera assembly from its housing and its receptacles.

Conclusión

To reassemble your device, follow these instructions in reverse order.

Drhaber

Miembro Desde 02/10/16

985 Reputación

7 Guías creadas

Equipo

USF Tampa, Team 4-1, Lacy Spring 2016 Miembro de USF Tampa, Team 4-1, Lacy Spring 2016

USFT-LACY-S16S4G1

4 Miembros

16 Guías creadas

0 comentarios

Agregar Comentario

Ver Estadísticas:

Ultimas 24 horas: 1

Ultimos 7 días: 4

Ultimos 30 días: 5

Todo El Tiempo: 180