Introducción
This guide will show you how to replace the battery from a Alcatel One Touch Idol 3. Replacing your phone battery can breath new life into your phone by improving battery life and sometimes performance as well.
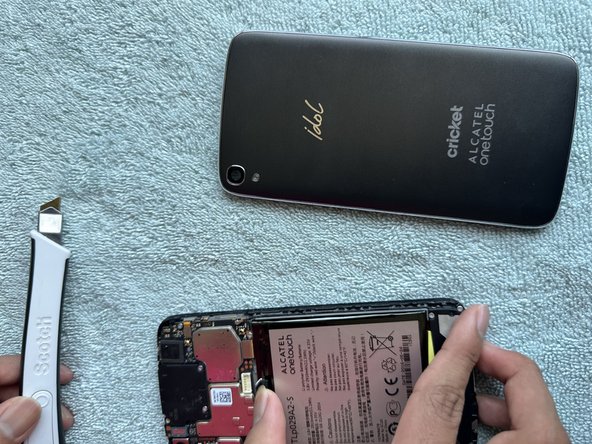
Before you start make sure to power off the phone.
Qué necesitas


Casi Terminas!
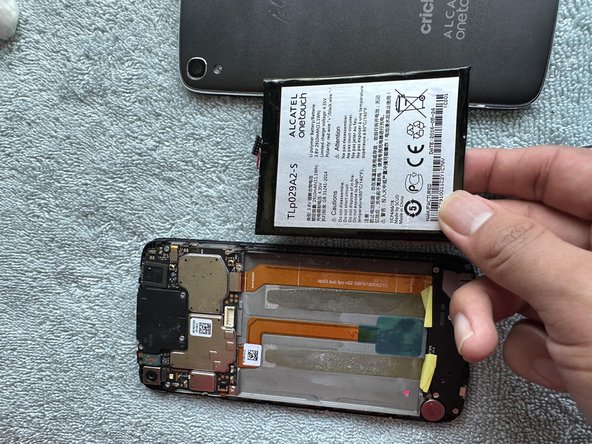
To reassemble your device, follow these instructions in reverse order.
Conclusión
To reassemble your device, follow these instructions in reverse order.
Equipo

CSU Los Angeles, Team 2-87, Briggs Fall 2023 Miembro de CSU Los Angeles, Team 2-87, Briggs Fall 2023
CSULA-BRIGGS-F23S2G87
1 Miembro
1 Guía escrita