Introducción
If the power indicator is not lit regardless of the Acer TravelMate P653-V-6882 being plugged in (with a working power adapter) or not, then the DC input may be faulty. In order to be able to charge your laptop correctly again, follow this guide on how to replace the DC input port.
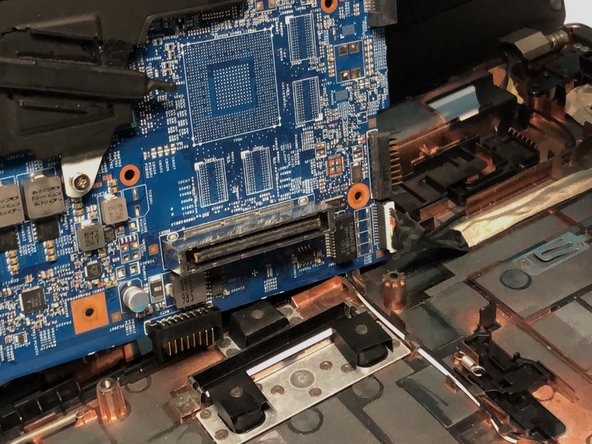
It is important to know that you will have to remove the TravelMate’s mainboard.
Qué necesitas
-
-
Turn the computer over so the base is facing up.
-
Slide the battery lock to unlock position.
-
-
-
-
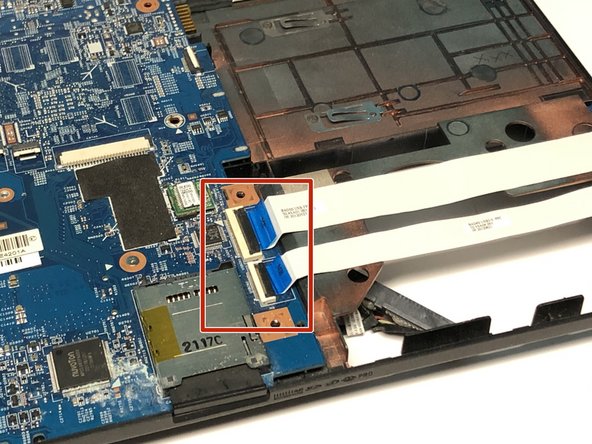
Turn the computer over, open the LCD panel, and find the smart card cable connector.
-
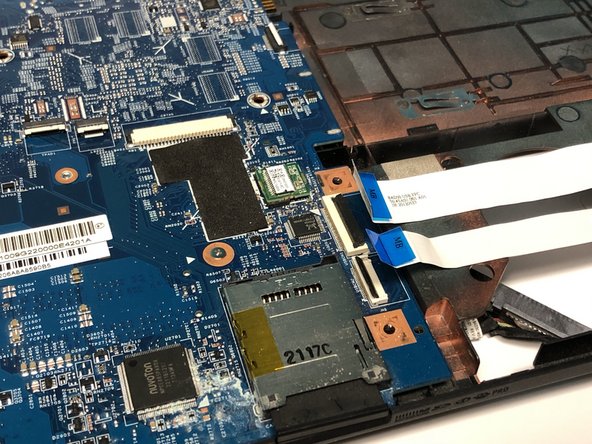
Open the smart card cable connector latch.
-
Disconnect the cable.
-
-
-
Flip the laptop so that the underside is now facing the bottom.
-
Open the LCD panel.
-
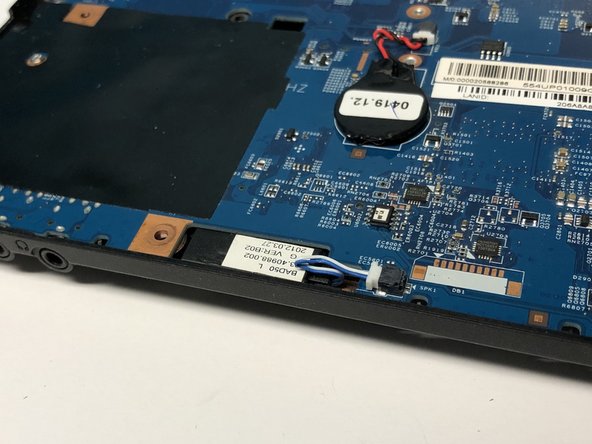
Locate the small gaps between the upper cover and lower case on the left and right side of the laptop.
-
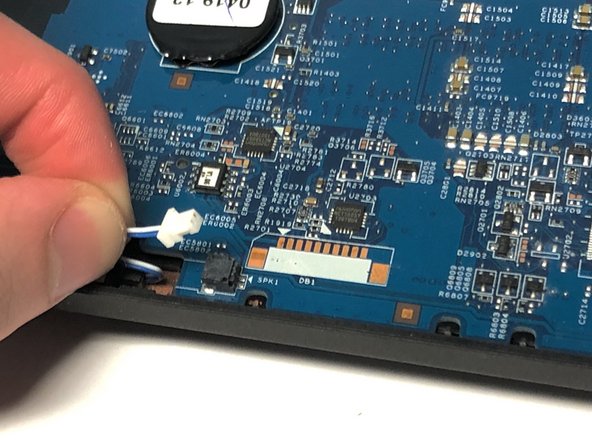
Insert the opening tool into each gap to separate the one from the other.
-
Once the upper cover is separated, lift it from the lower case.
-


To reassemble your device, follow these instructions in reverse order.
To reassemble your device, follow these instructions in reverse order.
Equipo

York University, Team S1-G6, Woodhouse Winter 2020 Miembro de York University, Team S1-G6, Woodhouse Winter 2020
YORK-WOODHOUSE-W20S1G6
3 Miembros
9 Guías creadas