Saltar al contenido principal

Acer Iconia W510 Dock Battery Replacement

Qué necesitas

  1. Acer Iconia W510 Dock Battery Replacement, Bottom Cover: paso 1, imagen 1 de 1
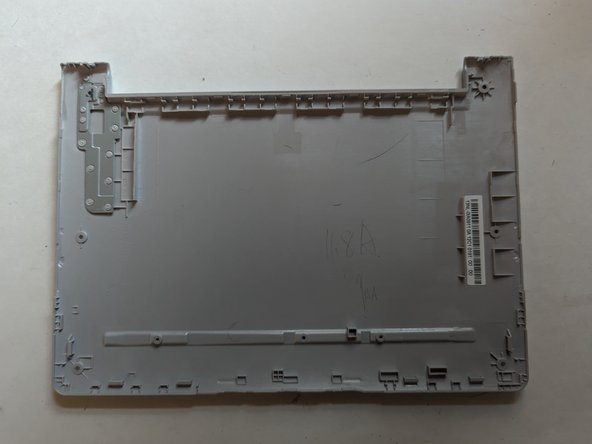
    • Remove the two 6.6mmT6 Torx screws near the hinge.

    • Remove the four 3.6mm T6 Torx screws on either side.

  2. Acer Iconia W510 Dock Battery Replacement: paso 2, imagen 1 de 3 Acer Iconia W510 Dock Battery Replacement: paso 2, imagen 2 de 3 Acer Iconia W510 Dock Battery Replacement: paso 2, imagen 3 de 3
    • Using an Xacto knife, peel the rubber strip back far enough on either end to expose the two screws.

    • Remove the two 4.5mm Phillips screws.

  3. Acer Iconia W510 Dock Battery Replacement: paso 3, imagen 1 de 3 Acer Iconia W510 Dock Battery Replacement: paso 3, imagen 2 de 3 Acer Iconia W510 Dock Battery Replacement: paso 3, imagen 3 de 3
    • Unclip the rear cover.

  4. Acer Iconia W510 Dock Battery Replacement: paso 4, imagen 1 de 3 Acer Iconia W510 Dock Battery Replacement: paso 4, imagen 2 de 3 Acer Iconia W510 Dock Battery Replacement: paso 4, imagen 3 de 3
    • Remove the bottom cover.

  5. Acer Iconia W510 Dock Battery Replacement, Unplug the Battery: paso 5, imagen 1 de 2 Acer Iconia W510 Dock Battery Replacement, Unplug the Battery: paso 5, imagen 2 de 2
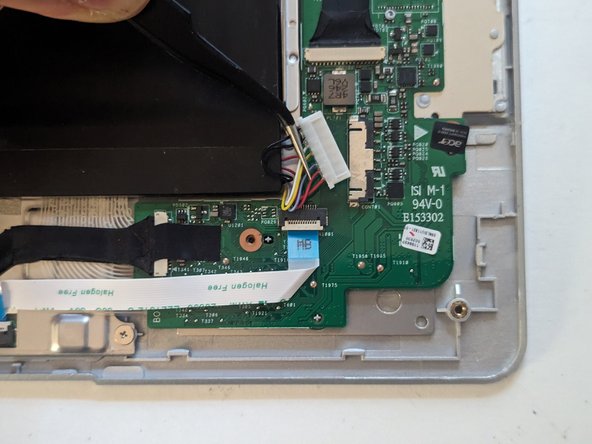
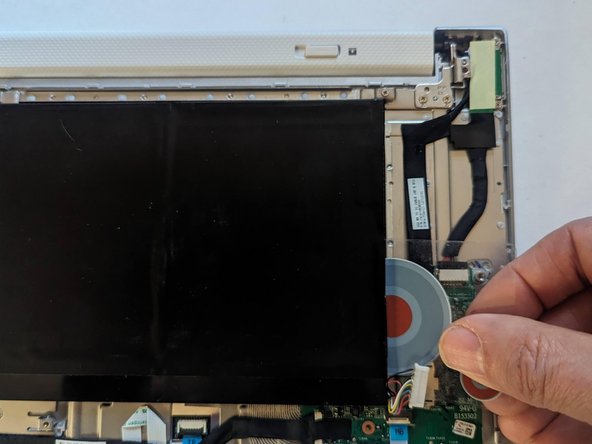
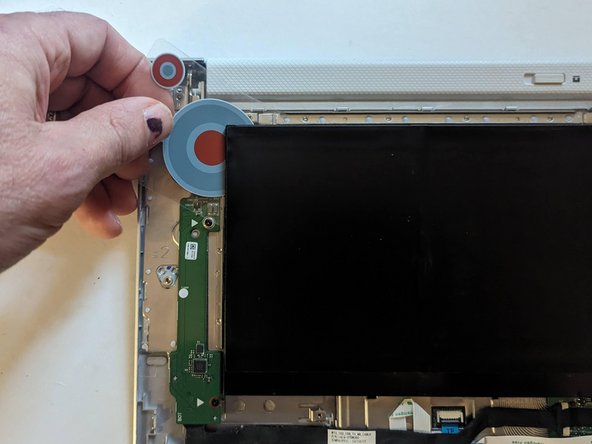
    • Using the two tabs on either side of the connector, unplug the battery.

  6. Acer Iconia W510 Dock Battery Replacement, Remove the Battery: paso 6, imagen 1 de 1
    • Two strips of adhesive on either side hold the battery in place.

  7. Acer Iconia W510 Dock Battery Replacement: paso 7, imagen 1 de 3 Acer Iconia W510 Dock Battery Replacement: paso 7, imagen 2 de 3 Acer Iconia W510 Dock Battery Replacement: paso 7, imagen 3 de 3
    • Use a flexible piece of plastic to slice the strip of adhesive on one side.

    • Leave the plastic in place when doing the other side.

  8. Acer Iconia W510 Dock Battery Replacement: paso 8, imagen 1 de 3 Acer Iconia W510 Dock Battery Replacement: paso 8, imagen 2 de 3 Acer Iconia W510 Dock Battery Replacement: paso 8, imagen 3 de 3
    • Slice the strip of adhesive on the other side.

  9. Acer Iconia W510 Dock Battery Replacement: paso 9, imagen 1 de 1
    • Lift the battery from the dock.

  10. Acer Iconia W510 Dock Battery Replacement: paso 10, imagen 1 de 1
    • The battery is now free.

Conclusión

To reassemble your device, follow these instructions in reverse order.

Jerry Wheeler

Miembro Desde 03/21/22

58,494 Reputación

69 Guías creadas

Equipo

Oregonians Miembro de Oregonians

Community

8 Miembros

176 Guías creadas

0 comentarios

Agregar Comentario

Ver Estadísticas:

Ultimas 24 horas: 0

Ultimos 7 días: 1

Ultimos 30 días: 13

Todo El Tiempo: 84