Saltar al contenido principal

Acer Aspire V5-131-2680 Motherboard Replacement

Qué necesitas

  1. Acer Aspire V5-131-2680 Motherboard Replacement, Motherboard: paso 1, imagen 1 de 1
    • Turn the Acer Aspire upside down, with the stickers facing up.

    • Unplug the charger and make sure the device is off.

  2. Acer Aspire V5-131-2680 Motherboard Replacement: paso 2, imagen 1 de 1
    • Unscrew the twenty M2 x 6 screws using a Phillips #00 screwdriver.

    • Unplug the battery and disconnect all the components connected to the motherboard.

    • Pry open the bottom of the laptop using the opening tool.

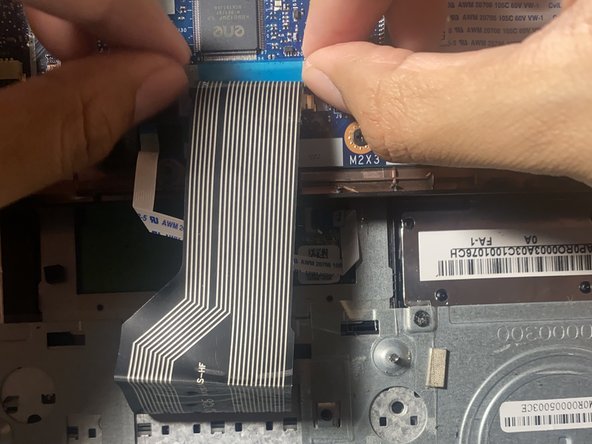
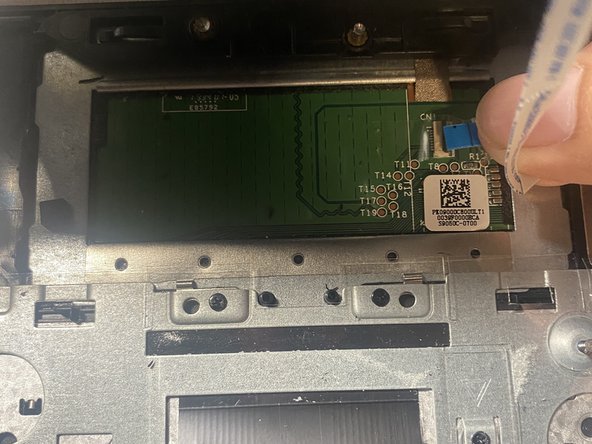
  3. Acer Aspire V5-131-2680 Motherboard Replacement: paso 3, imagen 1 de 3 Acer Aspire V5-131-2680 Motherboard Replacement: paso 3, imagen 2 de 3 Acer Aspire V5-131-2680 Motherboard Replacement: paso 3, imagen 3 de 3
    • Disconnect the two components that are attached to the motherboard and keyboard.

    • The large ribbon cable is disconnected by pulling apart the two white tabs found on each side of the connection and lifting the cable out.

    • The small wire can be removed by simply pulling on the blue tape

  4. Acer Aspire V5-131-2680 Motherboard Replacement: paso 4, imagen 1 de 1
    • Unscrew the three M2 x 3 Phillips screws on the motherboard.

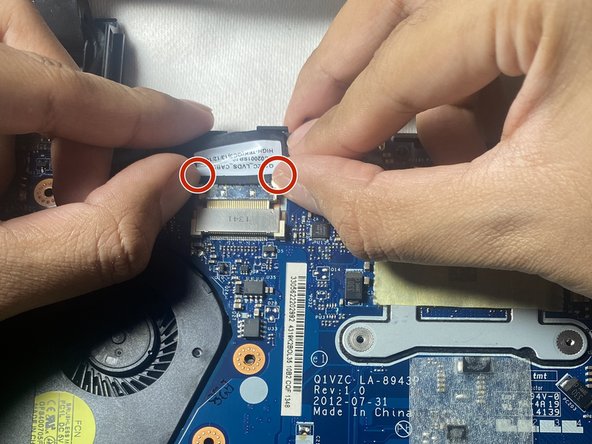
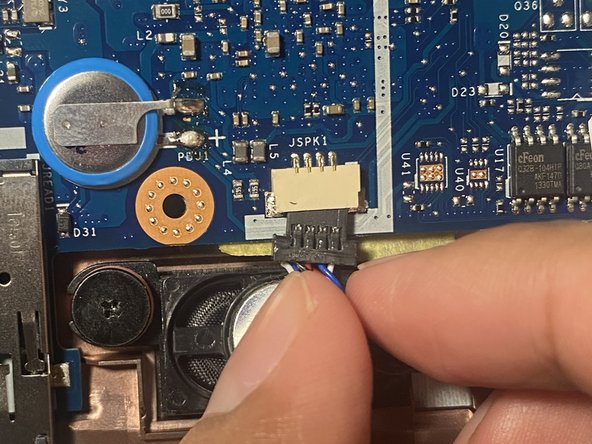
  5. Acer Aspire V5-131-2680 Motherboard Replacement: paso 5, imagen 1 de 3 Acer Aspire V5-131-2680 Motherboard Replacement: paso 5, imagen 2 de 3 Acer Aspire V5-131-2680 Motherboard Replacement: paso 5, imagen 3 de 3
    • Disconnect all the big and small wires connected to the motherboard.

    • The big wires must be squeezed on each side of the connection to release the tabs, then pull the cable out.

    • The small wires can be removed simply by pulling the cable out of the connection

  6. Acer Aspire V5-131-2680 Motherboard Replacement: paso 6, imagen 1 de 1
    • Gently pull the motherboard up and to the right at the same time.

  7. Acer Aspire V5-131-2680 Motherboard Replacement: paso 7, imagen 1 de 1
    • Once the motherboard is out, take off the tape that is holding the fan and the motherboard together. Push the fan down and it will come off.

Conclusión

To reassemble your device, follow these instructions in reverse order.

Mauricio Moreno

Miembro Desde 09/26/22

601 Reputación

5 Guías creadas

Equipo

CSU Los Angeles, Team 6-1, Adachi Fall 2022 Miembro de CSU Los Angeles, Team 6-1, Adachi Fall 2022

CSULA-ADACHI-F22S6G1

4 Miembros

6 Guías creadas

0 comentarios

Agregar Comentario

Ver Estadísticas:

Ultimas 24 horas: 0

Ultimos 7 días: 2

Ultimos 30 días: 5

Todo El Tiempo: 213