Esta versión puede contener ediciones incorrectas. Cambie a la última instantánea verificada.
Qué necesitas
-
Este paso está sin traducir. Ayuda a traducirlo
-
Slide the plastic opening tool underneath the frame of your device.
-
Slide the plastic opening tool all around the frame until the entire frame becomes loose and comes off.
-
-
Este paso está sin traducir. Ayuda a traducirlo
-
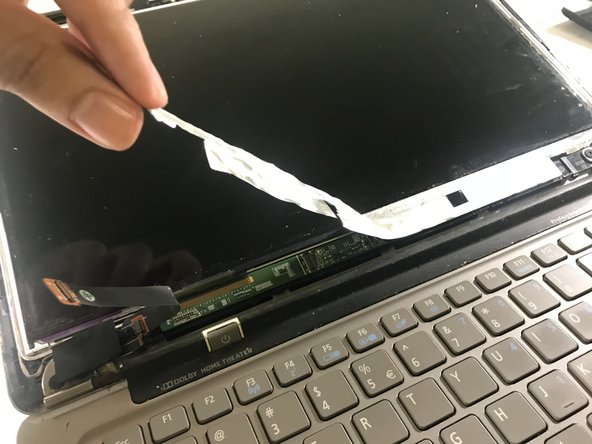
On the bottom left of the screen there is a black cable with a piece of white tape over it. Remove the white tape by peeling it off.
-
Slide your opening tool underneath the front of the cable, and pull the cable upwards to disconnect it from its socket.
-
-
-
Este paso está sin traducir. Ayuda a traducirlo
-
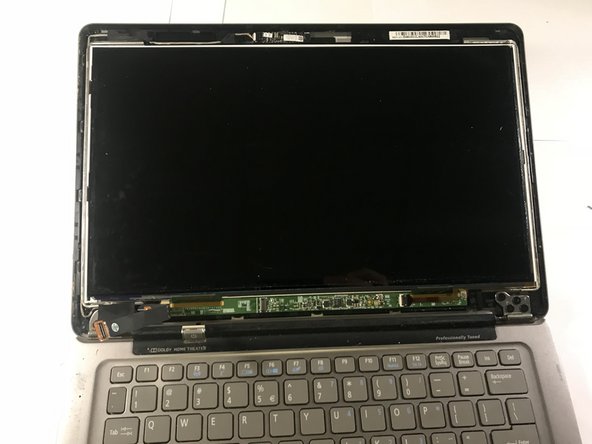
Peel the silver tape from the corner of your laptop until it fully comes off.
-
-
Este paso está sin traducir. Ayuda a traducirlo
-
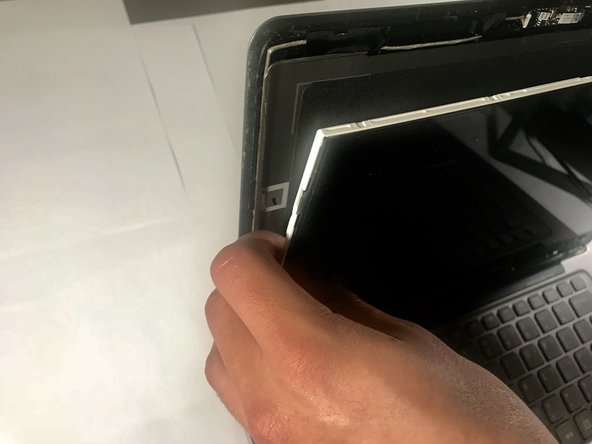
Remove the screen by grabbing the edges of the screen and pulling forward.
-


Cancelar: No complete esta guía.
6 personas más completaron esta guía.
Equipo

University of North Texas, Team S3-G3, Raign Fall 2018 Miembro de University of North Texas, Team S3-G3, Raign Fall 2018
UNT-RAIGN-F18S3G3
4 Miembros
6 Guías creadas
2 comentarios
Hi! Apparently three films came off with the LCD. Clear,gray and black what are they?