Introducción
Hard drives or HDDs contain all of the programs and files used by your computer. It’s important to make sure yours is working correctly. If it does not work correctly, it can drastically slow your computer down and even render it useless.
If you’re experiencing data issues or simply running out of space, follow along with this guide to replace the hard drive in your Acer Aspire One 722 in no time.
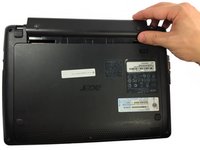
Prior to beginning the guide, power off your device and remove the battery.
Qué necesitas
-
-
-
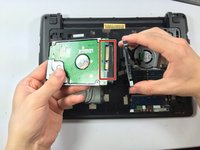
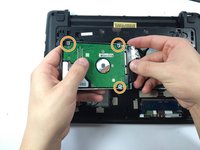
With the battery cavity facing away from you, use the Phillips #0 to remove the center screw which secures the backplate.
-


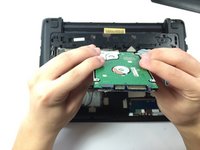
To reassemble your device, follow these instructions in reverse order., taking special care in replacing the back cover. and battery.
To reassemble your device, follow these instructions in reverse order., taking special care in replacing the back cover. and battery.
Cancelar: No complete esta guía.
4 personas más completaron esta guía.

Equipo

UMass Dartmouth, Team 5-6, Gulbrandsen Fall 2015 Miembro de UMass Dartmouth, Team 5-6, Gulbrandsen Fall 2015
UMASSD-GULBRANDSEN-F15S5G6
Miembros de 3
10 Guías creadas