Saltar al contenido principal

Acer Aspire E1-510P-4637 Touch Screen Display Replacement

Qué necesitas

  1. Acer Aspire E1-510P-4637 Touch Screen Display Replacement, Battery: paso 1, imagen 1 de 1
    • To release the battery, depress the battery release with a nylon spudger. Hold the latch down and slide it over.

  2. Acer Aspire E1-510P-4637 Touch Screen Display Replacement: paso 2, imagen 1 de 1
    • Firmly grab hold of the battery and slide it out of the laptop.

  3. Acer Aspire E1-510P-4637 Touch Screen Display Replacement, Touch Screen Display: paso 3, imagen 1 de 3 Acer Aspire E1-510P-4637 Touch Screen Display Replacement, Touch Screen Display: paso 3, imagen 2 de 3 Acer Aspire E1-510P-4637 Touch Screen Display Replacement, Touch Screen Display: paso 3, imagen 3 de 3
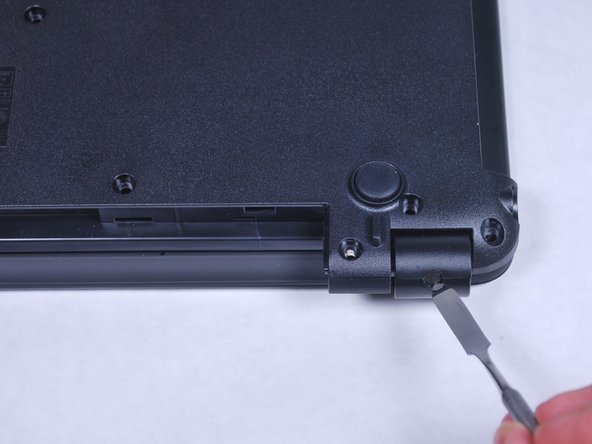
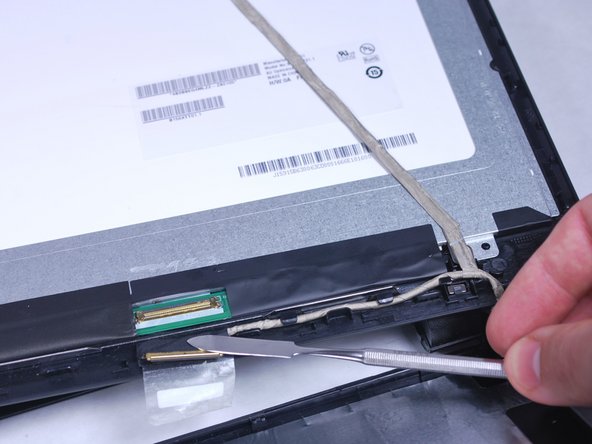
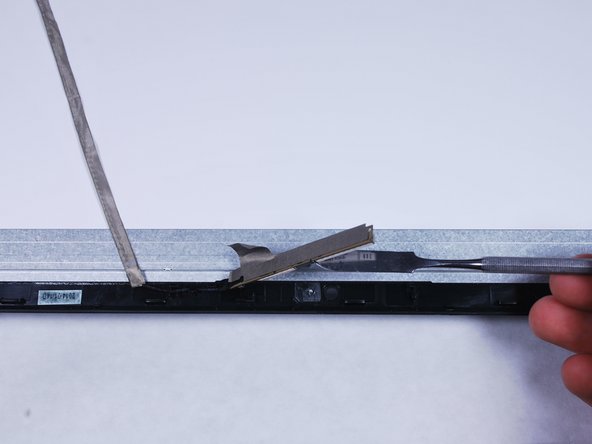
    • Remove the plastic screw covers located near the laptop's hinge using a metal spudger.

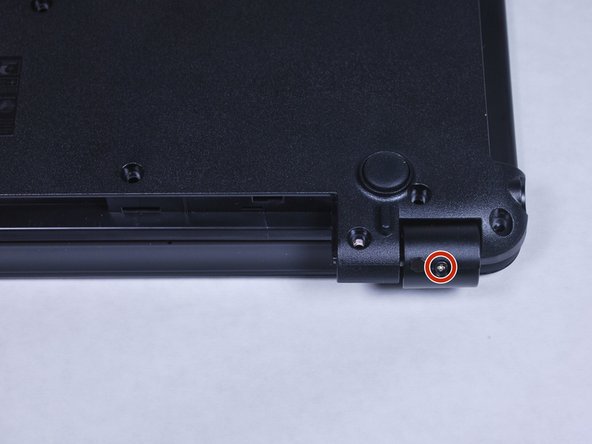
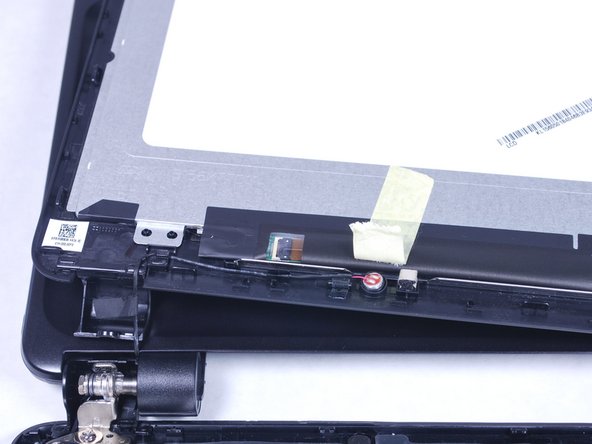
    • Remove the two M2.5x8 screws highlighted in the picture with a PH0 Phillips screwdriver.

  4. Acer Aspire E1-510P-4637 Touch Screen Display Replacement: paso 4, imagen 1 de 3 Acer Aspire E1-510P-4637 Touch Screen Display Replacement: paso 4, imagen 2 de 3 Acer Aspire E1-510P-4637 Touch Screen Display Replacement: paso 4, imagen 3 de 3
    • Flip the laptop over and open it up so the screen is facing up and the top of the screen is facing you.

    • Use a plastic opening tool to separate the the touchscreen from the back cover.

    • Carefully work your way around the frame and gently pry. Be careful not to brake the frame or damage the screen.

  5. Acer Aspire E1-510P-4637 Touch Screen Display Replacement: paso 5, imagen 1 de 3 Acer Aspire E1-510P-4637 Touch Screen Display Replacement: paso 5, imagen 2 de 3 Acer Aspire E1-510P-4637 Touch Screen Display Replacement: paso 5, imagen 3 de 3
    • Disconnect the display cable by first taking off the tape using a metal spudger and then pulling on the black tab.

  6. Acer Aspire E1-510P-4637 Touch Screen Display Replacement: paso 6, imagen 1 de 2 Acer Aspire E1-510P-4637 Touch Screen Display Replacement: paso 6, imagen 2 de 2
    • Take off the yellow tape connecting the display to the border.

  7. Acer Aspire E1-510P-4637 Touch Screen Display Replacement: paso 7, imagen 1 de 2 Acer Aspire E1-510P-4637 Touch Screen Display Replacement: paso 7, imagen 2 de 2
    • Pull back the adhesive using the metal spudger.

    • Pry out the camera by lifting the adhesive with the metal spudger. Then, remove the camera by lifting it up by one side.

  8. Acer Aspire E1-510P-4637 Touch Screen Display Replacement: paso 8, imagen 1 de 1
    • Remove the two brackets holding the displays by unscrewing both M1 .6x3 screws with a PH0 Phillips screwdriver.

  9. Acer Aspire E1-510P-4637 Touch Screen Display Replacement: paso 9, imagen 1 de 1
    • Release the display from the border using your hands.

Conclusión

To reassemble your device, follow these instructions in reverse order.

2 personas más completaron esta guía.

Caleb lindsay

Miembro Desde 04/11/16

778 Reputación

6 Guías creadas

Equipo

Cal Poly, Team 34-15, Maness Spring 2016 Miembro de Cal Poly, Team 34-15, Maness Spring 2016

CPSU-MANESS-S16S34G15

4 Miembros

6 Guías creadas

Un comentario

the touchscreen its glue together with the LCD?

Chris Foliaki - Contestar

Agregar Comentario

Ver Estadísticas:

Ultimas 24 horas: 0

Ultimos 7 días: 4

Ultimos 30 días: 5

Todo El Tiempo: 1,190