Introducción
If your Acer Aspire (model 5750Z-4566 ) is displaying the error message; Smart failure predicted on the hard drive. Use this guide to replace the hard drive (also known as a hard disk).
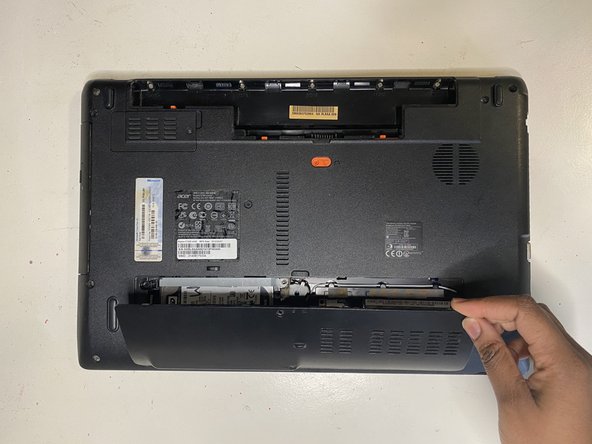
The goal of this guide is to show the steps involved in the replacement of an Acer Aspire 5750Z-4566 hard drive. A hard drive failure may occur in the course of a normal operation or due to an external factor such as exposure to water or environmental contamination, which can lead to a crash.
This guide is necessary because hard drive failure often leads to data loss. It is essential to replace the hard drive when the computer experiences signs of a hard drive failure. It enables one the opportunity to back up the data stored on it and replace it before it completely wears out. The only tool required will be a Philips #0 screwdriver.
Qué necesitas


To reassemble your device, follow these instructions in reverse order.
To reassemble your device, follow these instructions in reverse order.
Equipo

York University, Team S2-G3, O'Regan Winter 2021 Miembro de York University, Team S2-G3, O'Regan Winter 2021
YORK-O'REGAN-W21S2G3
1 Miembro
1 Guía escrita