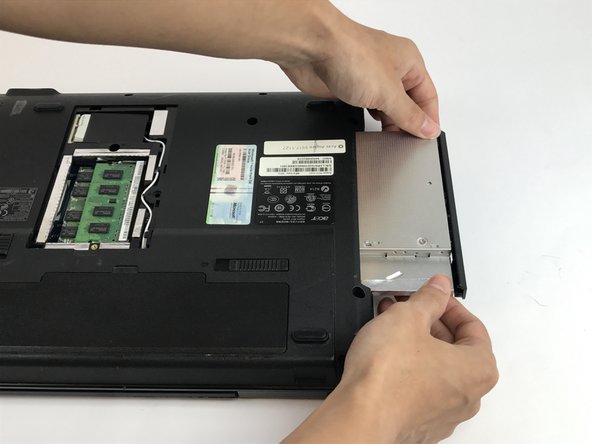
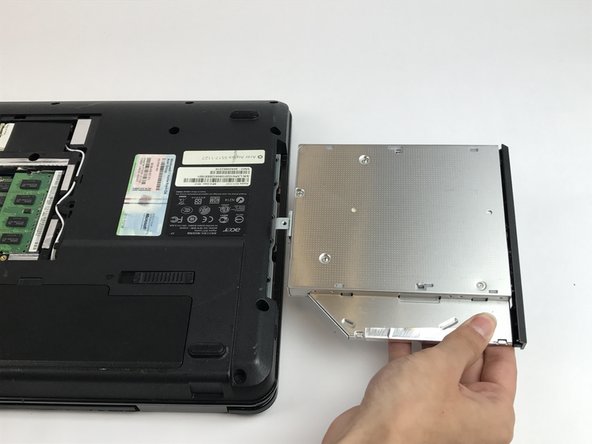
Saltar al contenido principal

Acer Aspire 5517-1127 Disk Drive Replacement

Qué necesitas

  1. Acer Aspire 5517-1127 Disk Drive Replacement, Disk Drive: paso 1, imagen 1 de 2 Acer Aspire 5517-1127 Disk Drive Replacement, Disk Drive: paso 1, imagen 2 de 2
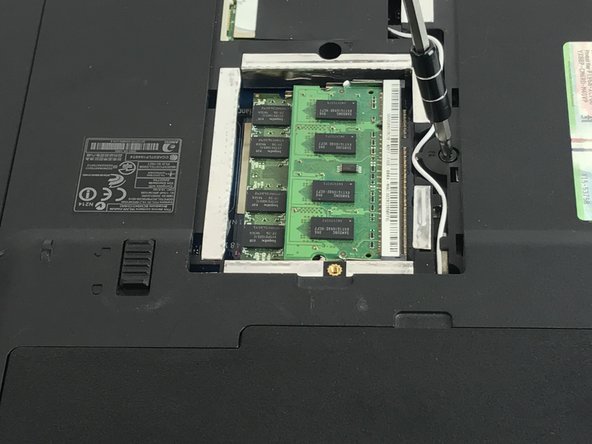
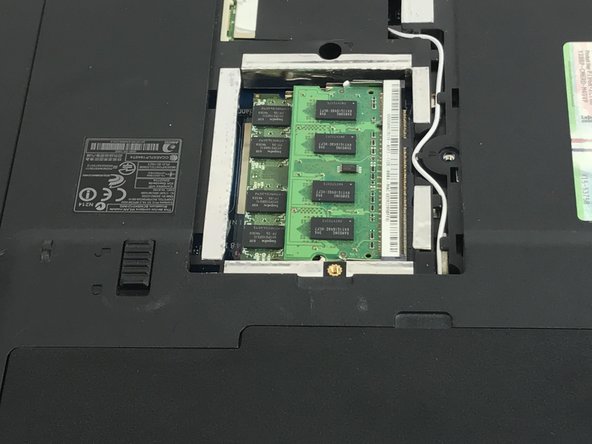
    • Orient the laptop so that its upside down facing away from you.

    • The screw is at the bottom of the RAM panel.

  2. Acer Aspire 5517-1127 Disk Drive Replacement: paso 2, imagen 1 de 2 Acer Aspire 5517-1127 Disk Drive Replacement: paso 2, imagen 2 de 2
    • Using a Phillips screwdriver (PH1), unscrew the screw from the panel.

    • Pull the panel away from the device as shown.

  3. Acer Aspire 5517-1127 Disk Drive Replacement: paso 3, imagen 1 de 3 Acer Aspire 5517-1127 Disk Drive Replacement: paso 3, imagen 2 de 3 Acer Aspire 5517-1127 Disk Drive Replacement: paso 3, imagen 3 de 3
    • The screw to the right of the inner RAM casing is shown.

    • Using the same Phillips screwdriver (PH1), unscrew the screw.

  4. Acer Aspire 5517-1127 Disk Drive Replacement: paso 4, imagen 1 de 3 Acer Aspire 5517-1127 Disk Drive Replacement: paso 4, imagen 2 de 3 Acer Aspire 5517-1127 Disk Drive Replacement: paso 4, imagen 3 de 3
    • Gently push the disk drive away from the device as demonstrated.

    • The disk drive will come out with the screw removed from the RAM casing.

Conclusión

To reassemble your device, follow these instructions in reverse order.

Una persona más ha completado esta guía.

Equipo

USF Tampa, Team 17-1, Blackwell Spring 2017 Miembro de USF Tampa, Team 17-1, Blackwell Spring 2017

USFT-BLACKWELL-S17S17G1

4 Miembros

5 Guías creadas

0 comentarios

Agregar Comentario

Ver Estadísticas:

Ultimas 24 horas: 0

Ultimos 7 días: 1

Ultimos 30 días: 3

Todo El Tiempo: 344