Esta guía ha sufrido modificaciones. Revisa la última versión sin revisar.
Introducción
The motherboard acts like a hub for all of the components in the laptop. Sometimes a complete replacement of the motherboard is necessary. For example, liquid damage by having a drink spilled on the keyboard may require the motherboard to be replaced for optimal performance.
Fortunately, it is relatively easy to replace the motherboard since no advance tools or equipment is necessary.
Please keep in mind that if only a specific component is damaged, then it is recommended to only replace said component for budgeting reasons.
Qué necesitas
-
-
Unscrew the (10) screws on the bottom of the computer chassis using the JIS #0 screwdriver.
-
-
-
-
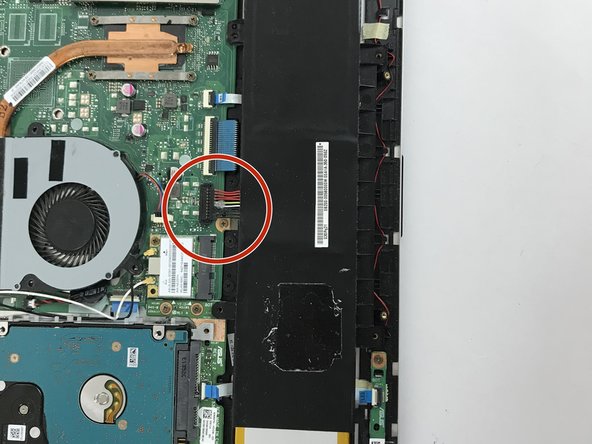
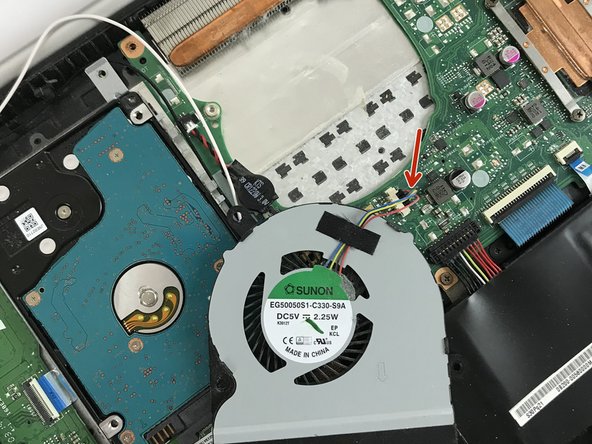
When removing the cooling fan, carefully unplug the cable that is connected to the motherboard.
-
Once you have carefully unplugged the cable, the cooling fan should just come off with ease.
-


To reassemble your device, follow these instructions in reverse order.
To reassemble your device, follow these instructions in reverse order.
Cancelar: No complete esta guía.
Una persona más ha completado esta guía.
Equipo

USF Tampa, Team S5-G1, Walkup Fall 2017 Miembro de USF Tampa, Team S5-G1, Walkup Fall 2017
USFT-WALKUP-F17S5G1
4 Miembros
6 Guías creadas